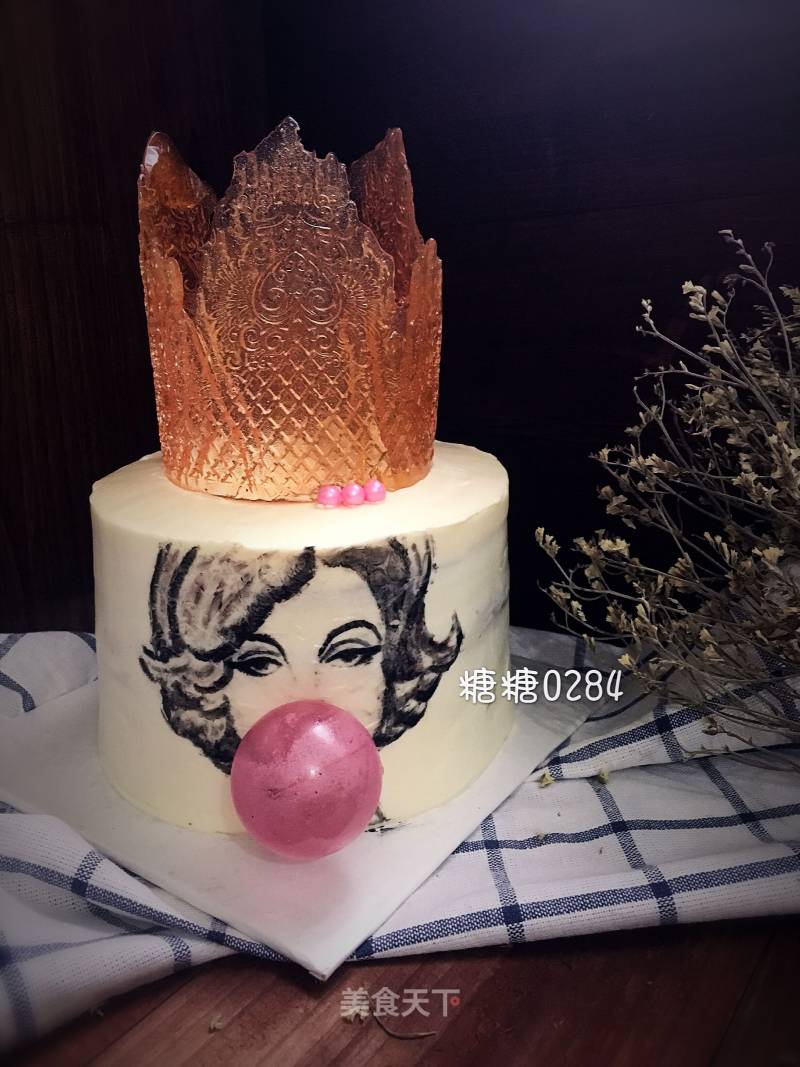
#aca Fourth Session Baking Contest# Making Pornographic Pregnant Princess or Queen
1.
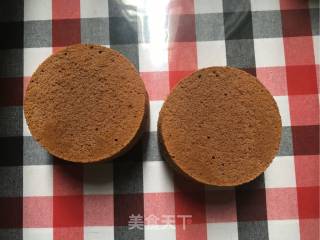
Prepare 2 6-inch chiffon cake bases (previously sent out recipes)
2.
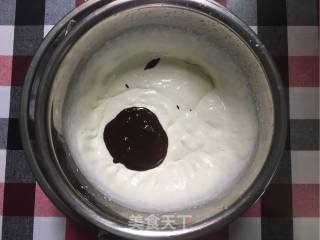
Add the whipped cream and beaten with fine sugar to 7 to distribute, then add the slightly cool ganache and continue to whip (the whipped cream and chocolate are melted and mixed in warm water)
3.
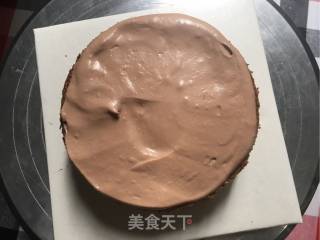
A layer of cake base, a layer of chocolate cream
4.
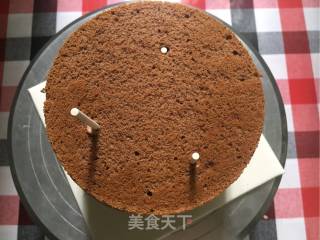
Since I am making a chiffon cake base, the load-bearing capacity is not strong, so I need to piling, that is, when I get the 5th cake base, I insert paper sticks (the kind of lollipops) in 3 positions... ...Until 6 slices of cake base and 5 layers of chocolate cream are ready, put in the refrigerator for later
5.
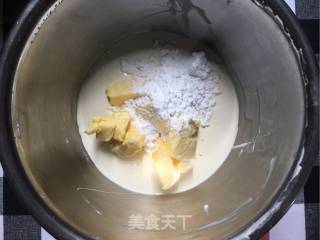
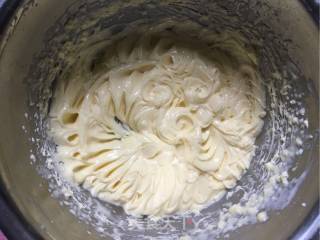
To make the cream frosting, directly mix the cream frosting materials and send it. At the beginning, there will be scum. Don't be afraid, continue to beat with warm water until it is smooth and smooth.
6.
If the cream frost has scum, continue to beat it in warm water. If the weather is too soft, put it in the freezer.
7.
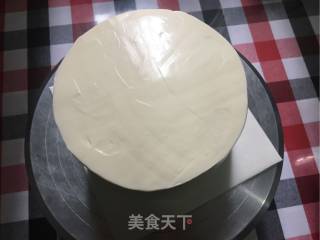
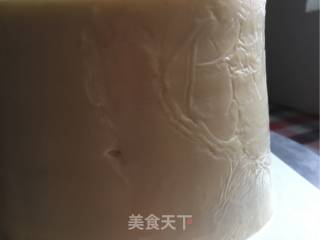
Cream frosting smears the surface of the cake. Because it takes a long time to paint, you can only use cream frosting to smear the surface. The delicate whipped cream cannot withstand such a long time of exposure...
8.
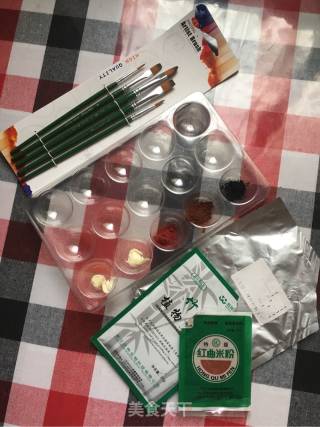
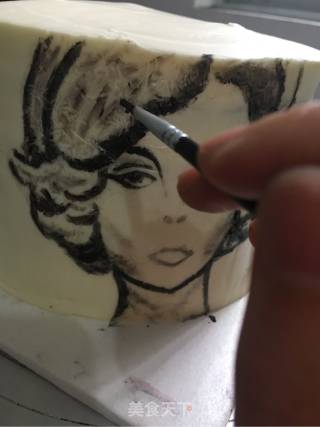
Prepare drawing tools. Because you need to draw on glutinous rice paper, but the glutinous rice paper has the characteristic of melting with water, so I use flour and butter to mix color. This time I use natural bamboo charcoal powder, cocoa powder and red yeast rice powder. ...
9.
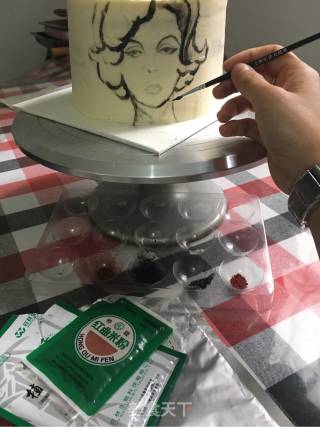
Outline the approximate shape on the glutinous rice paper, cut out the basic size, and paste it on the cake (the cut is not good, please take a look)
10.
Use dark bamboo charcoal powder to outline a simple outline
11.
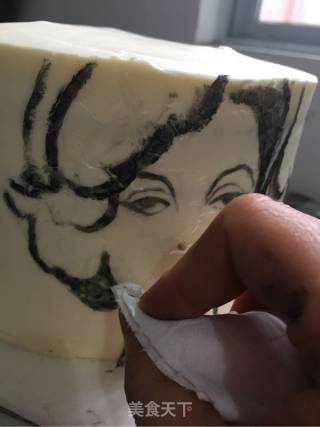
Since it is a powder mixed with butter, the drawing is not good on the glutinous rice paper. You can gently wipe it off with a paper towel...but you can't wipe it hard or a large area, so be careful when you paint.
12.
Mix some butter with red yeast rice powder and cocoa powder to supplement the details, then draw it and put it in the refrigerator for later use
13.
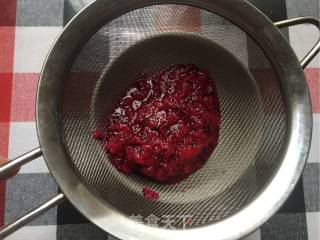
The dragon fruit is mashed and then strained to get the juice
14.
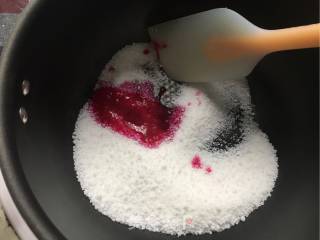
Add coral sugar to pitaya juice and heat on low heat
15.
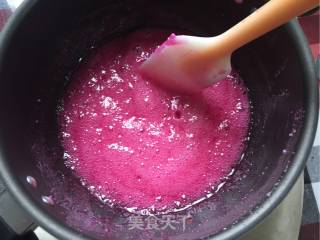
Keep stirring until all the coral sugar has melted, bubbling and continue heating for about 2 minutes.
16.
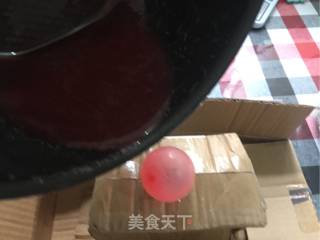
Blow a small balloon, find something to fix it in place, and wait for the coral syrup bubbles to decrease and immediately drip onto the balloon
17.
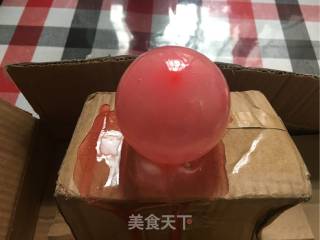
The coral syrup wraps the balloon in all directions, and let it cool down. After setting the shape, insert a hole in the tail to deflate the balloon, take the balloon away, and it becomes a powdered candy glass cover.
18.
The coral syrup continues to be heated. As the dragon fruit is boiled for a long time, the color will change. If you want to make an orange crown, simmer the syrup for a longer time... (Actually, I have made this crown several times and I can’t get satisfactory results. , So I repeatedly boiled the syrup several times...If it is not good, break it up, and boil it in the pot...Hahaha!)
19.
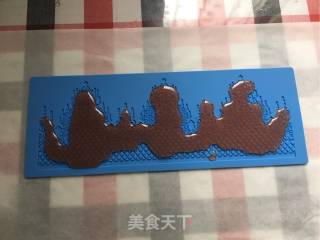
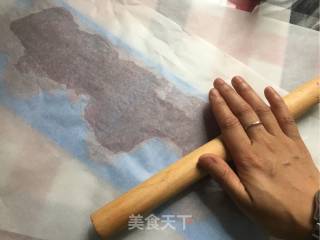
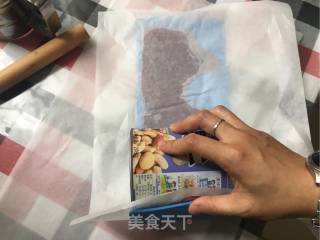
Coral candy has a strong coagulation force, so it should be fast. Pour the syrup on the mold, cover it with a piece of greased paper, and roll it out with a rolling pin. Don’t roll it too much... just cover the mold.
20.
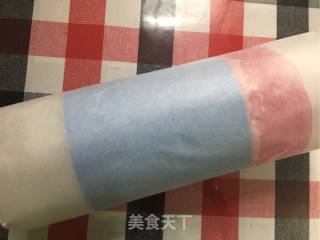
Find a tool of suitable size and round it against the mold
21.
Spheronize, wrap and fix, wait for cooling
22.
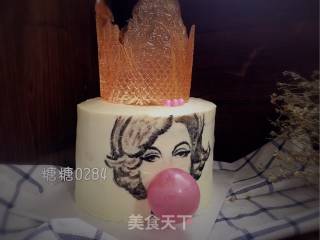
Unmold the crown, put it on the cake, and insert the candy glass cover into the mouth (it is better to insert 2 toothpicks to fix the position!
23.
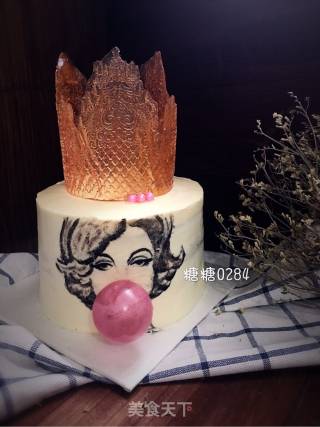
Finished product
24.
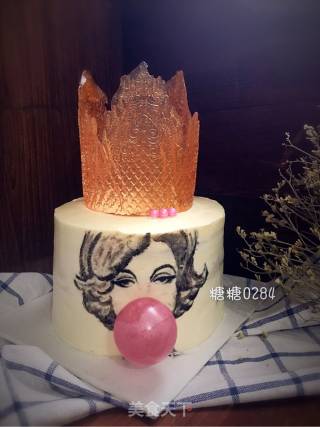
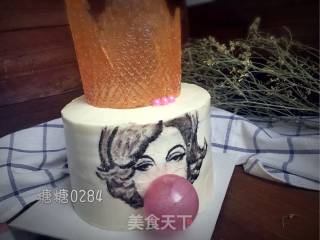
Finished product
25.
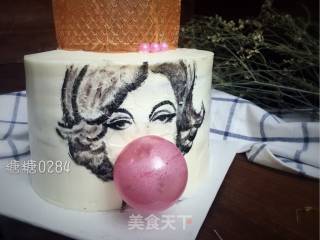
Finished product
26.
Finished product

