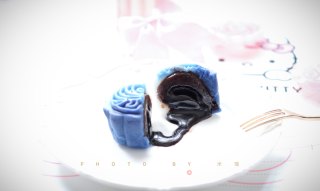
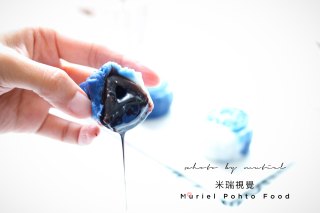
Blue and White Porcelain Snowy Chocolate Flowing Heart Mooncake

Blue and White Porcelain Snowy Chocolate Flowing Heart Mooncake

by Mi Rui's Review

5.0 (1)
Favorite

Difficulty

Easy

Time

1h

Serving

2

The sun is very good today and the mood is happy, especially suitable for making good food and playing photography.
As the Mid-Autumn Festival approaches, apart from worrying about hairy crabs, let’s play with mooncakes first.
No oven, no steaming,
Here comes the simple, fast, high-value mooncake recipe that can be completed by hand in just 8 steps!
Come and sun mooncakes with me during the Mid-Autumn Festival!

Weight:
Xuechu 50g Mooncake Mould X 10pcs

It is said that every girl has a dream, the deliciousness of not wanting to wake up and the sweet dream of lying on the cotton~
Make flowers into moon cakes and slowly realize your wishes"

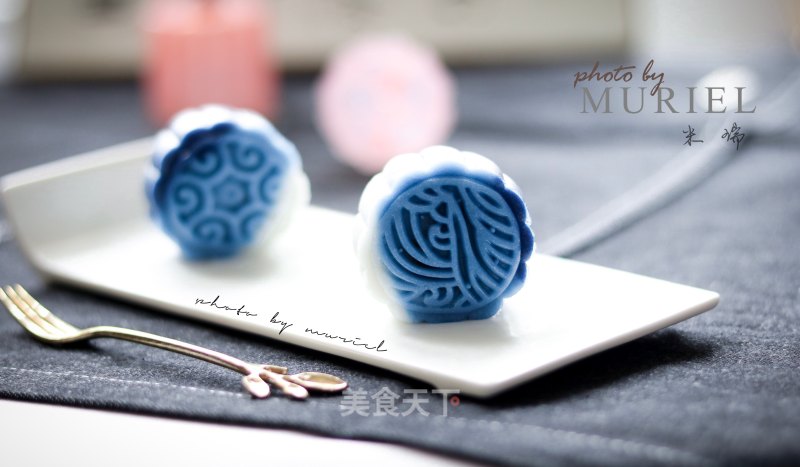
Blue and White Porcelain Snowy Chocolate Flowing Heart Mooncake

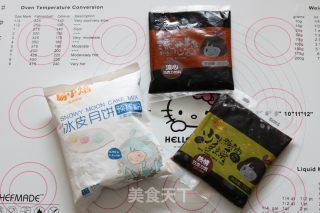
1. Prepare ingredients.

Blue and White Porcelain Snowy Chocolate Flowing Heart Mooncake recipe

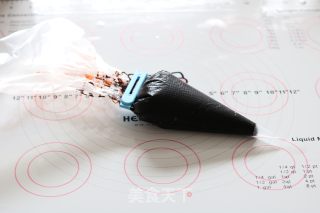
2. The chocolate liquid filling is squeezed into the piping bag and frozen in the refrigerator.

Blue and White Porcelain Snowy Chocolate Flowing Heart Mooncake recipe

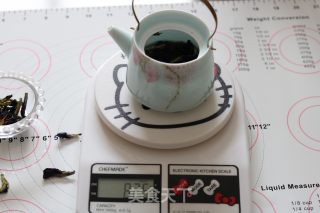
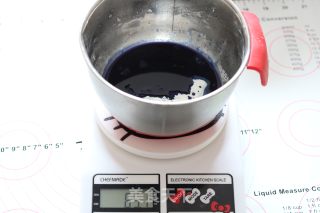
3. Add 80g of water to butterfly pea flowers and boil on low heat to release the color.

Blue and White Porcelain Snowy Chocolate Flowing Heart Mooncake recipe

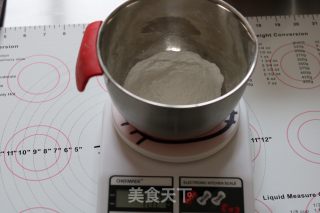
4. Take 65g of ice powder into the cooking pot.

Blue and White Porcelain Snowy Chocolate Flowing Heart Mooncake recipe

5. Add 60g of boiled butterfly pea flower water to the iced powder, stir the flour until there is no dry powder, wrap it in plastic wrap and cool.

Blue and White Porcelain Snowy Chocolate Flowing Heart Mooncake recipe

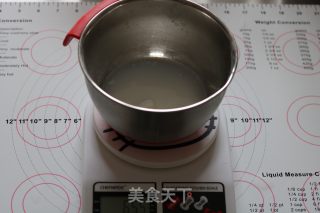
6. Take 65g of ice skin powder, add 60g of boiling water, stir the flour until there is no dry powder, wrap it with plastic wrap and cool.

Blue and White Porcelain Snowy Chocolate Flowing Heart Mooncake recipe

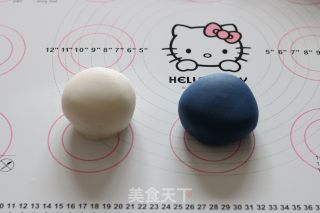
7. After cooling to room temperature, knead the dough with gloved hands until the dough is smooth.

Blue and White Porcelain Snowy Chocolate Flowing Heart Mooncake recipe

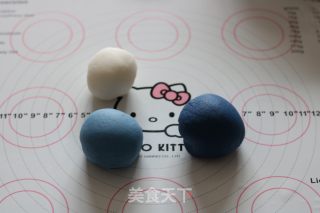
8. After kneading the two color doughs, take 25g of blue dough and 63g of white dough and mix into light blue dough, knead evenly.

Blue and White Porcelain Snowy Chocolate Flowing Heart Mooncake recipe

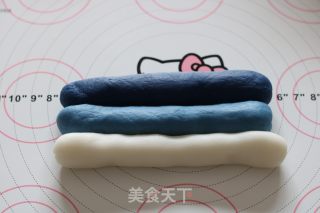
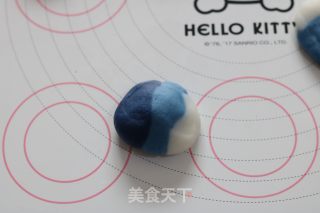
9. Stack the three dough pieces together and arrange them into long strips.

Blue and White Porcelain Snowy Chocolate Flowing Heart Mooncake recipe

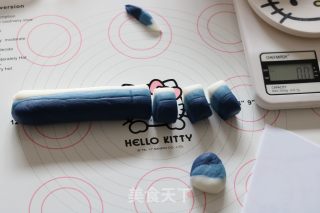
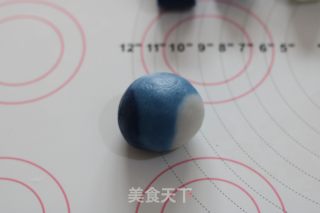
10. Divide the three-color dough into 10 portions, each 25g, and fill the chocolate into 10 portions, the same 25g each.

Blue and White Porcelain Snowy Chocolate Flowing Heart Mooncake recipe

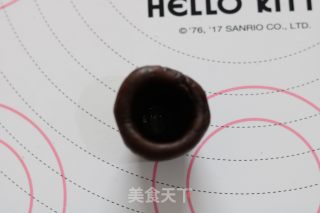
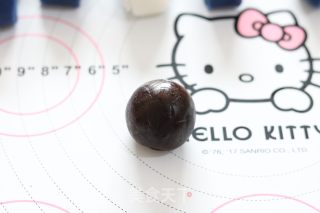
11. Knead the chocolate filling into a deep bowl shape, the smaller the mouth, the better for the final closing.

Blue and White Porcelain Snowy Chocolate Flowing Heart Mooncake recipe

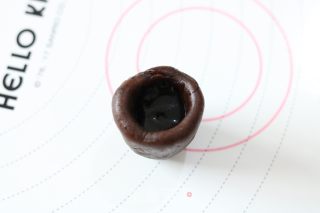
12. Take out the chocolate flow heart filling from the freezer, squeeze 3g into the filling bowl.

Blue and White Porcelain Snowy Chocolate Flowing Heart Mooncake recipe

13. Gather the mouth together and make a circle.

Blue and White Porcelain Snowy Chocolate Flowing Heart Mooncake recipe

14. Squash and squeeze the ice sheet with the dividing line facing up.

Blue and White Porcelain Snowy Chocolate Flowing Heart Mooncake recipe

15. Wrap the chocolate filling with liquid heart filling.

Blue and White Porcelain Snowy Chocolate Flowing Heart Mooncake recipe

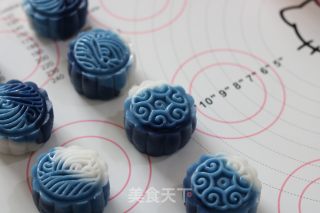
16. The mold feels a little oil for easy demoulding, just put in the dough and press the moon cake mold to demold.

Blue and White Porcelain Snowy Chocolate Flowing Heart Mooncake recipe

17. Cut the Liuxin.

Blue and White Porcelain Snowy Chocolate Flowing Heart Mooncake recipe

18. Delicious chocolate flow heart.

Blue and White Porcelain Snowy Chocolate Flowing Heart Mooncake recipe

Tips:

1. Butterfly pea flower absorbs water, so we need to add 20g more water.
2. Liuxin filling is easier to leak, so we make the small bowl of filling a bit deeper, close the mouth a little bit, and then squeeze the Liuxin filling.
3. The finished filling will be a bit soft and not easy to pack. We can freeze it in the refrigerator for about 5-10 minutes before taking it out.
4. After the pie crust is finished, wrap it with plastic wrap, and then put it in a fresh-keeping box, sealed and refrigerated. It is recommended to eat it within 3 days.

Comments

Similar recipes

Mocha Cheese Snowy Mooncakes-a Neat Family

Yi Xiao Bake Ice Skin Powder, Boiling Water, Cream Cheese