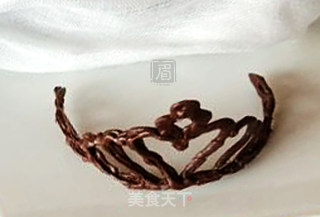
Chocolate Crown
1.
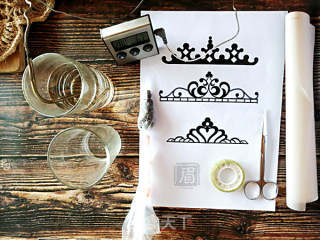
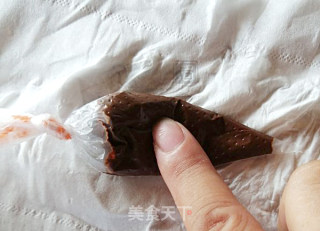
The ingredients are only the same: 10-20 grams of 85% cocoa butter dark chocolate beans, packed in a piping bag, do not cut the mouth, and tie the bag mouth. There are a lot of tools. First, find one or several crown designs and print them on paper. Then prepare one or more pieces of silicone oil paper, scissors, tape, a cup for melting chocolate, a cylindrical object for drawing a crown (still a cup!), a thermometer to measure temperature, and some boiling water. Well, there is also a refrigerator.
2.
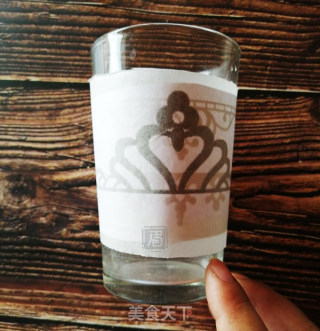
Cut the crown pattern off the entire strip, and cut a piece of silicone oil paper of the same size, and stick it on the surface of the cylindrical object with tape, with the pattern on the bottom and the oil paper on top. After being glued, put it in the refrigerator and freeze for a while.
3.
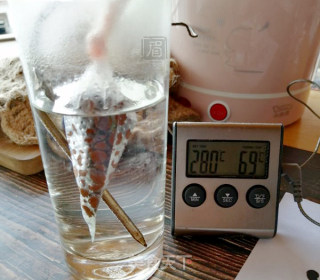
Put the piping bag containing the dark chocolate beans into the hot water cup, the water temperature is above 60℃, pay attention to the mouth of the bag upwards, and the chocolate should not be wet.
4.
After a few minutes, the chocolate has melted. Take it out and use a paper towel to dry the water on the outside of the piping bag. Then rub it evenly with your hands. This is also a process to cool the chocolate. Don't drop the temperature too low, it won't be easy to paint.
5.
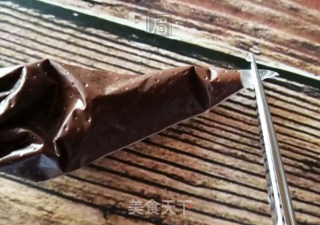
When the chocolate temperature is around 50~60℃, use scissors to cut off the sharp corners of the piping bag.
6.
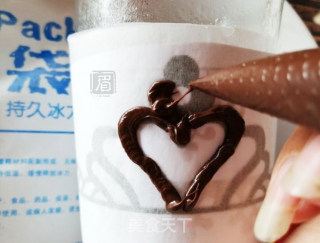
Take out the frozen cylindrical object, you can put an ice bag under it, but be careful not to let the water vapor get the chocolate. Squeeze out the chocolate and draw the crown along the printed pattern.
7.
Put the painted crown into the refrigerator to freeze.
8.
Once the chocolate has solidified, it can be demoulded. Cut off the tape holding the greased paper from the back, carefully pull out the cylindrical object, and then peel off the greased paper a little bit. This step should be done with care, as the chocolate is easy to break. If broken in half is still saving, you can use hot chocolate sauce to connect the fracture. If it breaks into several pieces, I'd better repaint it.
9.
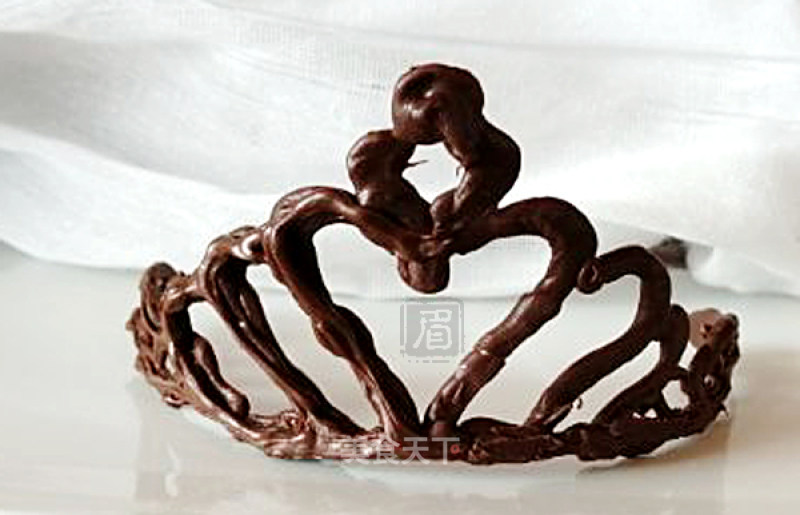
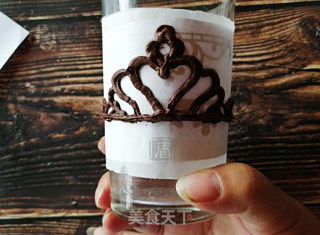
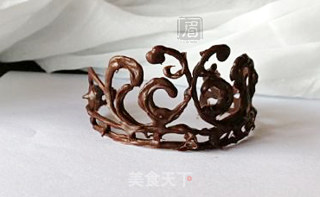
Another finished product, the top of the crown was broken when it was demolded, but it didn't affect the appearance, and the Lord was not lazy and didn't pick it up.

Tips:
1. The chocolate crown can be used to coax your girl or the doll. I just coaxed our big doll. More is used to decorate cakes.
2. It is said on the Internet that tempered chocolate can only be used at about 30℃, but when I painted the first crown, the chocolate sauce was about 45℃, it was already difficult to draw smooth lines, and later it was raised to 50~60℃ and I painted it. The lines are much better.
3. During the drawing process, the chocolate sauce will quickly cool down and thicken. Pinching the piping bag with your fingers, stick it on the wall of the hot water cup and heat it to melt again.
4. The fracture can be connected with hot chocolate sauce, but it is better not to break into a few pieces.
5. White chocolate solidifies more slowly, so you can lower the temperature more and then paint, but I haven't tried the specific degree. It is said that substitute cocoa butter is easier to handle.

