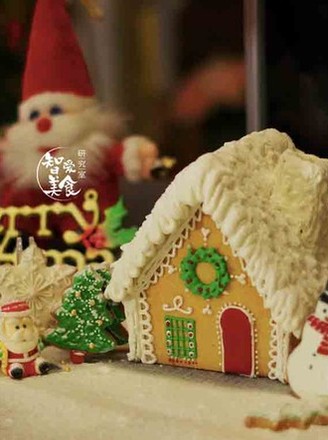
Christmas Gingerbread House~merry Christmas~
1.
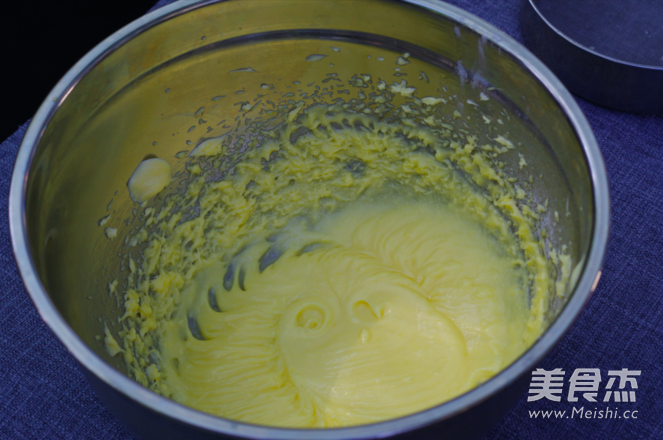
Beat 150g of butter and butter to soften at room temperature for two hours. After softening, beat until fluffy. Add 74g of powdered sugar and corn syrup, 60g of whole egg liquid, use a whisk at the highest grade, and beat for about one minute.
2.
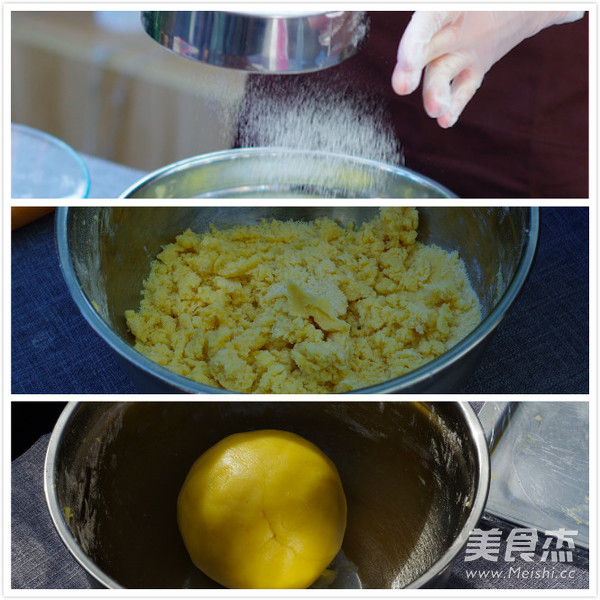
Knead the dough Use a flour sieve to sift into 380g low-gluten flour, then use a spatula to stir until corn crumbs, and finally knead the dough by hand
3.
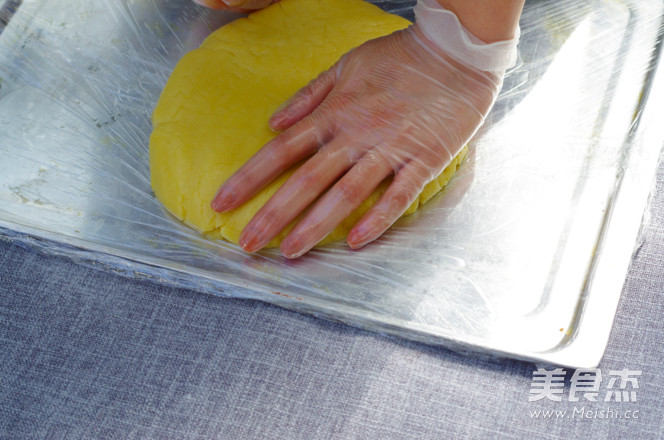
To refrigerate the dough, spray the baking pan with a watering can and then spread a layer of plastic wrap. Place the dough on top and then spread a layer of plastic wrap. Roll out to a thickness of 4-5mm. Put it in the refrigerator for 30 minutes
4.
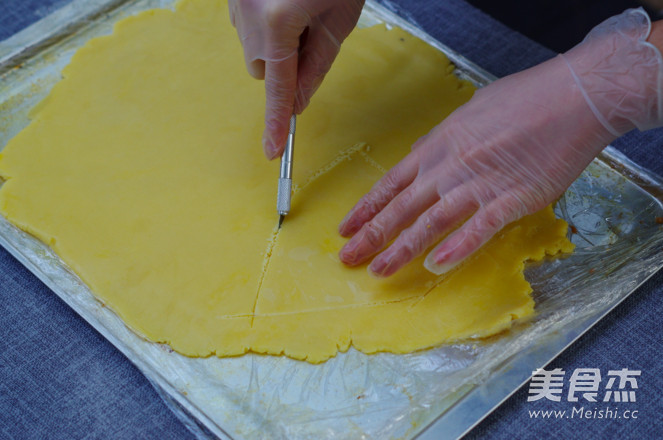
Cut the shape, put it in the oven and refrigerate it, take it out, and cut it into a suitable shape with a house mold (the gingerbread house has two rectangular walls, two triangular front and rear walls, two large square roofs, and four small strips. Chimney), after preheating the oven at 160℃ for ten minutes, put it in the oven at 160℃ and bake for 20 minutes
5.
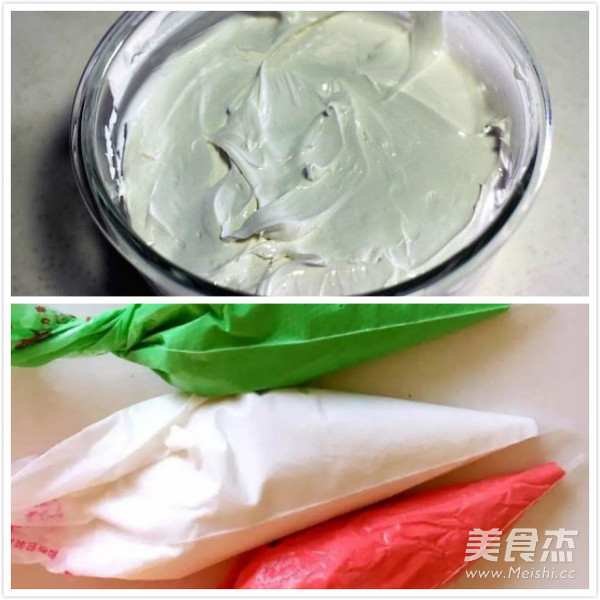
Make white icing egg whites and put them in a basin without stirring. After sieve the powdered sugar twice, add it to the egg whites at one time. Use a spatula to mix with the egg whites to prevent dusting. Then add 3 drops of lemon juice and mix evenly with an electric whisk. Beat to ice cream; make the frosting in the same way, add red pigment to make red frosting when using an electric whisk, add green pigment to make green frosting, and then put them into piping bags.
6.
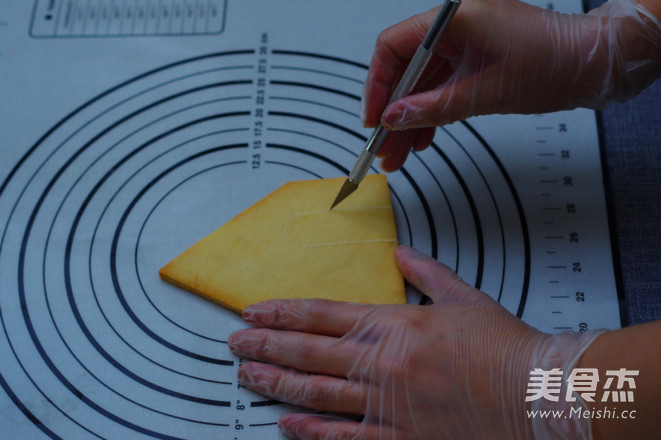
For icing painting decoration, use a knife (preferably a edible pencil, the knife is easy to cut) to draw a rough outline on the baked embryo base
7.
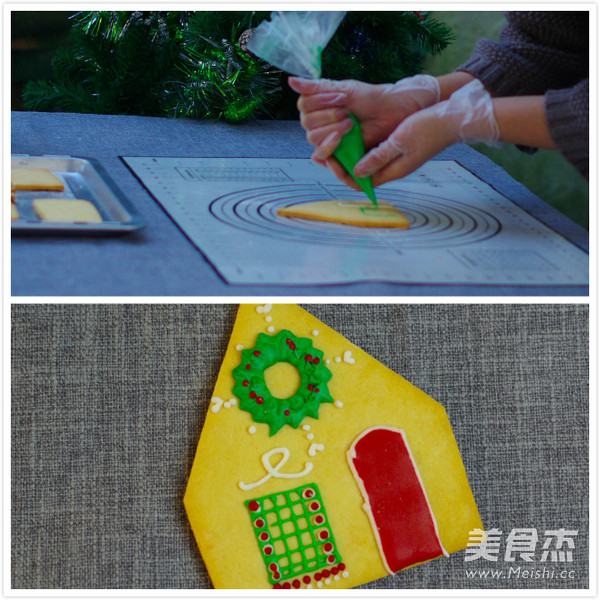
Decorate with colored frosting along the outline, and place it in a dry place to dry for 1-2 hours after decoration
8.
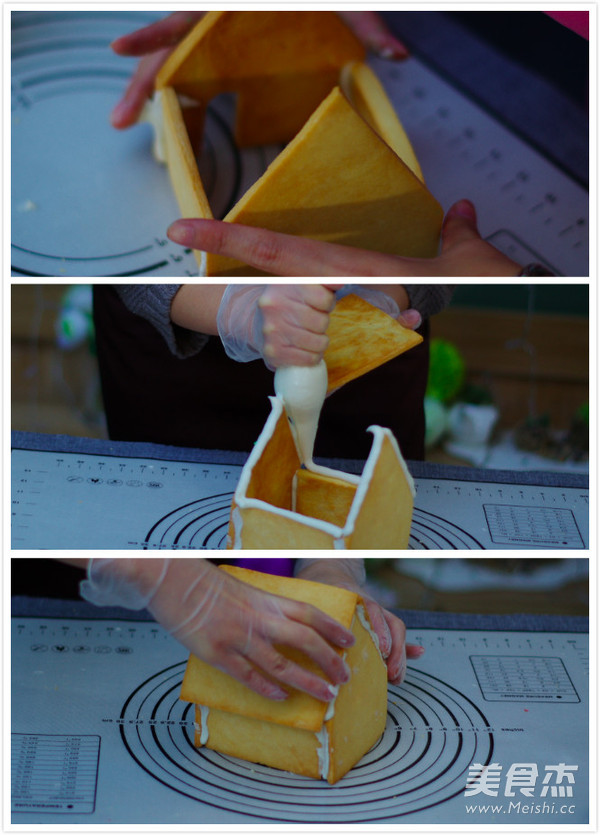
Gluing the house. Use white icing as the adhesive to glue the decorated embryo base. The sequence is: first glue the four walls of the house, then leave it for 1-2 hours, and then glue the roof and chimney after it is dry.
9.
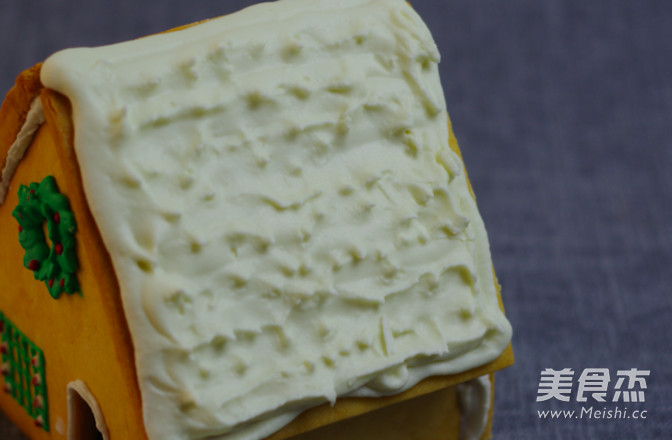
Decorate the roof and wait for the entire house frame to dry and fix, then use the white icing bag to decorate the roof, squeeze it layer by layer, so that it will feel like snowing. After the roof is decorated, you can also use the remaining white frosting to decorate the walls of the front door and the chimney again. After the frosting is finished, leave it for 1-2 hours and let it dry completely.
10.
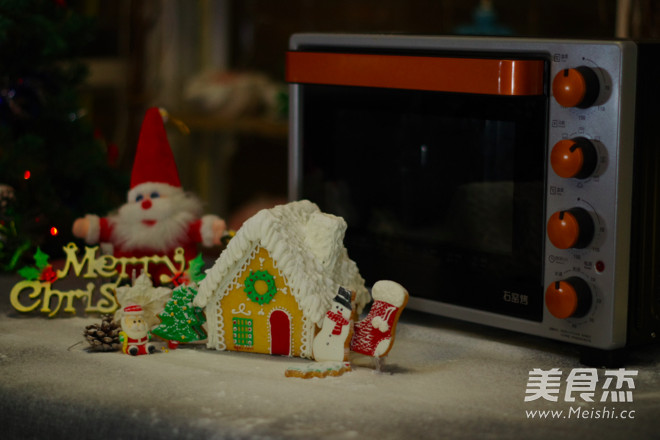
The beautiful gingerbread house is ready!

Tips:
1. Regarding the frame of the house: the four-sided wall cake of the house should be slightly thicker, so as to support the frosting added at the back and not easily collapse.
2. Regarding the model: We did not buy a model for the gingerbread house we made. Use cardboard or hard transparent plastic to cut out the size of the front and rear walls, the left wall and the roof, and then cut the butter buns by yourself. Cut out each part of the model size.
3. Regarding the frosting: the proportion should be made according to the formula, if it is too thin, it will not be easy to shape and look good.
4. Regarding drying: For each bonding and icing process, you must wait until the previous one is completely dried before proceeding to the next step. If it is air-dried naturally, it will take at least one hour. You can use a fan to accelerate the drying.
5. Other decorations: The remaining butter biscuit bottom can also be matched with icing, and then make a few snowflakes and Christmas trees. These icing biscuits can be used for decoration. Christmas atmosphere is very good
6. About snowing: When putting the finished product, put the powdered sugar in a sieve and sift it down. It is as beautiful as snowing~

