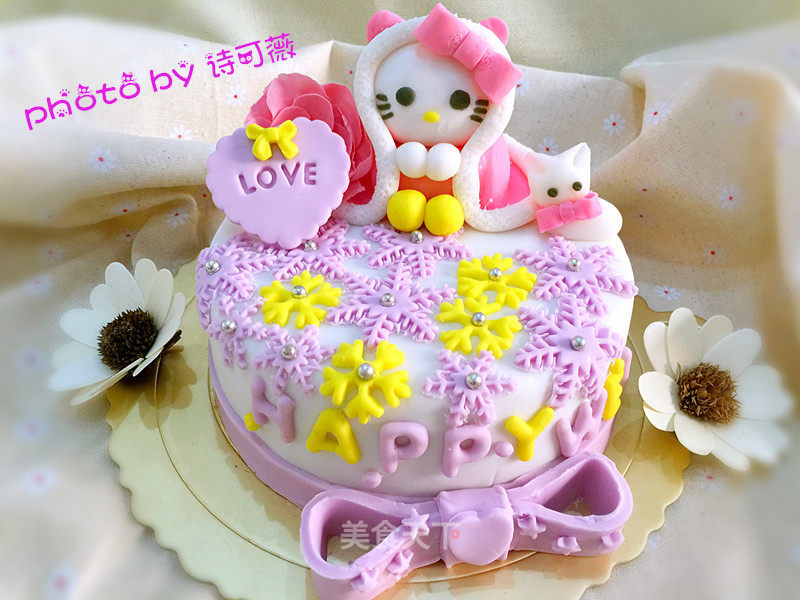
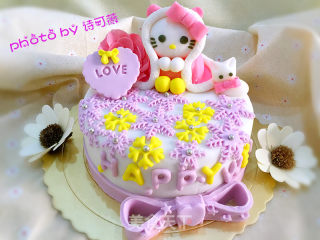
Hellokitty Fondant Cake
1.
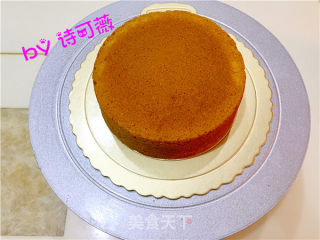
First of all, we have to prepare a six-inch butter pound cake. I have it in my recipe... you can check it out....
2.
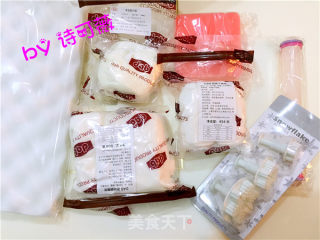
Prepare dry pisces...fondant paste, anti-sticking white oil, and a series of molds...
3.
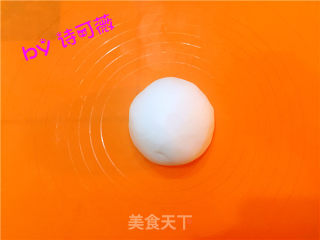
Apply anti-sticking white oil on your hands. Take a piece of fondant cream. Rub it on the mat first...
4.
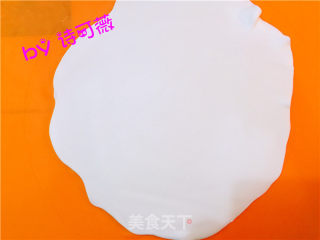
Use a rolling pin to roll into even slices..... Pay attention to the size of the cake. Don't roll the small bag....
5.
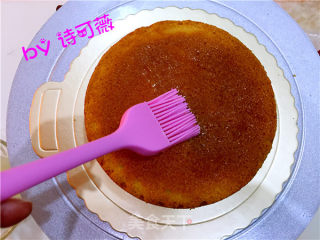
Use a brush to spread some adhesive on the butter cake,
6.
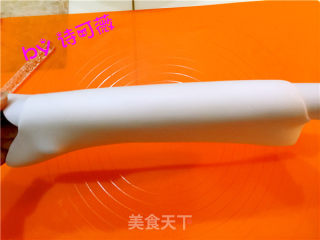
Use a rolling pin to prop up the fondant...
7.
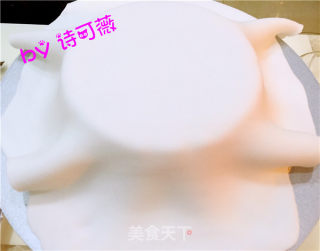
Cover the cake...
8.
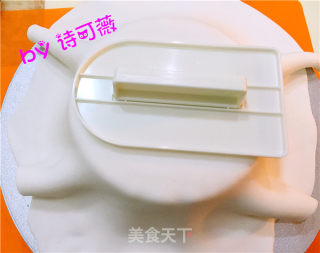
Use a smoother to smooth the surface of the cake.. Make the fondant paste and the cake close...
9.
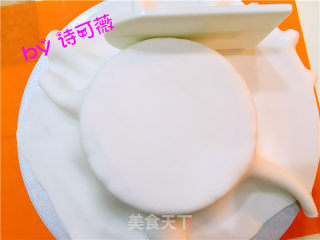
Then use your hand to flatten the fondant cream on the side of the cake, and continue to flatten it with a flatter...
10.
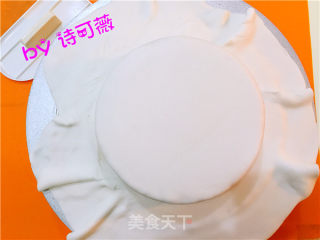
Enclose the cake completely.... It must be very flat...
11.
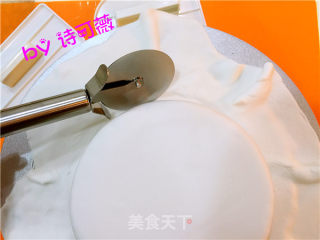
Use a knife... to cut off the extra fondant paste...
12.
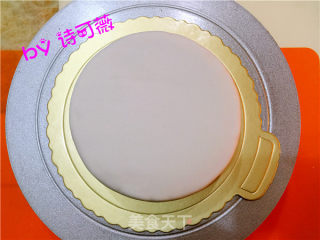
OK. The main body of the cake is wrapped...
13.
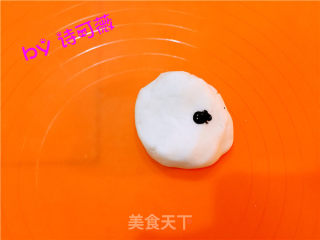
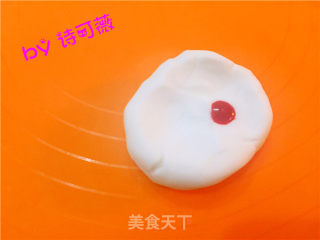
Take a little fondant cream... adjust the purple pigment... knead evenly...
14.
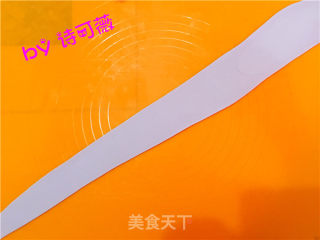
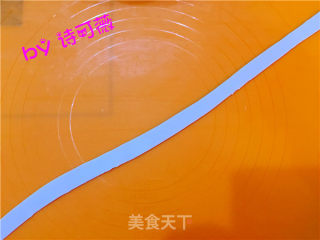
Roll into a bar...
15.
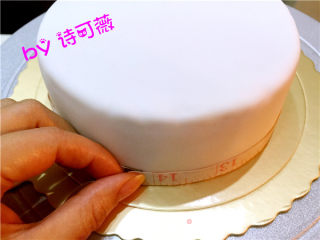
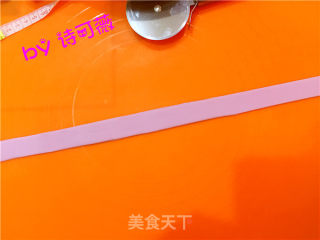
We use a soft ruler to measure the perimeter of the bottom of the cake body. . . . .
16.
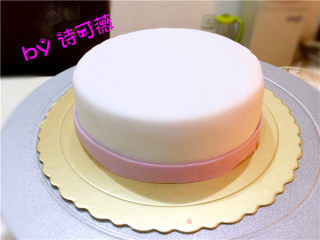
Then cut a rim that is slightly longer than the circumference. . . . . Cut off the extra space. . . .
17.
Round the cake. . . .
18.
Then we cut a long strip. . . . .
19.
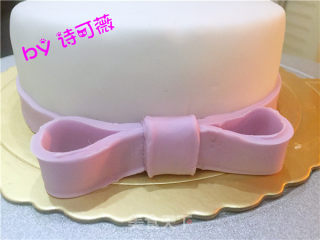
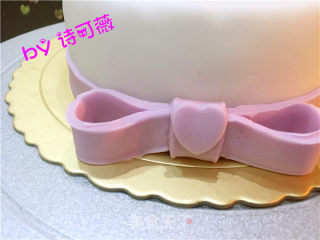
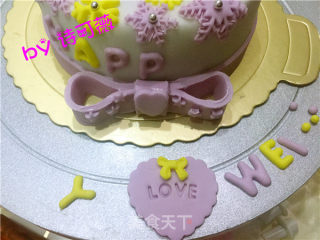
Make a bow. . . Placed at the edge of the interface. . . .
20.
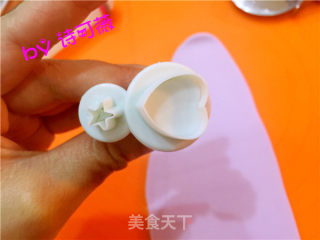
Use the mold in the picture. . . .
21.
Squeeze a heart. . . Paste it at the place of the bow in the picture. . .
22.
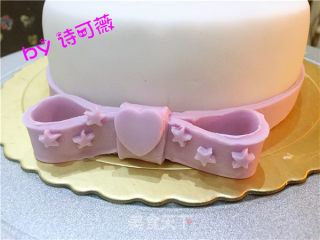
Small stars pressed out. As shown in the picture. stick it on. . . .
23.
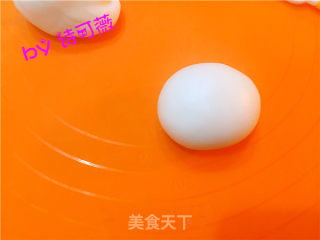
Next we are going to make the body of hellokitty. . . . Wipe anti-stick white oil by hand. Take an appropriate amount of dried paisi. As shown in the picture. . Make the head of hellokitty. . . .
24.
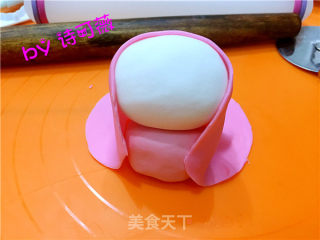
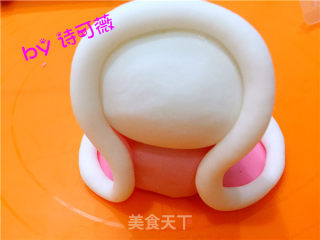
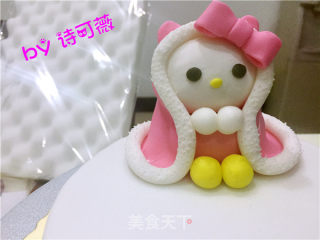
Take some dry paisi again. Add pink pigment and knead evenly. . Make a hellokitty body. Please check the picture below first. . . It looks like a body and a head. .
25.
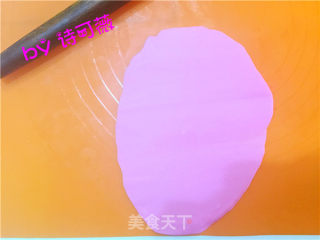
Roll out the kneaded dried paisley into thin slices. . . . .
26.
Make a little cloak of hellokitty. . .
27.
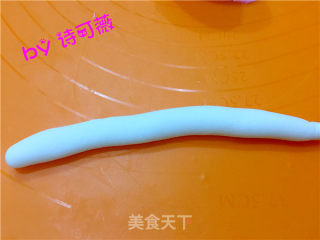
Take a white dry paisley and rub it into a long strip. . .
28.
Round the little cloak. . . .
29.
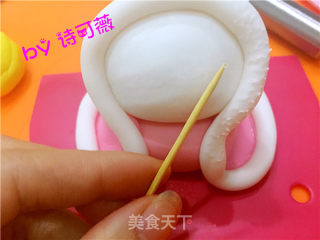
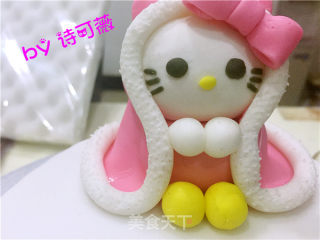
Use clean toothpicks. . . . Pick out the fluffy feeling around the cloak. . .
30.
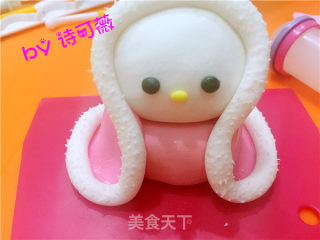
How. . Does this little detail make the little cloak so realistic? . . . .
31.
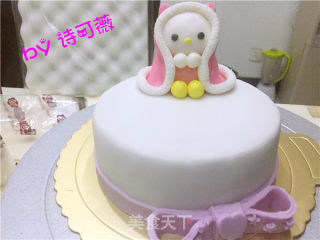
Then we can transfer hellokitty to the cake body and make her a pair of hands and feet. .
32.
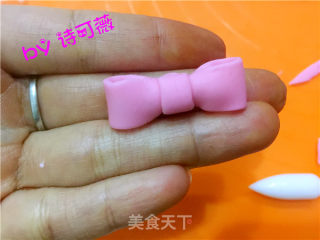
Make a small bow with pink dry pez. . . In fact, these smaller things are more difficult to make. . . .
33.
Glue the small bow to hellokitty's head. . .
34.
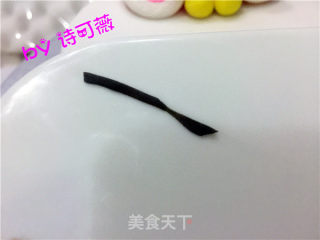
Take a small amount of dry paisley and adjust it to black, just a little bit is enough. . . Cut into thin strips. . .
35.
Glue it to Hellokitty's moustache. . . .
36.
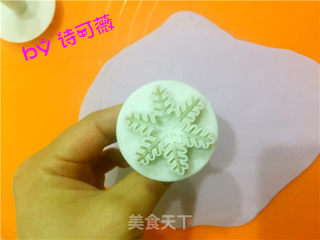
Use snowflake fondant embossing mold. . . Press out the pattern. .
37.
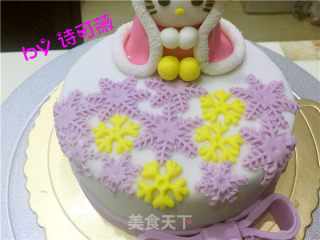
And stick to the surface of the cake. . As shown in the picture. . .
38.
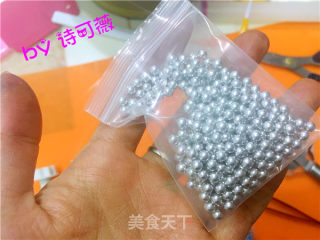
Take some silver decorative beads. . .
39.
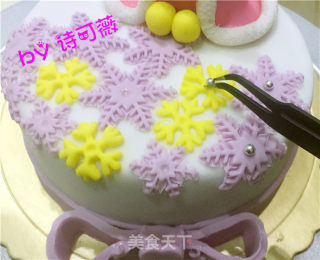
Use a fondant tool to first press a small round nest in the heart of the flower. . Apply a small amount of adhesive and place the silver bead in the center of the flower. . .
40.
Ok. Hellokitty is lonely, let's be a little cat to accompany her. . . . .
41.
Make a small bow for the kitten. . . .
42.
Use embossing tools. Press out all kinds of letters you want. . . It can also be omitted. . . Stick to the side of the cake. . . .
43.
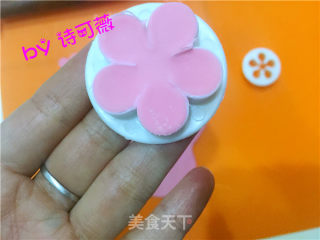
Emboss the mold with roses. Press out the flower shape to make a small flower. . . . Place it next to hellokitty. . .
44.
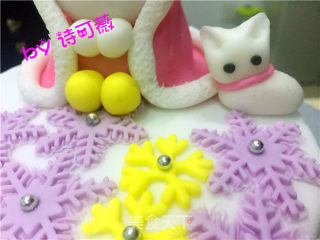
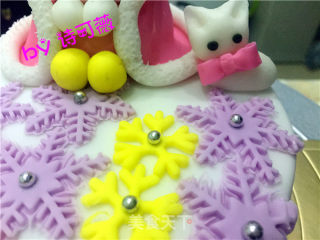
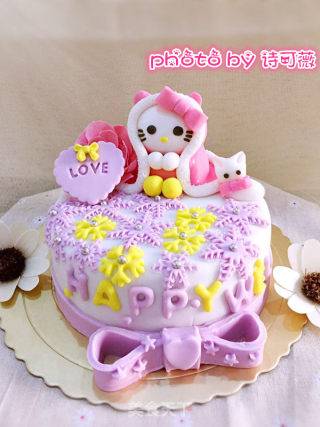
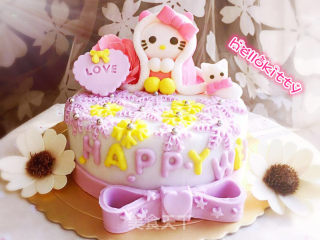
Finished picture...cute dead...
45.
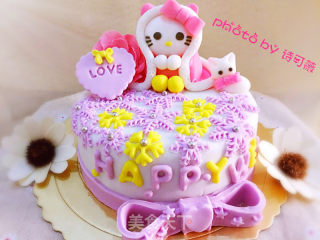
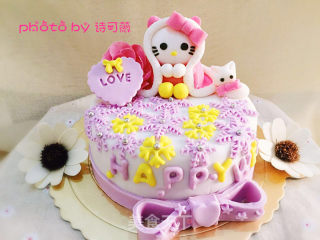
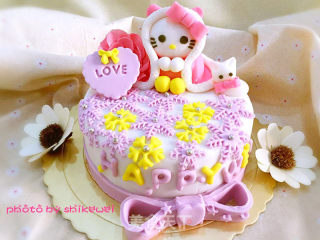
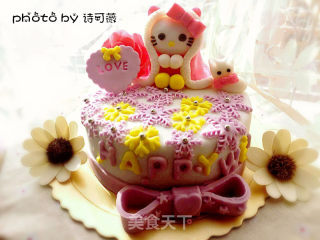
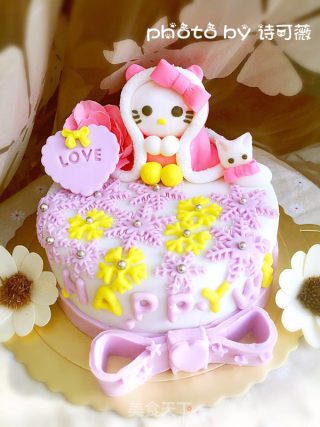
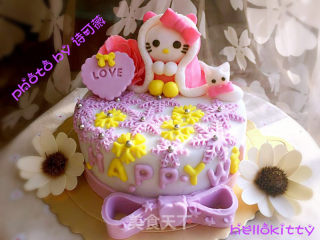
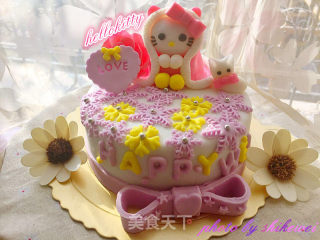
Finished picture.. forgive me for being too in love.. I can’t help but have a few more pictures....
46.
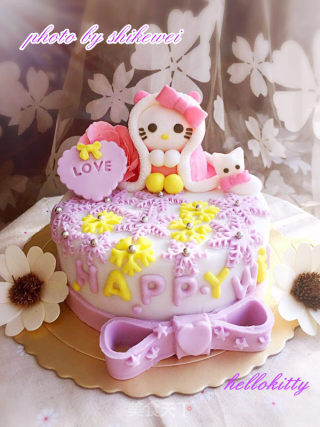
Finished picture.. forgive me for being too in love.. I can’t help but have a few more pictures....
47.
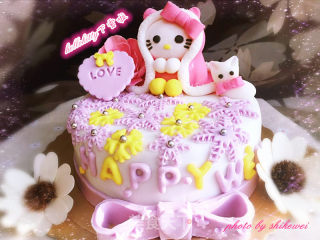
Finished picture.. forgive me for being too in love.. I can’t help but have a few more pictures....
48.
Finished picture.. forgive me for being too in love.. I can’t help but have a few more pictures....
49.
Finished picture.. forgive me for being too in love.. I can’t help but have a few more pictures....
50.
Finished picture.. forgive me for being too in love.. I can’t help but have a few more pictures....
51.
Finished picture.. forgive me for being too in love.. I can’t help but have a few more pictures....
52.
Finished picture.. forgive me for being too in love.. I can’t help but have a few more pictures....
53.
Finished picture.. forgive me for being too in love.. I can’t help but have a few more pictures....
54.
Finished picture.. forgive me for being too in love.. I can’t help but have a few more pictures....
55.
Finished picture.. forgive me for being too in love.. I can’t help but have a few more pictures....
Tips:
Making fondant is a very patient process. I sat at the table for eight hours to complete this cake. But Wei is also a kind of person who doesn’t want to stop, because of this strength. There is actually no trick to finishing this cake. . It is a test of patience. .

