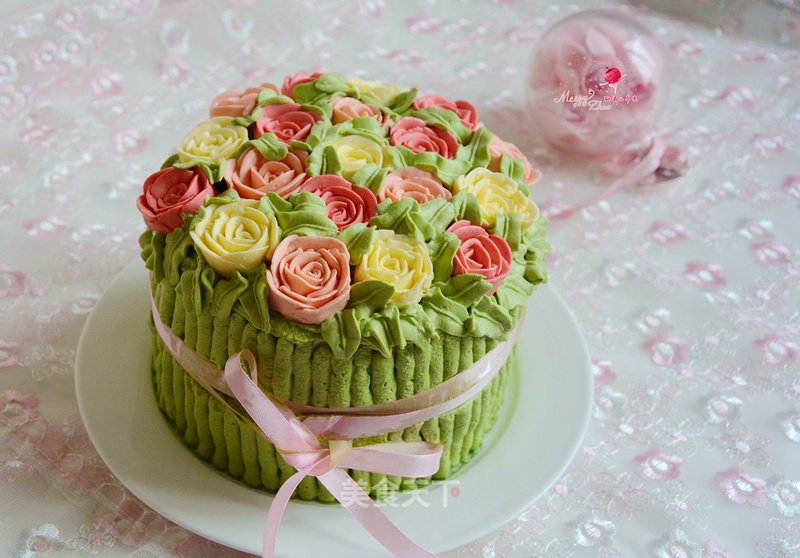
Rose Bouquet Sponge Cake
1.
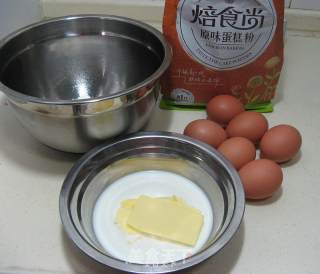
Cake ingredients are ready
2.
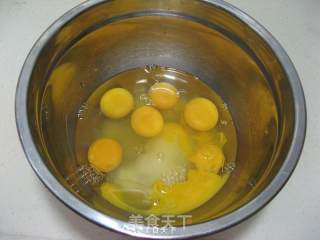
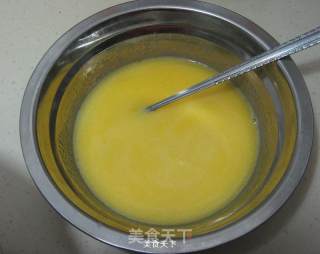
Put 6 eggs into a basin without oil and water, put together 120 grams of sugar
3.
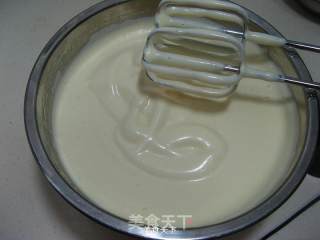
Use an electric whisk to beat the eggs at low speed and then at a medium speed. The volume is enlarged, the color is whitish, and the egg liquid becomes viscous. Lift the whisk and draw a figure of 8, and the egg liquid is not easy to disappear
4.
Put the butter and milk liquid into the basin in advance, melt it in water, and use it when it is warm to your hands
5.
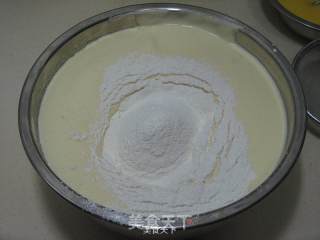
Sift in the cake flour twice, first mix the first part of the flour with the egg batter, and then sift in the second flour
6.
The flour is mixed with the egg batter.
7.
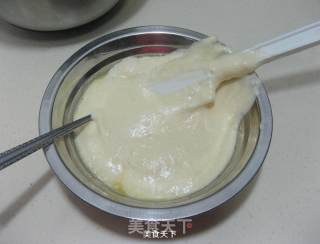
Use a spatula to take three shovel batter into the butter and milk mixture, mix well
8.
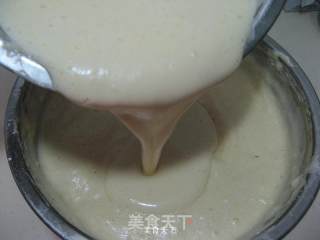
Pour the mixed batter back into the big pot of batter
9.
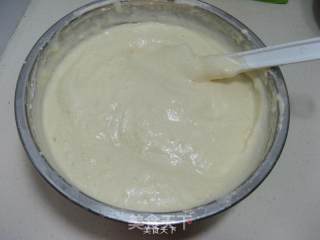
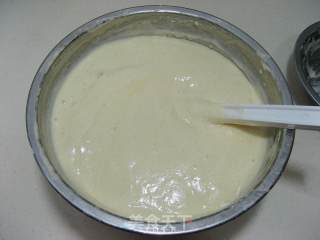
Flip into a glossy and delicate cake batter, pay attention to the technique to be light and fast, do not stir randomly in circular motions
10.
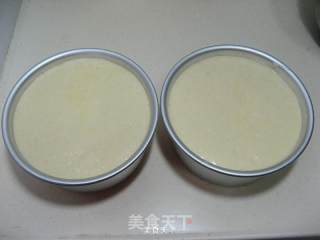
Pour the cake batter into two 6-inch live-bottom cake molds and shake them a few times to produce excess large bubbles
11.
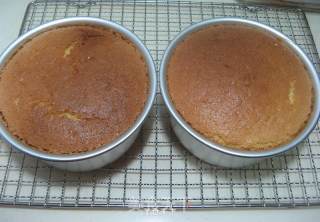
Put it into the middle layer of the preheated oven, 150 degrees, about 50 minutes, if the surface color is too serious, you can add a layer of tin foil
12.
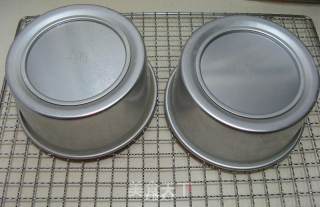
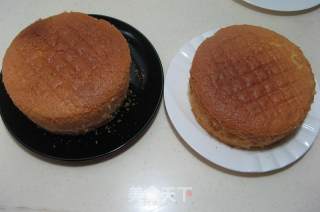
After it’s out of the oven, shake it lightly to shake out the excess heat in the cake body, buckle it upside down on the drying rack and let it cool naturally before demoulding
13.
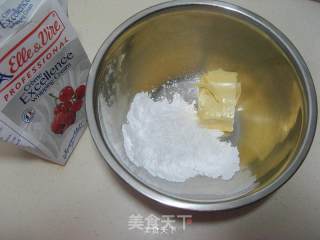
Butter cream flower material ready
14.
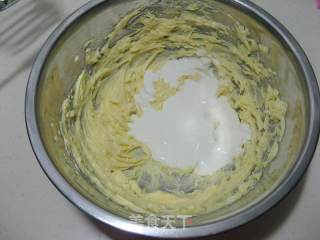
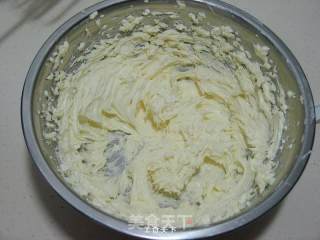
Add butter to powdered sugar, beat evenly with an electric whisk, add whipped cream in three times
15.
The cream frost is bulky, slightly lighter in color and fine in texture
16.
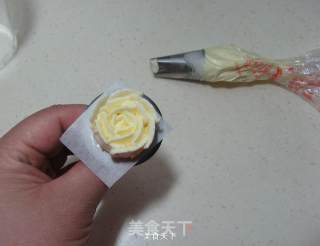
Take an appropriate amount of cream into the in-line flower mouth piping bag to make a rose shape (no specific instructions here, you can refer to my previous article, or you can find a video to learn)
17.
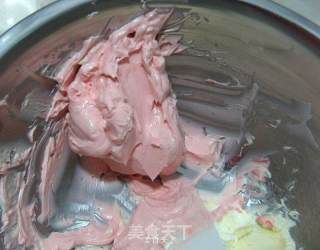
Add appropriate amount of red pigment to the remaining cream to make it pink
18.
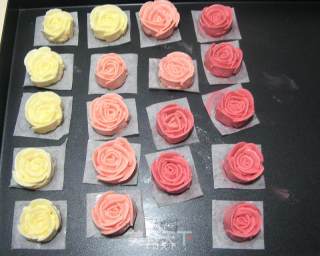
Make roses of different colors with the butter cream, put them in a baking tray, cover them with plastic wrap, and put them in the refrigerator to harden before use.
19.
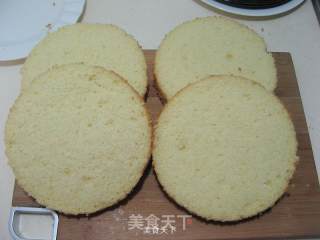
Unmold two 6-inch sponge cakes
20.
Each one is cut horizontally into two equal portions. In fact, I only use 3 slices, which is one and a half cakes. The cakes made in this way have a certain height and are more beautiful.
21.
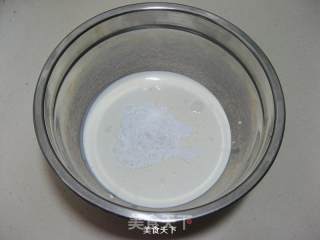
Pour the whipped cream that has been refrigerated for more than 10 hours into the basin and add sugar
22.
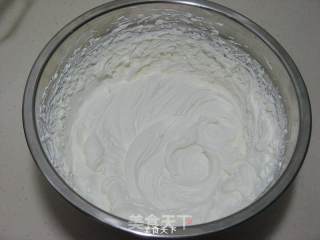
Use an electric whisk at low speed, and there will be obvious lines, and it is fine if it is not flowing.
23.
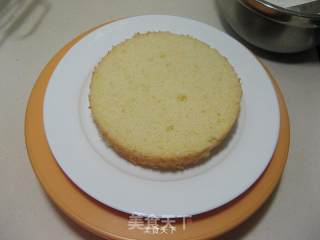
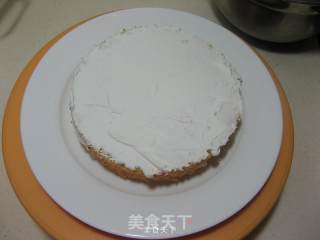
First take one side of the cake and put it on the plate
24.
Complete the arrangement of the three-layer cake in the order of one layer of cream and one layer of cake
25.
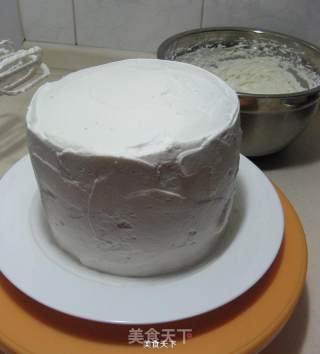
Spread the cream evenly on the outermost and top layers
26.
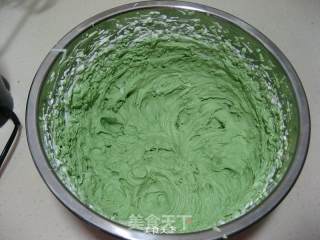
Add a few drops of green pigment to the remaining whipped cream, and whisk evenly
27.
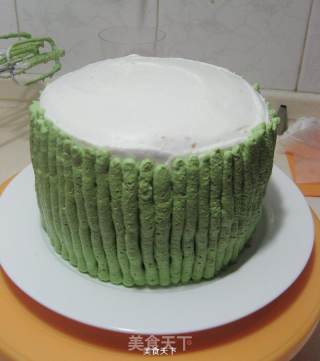
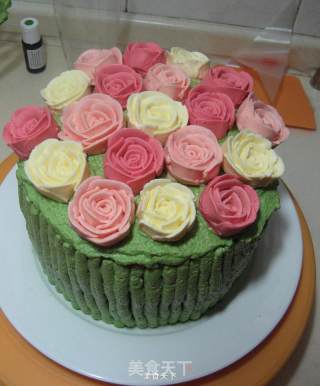
Take a round flower piping mouth into the flower piping bag, take an appropriate amount of green cream into the bag, and draw a line from bottom to top along the circumference of the cake, like a flower stem of a rose
28.
Put another layer of green cream on the top, and place the frozen and hardened roses on the top layer.
29.
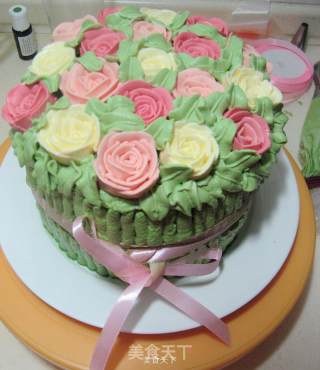
Take a flower-leaf piping mouth into the flower-piping bag, put the green cream in the bag, and squeeze the flower-leaf out of the gaps and edges of the flower
30.
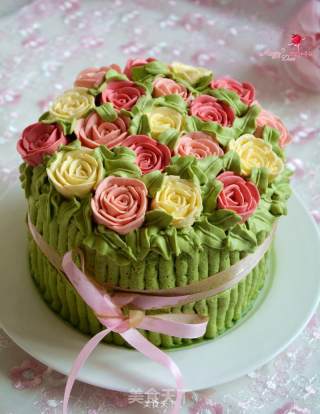
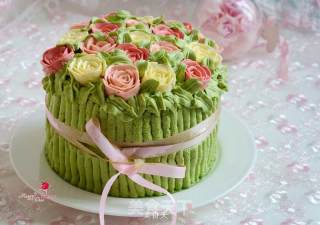
Let’s add another ribbon for binding decoration, which looks more like a big bouquet of roses.
31.
I like it so much
Tips:
1. The hot cream is easy to melt, you can turn on the air conditioner and operate in a low temperature environment; you can also whipped the cream in small amounts. When decorating the flowers, you can cover the whipped cream with plastic wrap and store it in the refrigerator. Take it before use Come out, it can also prevent melting;
2. Because the surroundings and surfaces are to be decorated, there is no need to worry about whether the surface is smooth or not;
3. The ribbon is to play a decorative role, making the whole cake more like a bunch of flowers, if you don't like it, you don't need to make it.

