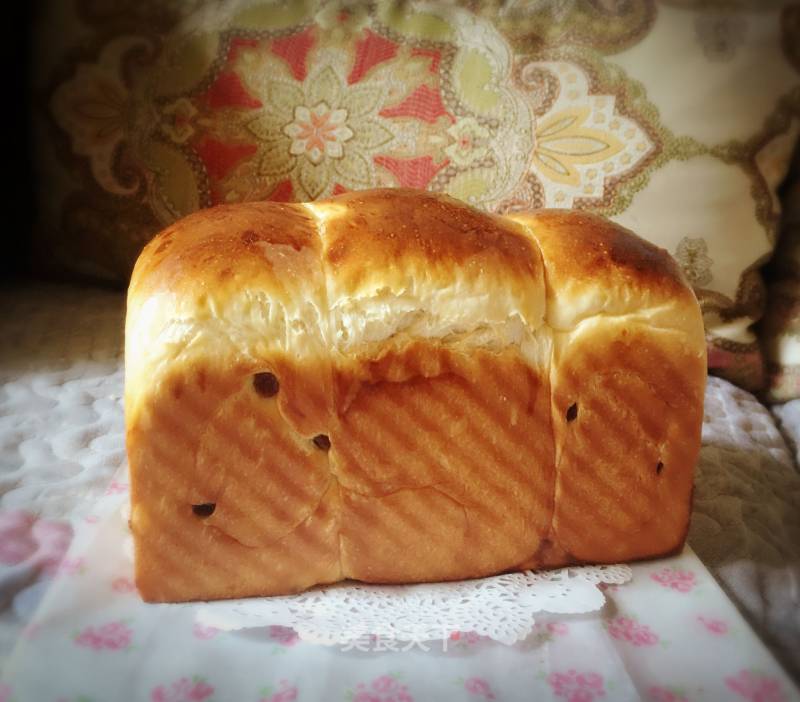
#aca婚纱明星大赛#cranberry Milk Toast ~ Bread Machine + Oven Simple and Comprehensive Method
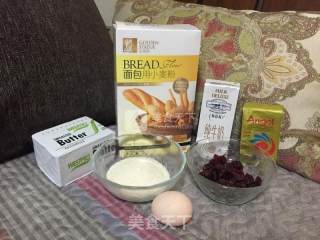
1.
Prepare materials. (The total amount of milk + eggs is about 170-180 grams, because different brands of flour have different water absorption, which can be adjusted according to the actual situation; the amount of white sugar can be adjusted according to personal taste)
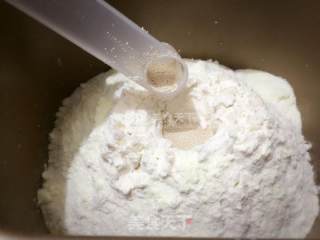
2.
Except butter, other materials are put into the bread machine in the order of liquid first, powder second (salt and sugar are divided into two corners of the bread bucket, and finally a hole is dug in the flour to put the yeast. If the bread machine has a yeast box, you can directly Put into the yeast box).
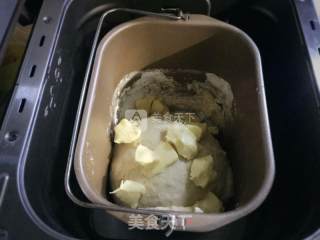
3.
The bread machine selects the kneading function. After a program is completed, the softened butter is divided into small pieces and placed on the dough, and then the kneading program is started. (Generally, a dough-making procedure is 10 minutes)
4.
Because toast has relatively high requirements for kneading, the bread tastes good when the kneading is fully expanded. Therefore, a kneading process can be added. The mixed dough can form a film and is not easy to break, that is, the glove film ~ also You can knead it with your hands or beat it for a few minutes after kneading the dough in the bread machine.
5.
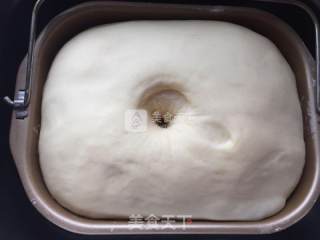
After making the dough, choose the bread machine fermentation program, which is usually 1 hour (the fermentation time will be shortened when it is hot), and the dough will be twice as large as it is. Dip your fingers into the flour and poke a hole without shrinking or collapsing, that is, fermentation. carry out.
6.
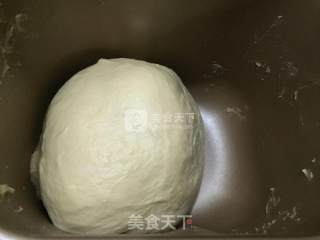
The fermented dough can be vented. You can directly use the bread machine to mix it for about 5 minutes, or knead it by hand.
7.
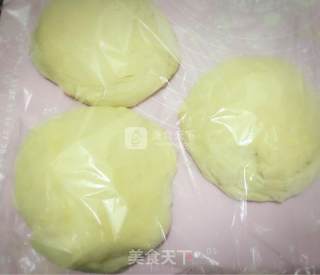
Divide the dough into three equal balls, cover with plastic wrap, and allow to proof for 15 minutes.
8.
When waking up the dough, you can cut the cranberries into small pieces. Of course, it’s okay if you don’t cut them, depending on personal preference.
9.
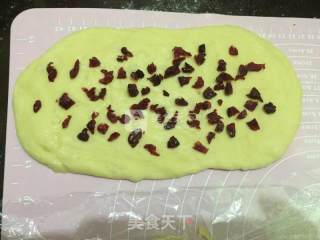
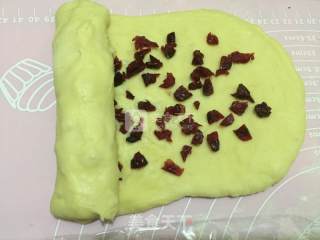
Take a portion of the dough, roll it into an oval shape, and spread with dried cranberries.
10.
Roll into long strips.
11.
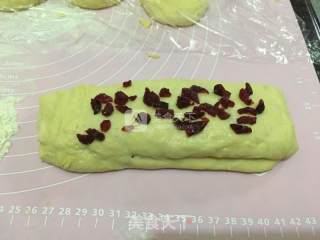
Press lightly, and then spread a small amount of dried cranberries on it.
12.
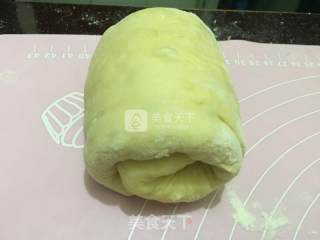
Roll about two turns, don't roll too many turns, the roll is too tight and affects the taste of the bread.
13.
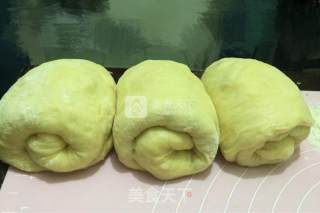
According to this method, roll up all three doughs.
14.
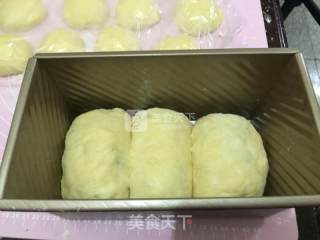
Put the rolled dough into a toast box (I used a 450g toast box), put it in the oven to ferment for about 45 minutes, or put a lid on it to ferment at room temperature.
15.
When fermented to ninety minutes full, brush the egg liquid on the surface. If the egg liquid is not reserved, you can also brush the honey water after baking (the ratio of honey: water is 1:1).
16.
Put in the lower part of the oven and bake at 180 degrees for 40 minutes. (Note in the middle, when you are satisfied with the coloring, remember to cover with tin foil)
17.
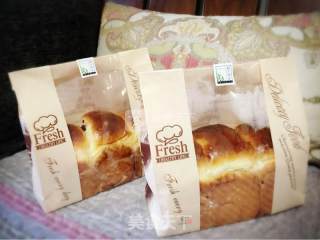
After baking, take it out, dry it until warm, then put it in a bag, and seal it well. (If you don't put it in the bag, the bread will lose moisture, which will affect the taste)
18.
She is a super soft girl, brushed bread, it's more enjoyable to eat with her hands.
19.
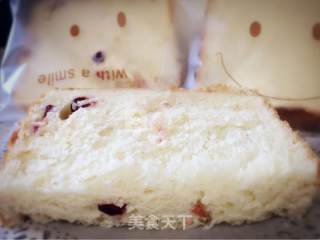
It's also great to eat slices! (Slicing must wait until it is completely cold before cutting, otherwise you will be very depressed, if you don't believe it, try it, hehe~~~)

Tips:
Tips
1. Sugar and salt are opened in the two corners of the bread bucket;
2. Salt and yeast cannot be in direct contact, they must be separated and the yeast must be put at the end;
3. The post-oil method is used here. Putting the butter afterwards can make the bread taste softer;
4. If the taste of the bread is not soft enough, like steamed bread, you can find the reason from the following aspects: whether the yeast is invalid (the yeast should be sealed and refrigerated after opening), use bread flour instead of ordinary high-gluten flour, and noodles And whether the two fermentations are in place;
5. I usually use the bread machine to make the noodles and the first fermentation. If there is no bread machine, it can be done manually. The same effect can be achieved, but it will be a little harder;
6. Let the finished bread cool. When the hand feels a little warm, you can put it in a bag and keep it tightly. Remember to put it back in the bag every time you eat it, otherwise the bread will lose moisture and the taste will be bad. Oh no;
7. The shelf life of homemade bread is short, only about three days. Eat it as soon as possible. Remember that the bread can't be kept in the refrigerator, your bread will become hard when you put it in the refrigerator;
8. If you have any other questions, you can leave me a message, and I will reply when I see it.

