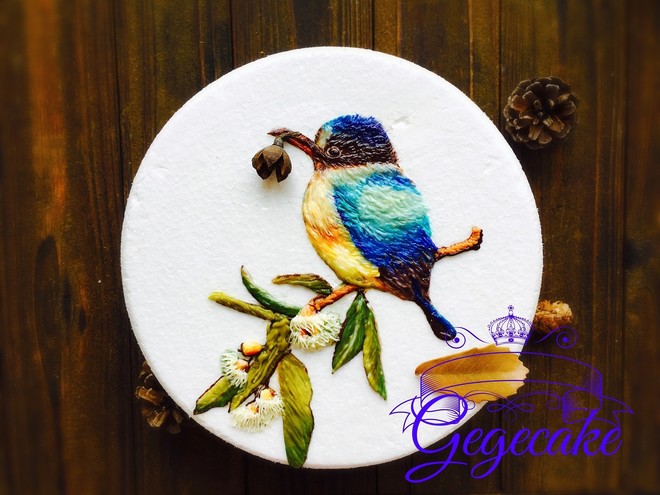
Butter Cream Embroidered Cake
1.
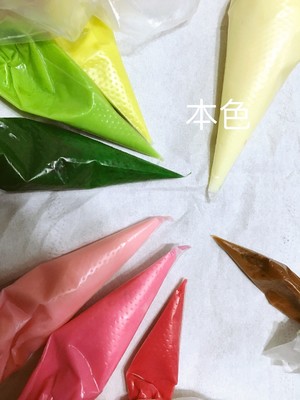
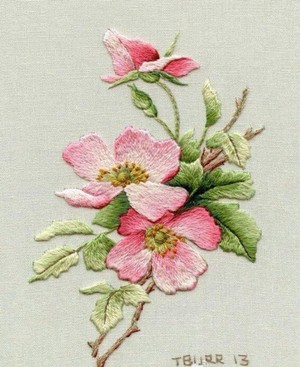
Use whipped cream and light-colored butter together to prepare cream frosting. Adjust the color of the large color blocks on the drawing. This drawing shares eight colors.
2.
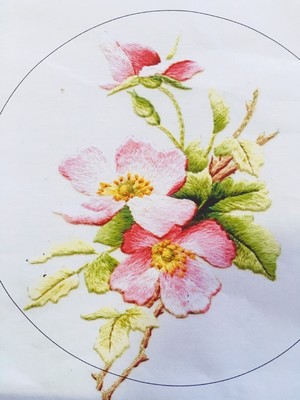
The picture needed this time.
3.
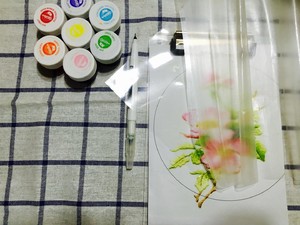
A summary of the required materials, and a hook line pen running happily.
4.
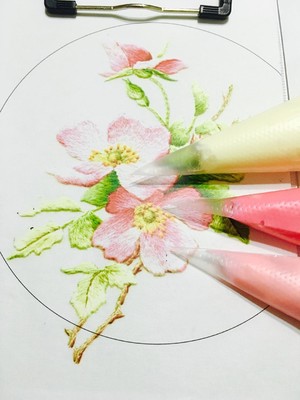
The color of the flowers is contrasted, and the position corresponding to the mouth of the piping bag is the contrasting color.
5.
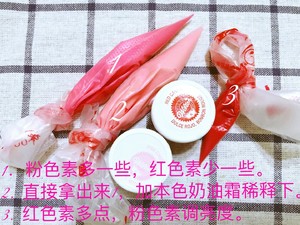
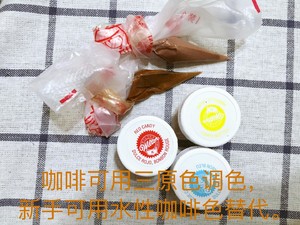
Three color matching methods
6.
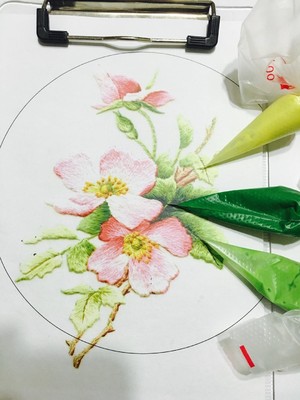
The contrast diagram of the butter cream on the leaves, and the corresponding position of the piping bag mouth is the contrast color.
7.
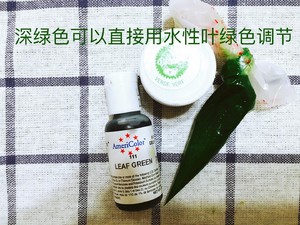
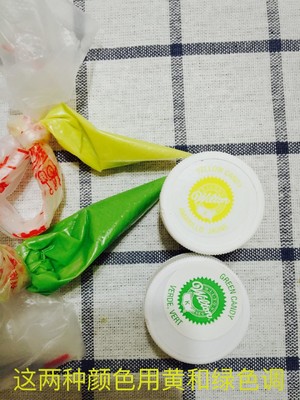
Oily pigments use green and black, and novices can also directly replace them with water.
8.
Light green and light yellow-green are both prepared with yellow + green pigment, pay attention to the difference in the amount of yellow.
9.
Novices can replace it with water-based coffee pigment.
10.
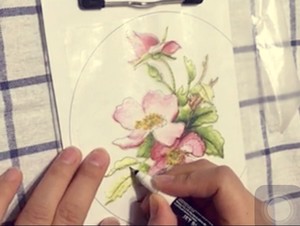
Use a pigment pen to trace the contours on the glutinous rice paper. The patterns are represented by solid lines and the partitions are represented by dashed lines.
11.
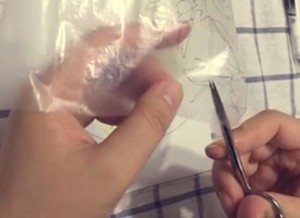
Use scissors to cut out the pattern, apply a little cream on the Pet, and glue the pattern.
12.
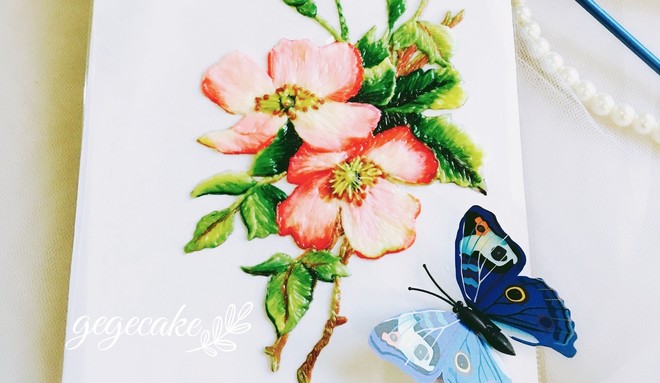
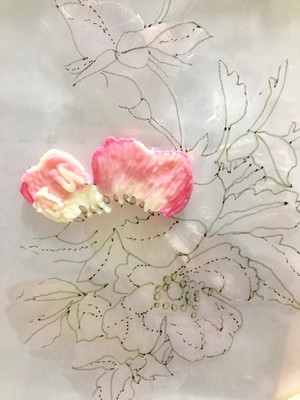
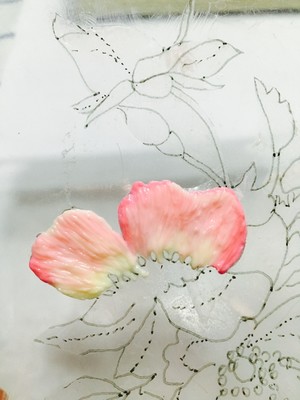
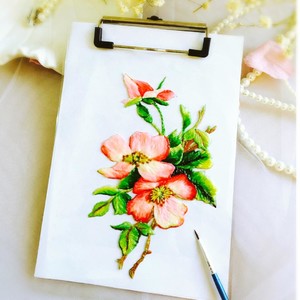
First use different colors of cream to fill in the picture, the petals are painted with gradient colors, the same part is interspersed with two colors, and then the embroidery lines are drawn with a hook line.
13.
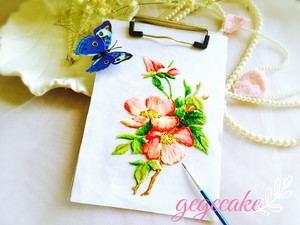
Draw the effect of the pattern line.
14.
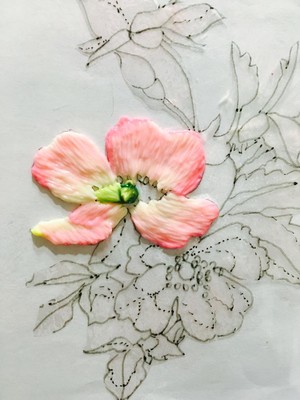
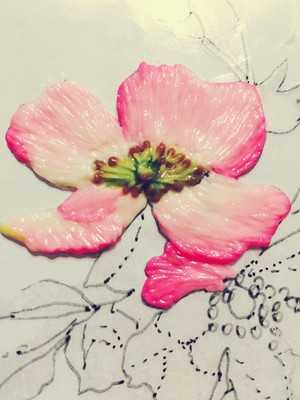
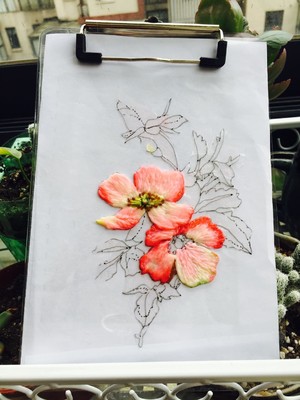
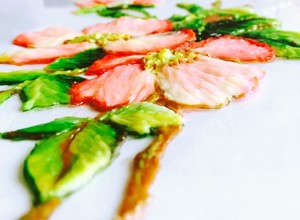
When drawing the flower core, I usually make the flower core slightly higher than the leaves to reflect the three-dimensionality and layering.
15.
Draw the effect of a flower. The same petal, optimistic about the color composition, first fill in the color together, and then use the brush. Note: The pen should be wiped dry with a paper towel to avoid color mixing and to ensure clear lines.
16.
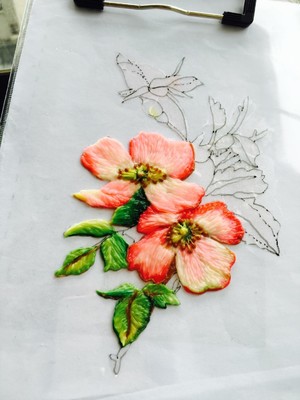
Two effect pictures. There should also be layers between petals and petals, and between petals and green leaves, with ups and downs. Generally, the thickness of the one closest to you should also be thicker.
17.
After drawing the main flower, draw the leaves. In fact, each leaf also has a gradual change. Fill it up and then brush it. Pay attention to the technique when brushing. If you go back, or repeatedly brush it, it will be easy to mix colors, which cannot reflect the gradual effect.
18.
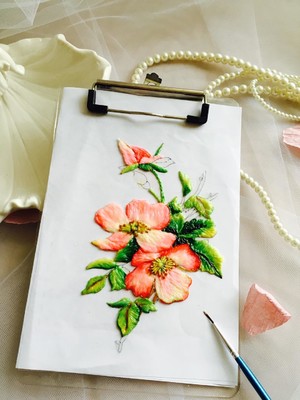
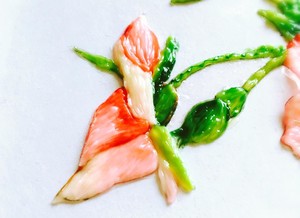
Draw the bud effect. Here we are going to imitate the texture of embroidery, so the pen tip should be as consistent as possible with the stitching of embroidery. Each petal is gradually approached from top to bottom. The length of the line drawn by the brush is the length of one stitch of embroidery.
19.
Now draw all the branches and trunks to make the picture plump. The brushwork of the branches is slightly different. First use light green and brown piping bags to draw lines, and then use pen diagonal cuts to draw lines.
20.
Draw everything, freeze it in the refrigerator for 15-30 minutes, remove the mold with a small spatula, and put it on the cake.
21.
If it is slightly damaged during the removal process, after moving it to the cake, use butter cream to repair the painting.
22.
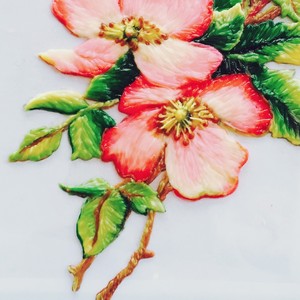
Details are very important. The petals should be layered, not simply stacked.
23.
Although the thickness of each layer differs by only a few cents, this will make the work appear three-dimensional and vivid.
24.
Send the original picture to everyone, and draw it!
Tips:
1. Generally, we start with the subject of a painting. For example, for this painting, we start with two flowers. For animals, I usually start with the eyes.
2. This is an open class content, thank you teacher Haiyan for your trust! Because some are video screenshots, individual pictures are not clear, please understand.
3. If you want to have a three-dimensional convex and concave feeling, you need a separate area of painting. For example, a flower needs to be painted with petals, and adjacent leaves should also be filled and painted separately.
4. Some color areas are very small, so I will adjust a little on the color palette and brush it on the screen.
5. I haven't learned painting, some of which are my own exploration methods, suitable for beginners to get started, you should not make bricks.
6. Regarding the cream toning, please cross the sea with the Eight Immortals and show their magical powers. All roads lead to Rome.

