Hand-painted with Butter Cream-detailed Explanation of European-style Embroidered Flowers and Birds
1.
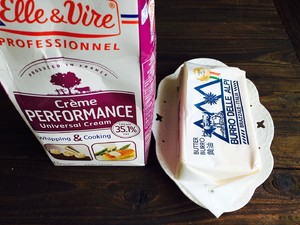
The ingredients and brands of the cream frosting, plus 15-20 grams of Taikoo powdered sugar (not included in the picture).
2.
Here's the correct way: the butter is softened to the point that it can easily come out of the pit by pressing the hand, and then, add the whipped cream and powdered sugar at room temperature, and beat it evenly.
3.
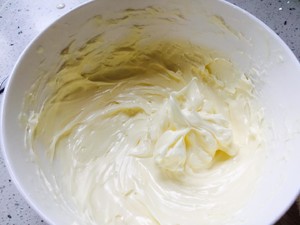
The state after the cream is evenly beaten, does not need to be particularly bulky.
4.
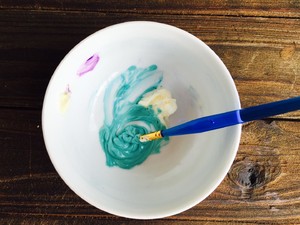
The method of toning cream cream does not need to use a spatula, because a picture is flat and thin, and the colors of each picture are basically more than 10 kinds, so basically only a few grams of each color is enough. Use a small spoon to dig a little for those with less color, and use a brush to mix thoroughly. PS: Try to leave as much cream as possible instead of using up everything, because if you find any color missing in the middle, you can make up for it.
5.
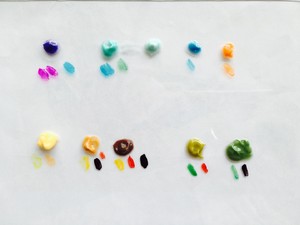
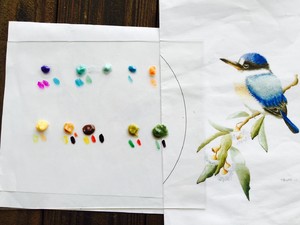
I adjusted 10 colors for this picture, and the specific pigments required for each color are on the left control picture. If I color the color by myself, I usually use the three primary colors to adjust the color. This open class is afraid that some students know too much about color and are prone to errors, so this time I try to use the ready-made colors to color for your reference. Oily pigments have only eight colors. So fortunately, it is not very complicated.

6.
There are a total of four rows. The first and third rows above are the color of the cream, and the bottom row is the corresponding pigment. Just adjust the natural cream. In a color, the pigment on the left is the main hue (the amount is correspondingly large), and the pigment on the right is the adjustment color, which specifically adjusts the hue. For example, the first purple is actually made of most of the pink, adding a little blue to adjust the hue. The last dark green is made up of most of the green and a little black to adjust the hue. The third color is diluted by the second color.
7.
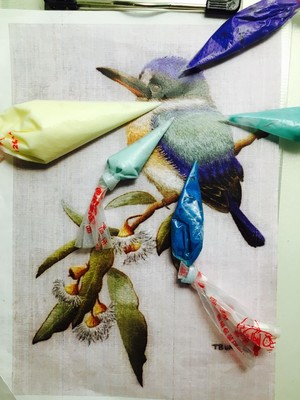
This is a comparison between each color and the upper part of the picture it represents. The position of the pointed mouth of each piping bag is the corresponding color on the picture.
8.
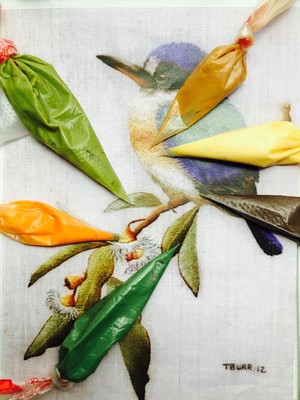
This is the color corresponding to the other creams. The colors of the pictures received and printed by everyone are not the same, the color of your own pictures shall prevail.
9.
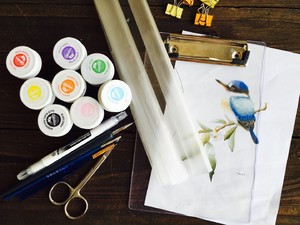
This is a summary of the props. Basically all the props I used this time are in it.
10.
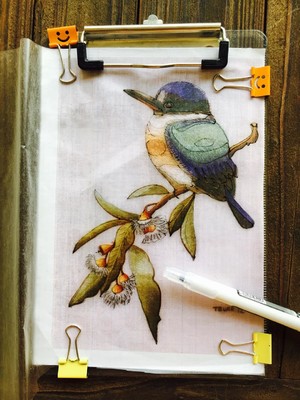
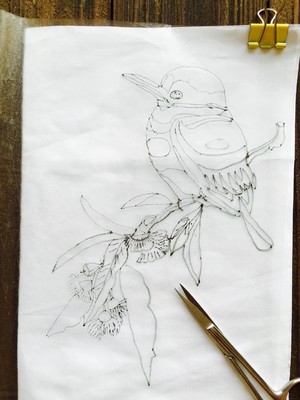
Put the printed drawings on the folder, and then put a piece of glutinous rice paper and clamp it. Use a double-ended food coloring pen, and trace the thin end on the glutinous rice paper. This is not only to draw outlines, but also to divide the colors. The more detailed you draw, the easier it will be when you draw later.
11.
Cut the pattern with scissors, and the outer circle should be as close to the outer contour line as possible, so that there is no residue.
12.
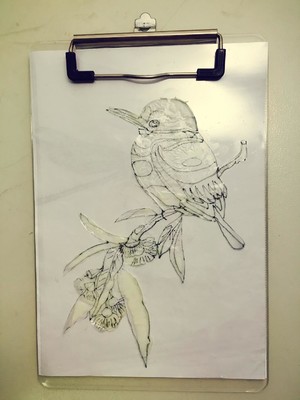
Glue the glutinous rice paper on top of the PET film with transparent buttercream, put a piece of white paper under the PET film (to make it easier to see), and clamp it on the file folder together. The order from top to bottom is: glutinous rice paper {PET} white paper} folder.
13.
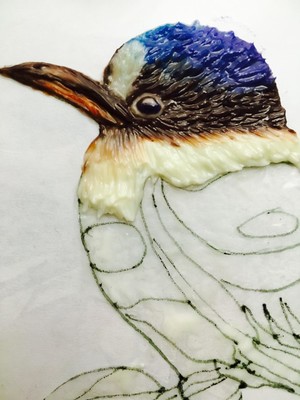
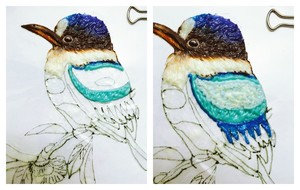
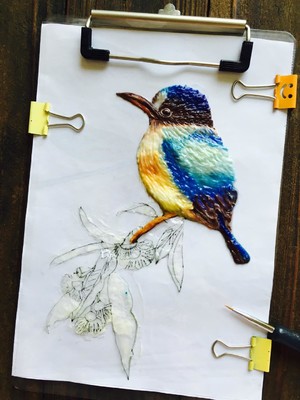
Here I have missed one shot (filled in step 26). It should start with the eye area, first draw a ball, and then use the white cream to draw a circle of white borders. White eyes are drawn on the eyeballs. Then apply the cream on the head according to the color on the picture, and use the hook line pen to brush the color along the growth direction of the feathers.
14.
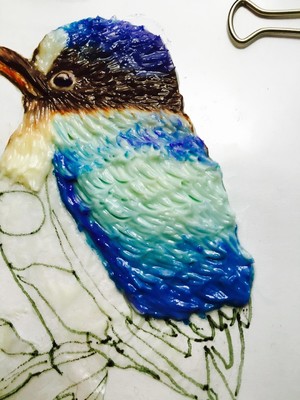
Fill the wings with creams of different colors, fill up and fill up.
15.
Just as before, brush layer by layer along the direction of feather growth. The brushwork is similar to "tick".
16.
Key Points: The hand-painted brushwork of bird feathers is slightly different from the previous flower brushwork. See this video for details!
17.
The chest of the bird is colored with cream, please refer to the coloring zone.
18.
The effect is good. I thickened the white part of the wings here.
19.
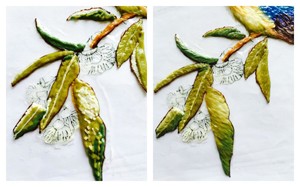
Here I speed up, and the leaves are all filled together and brushed together.
20.
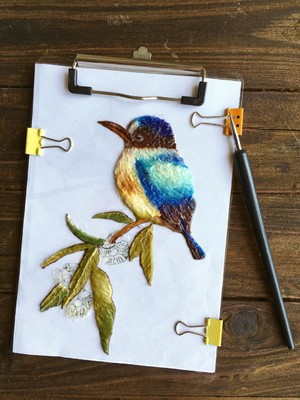
The overall effect at this time.
21.
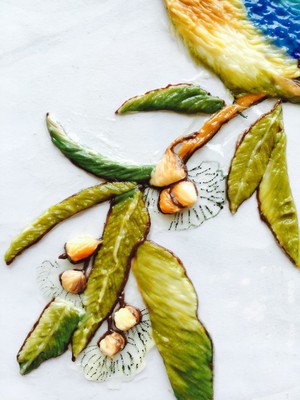
The part of the leaves that adds fruit.
22.
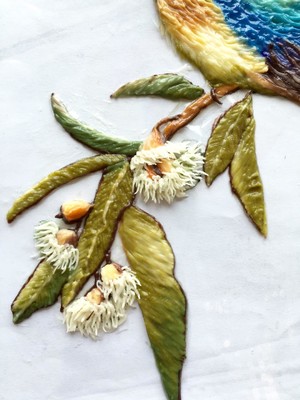
Use white cream, cut the mouth of the bag thinly, and pull the string one by one to pull out the plush effect.
23.
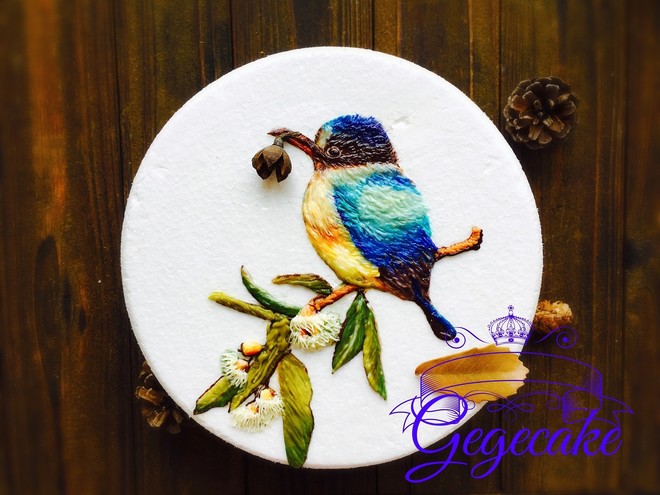
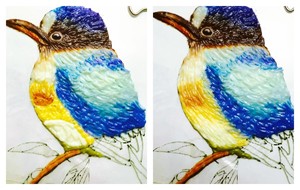
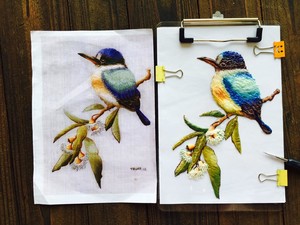
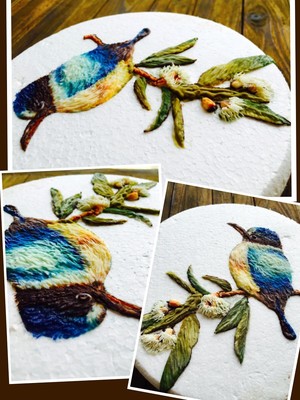
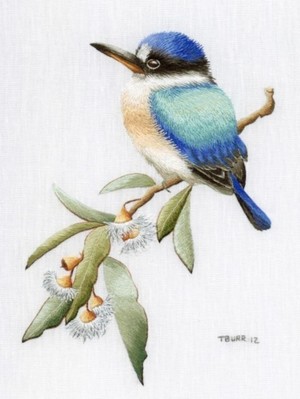
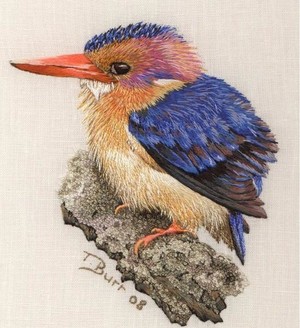
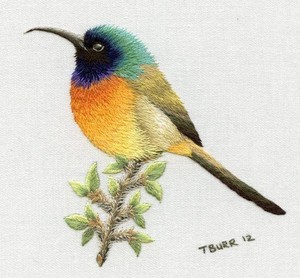
This is a comparison of the hand-drawn and original image. I try to restore this picture, and hope to be more vivid and three-dimensional on the basis of the original picture. This will live up to the reputation of European three-dimensional embroidery.
24.
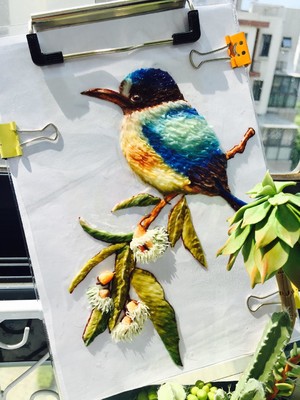
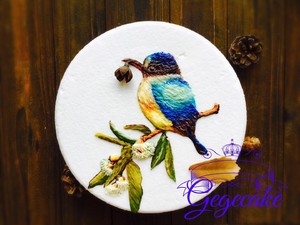
Finished picture.
25.
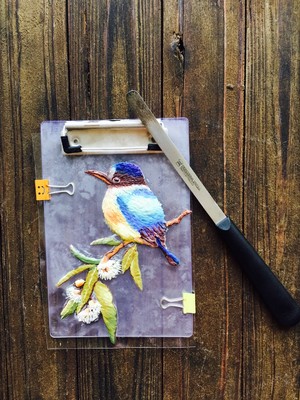
Put the work and the folder in the refrigerator for two hours and release it with a small spatula. Demoulding method: stretch the spatula between the PET and the glutinous rice paper and rotate it around the pattern, but don't grab/touch/touch with your hands, it will melt immediately. Still use a spatula to support it on the cake.
26.
The effect of moving onto the cake. You can paint a few strokes with the remaining cream around the cake to decorate the overall effect. Wuxi has recently been grilling at a high temperature of 40 degrees, so I used a prosthetic cake. 😓
27.
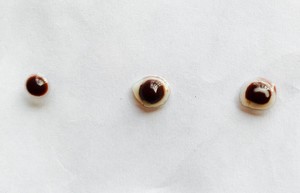
Fill in the steps of the eye diagram, 1. Draw a drop of water, 2. Draw the outline, 3. Draw the white pupils (so that there will be eyesight).
28.
Try to make the thickness of the cream slightly different according to the distance, so that your painting will show a three-dimensional relief effect. In this picture, the eyes and wings of the bird will be slightly thicker; the fruit is slightly higher than the trunk and leaves, and the hair on the fruit is slightly higher than the fruit.
29.
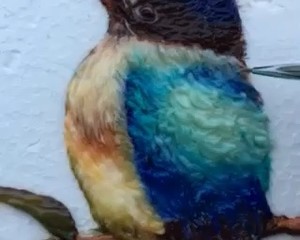
Original picture, hand in homework!
30.
Original picture, homework 2 is handed in!
31.
Original picture, homework 3!
Tips:
1. Don't just adjust half a bowl of cream with just one color. The ones I adjusted can paint three pictures, it's enough.
2. No. 0, 00, 000 hook line pen can be used, a treasure is very cheap, search directly.
3. The glutinous rice paper is not used for lollipop printing patterns. It is the translucent layer that wraps the brown sugar.
4. Don't throw away the remaining cream frosting. When the painting is transferred to the cake, it may be damaged and will be used for repairing.

