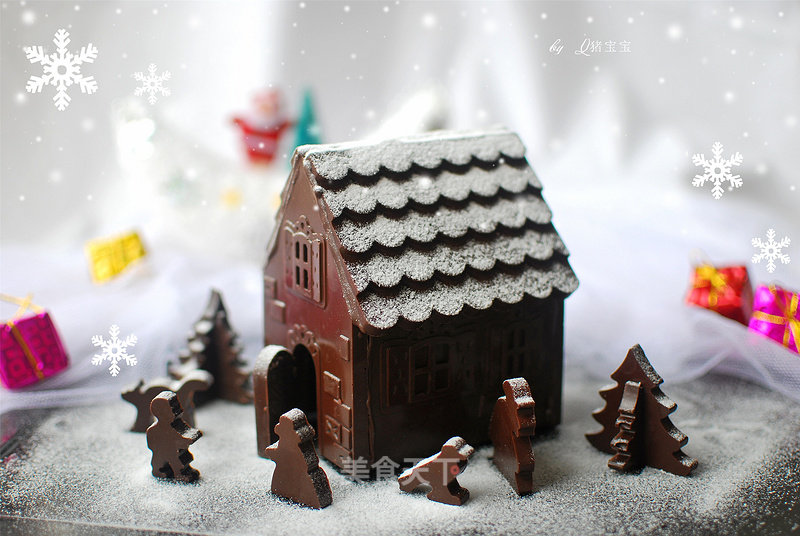
Chocolate Christmas House
1.
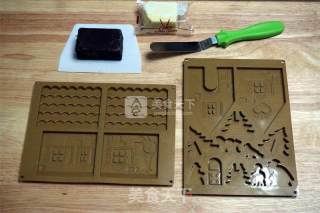
Prepare the Christmas house silicone mold, dark chocolate, and scraper.
2.
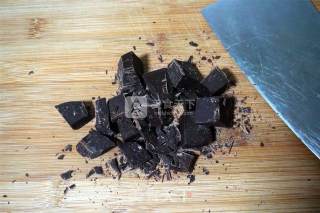
Cut the chocolate bricks into small pieces, so that they will melt more easily.
3.
Put the chocolate chips into the chocolate oven and melt the chocolate in the second gear.
4.
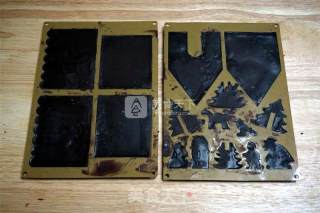
Pour the completely melted chocolate into the silicone mold and use a spatula to smooth it (the pros with your hands may not need a spatula, my hands are shaking too much, so I have to scrape away the excess chocolate paste).
5.
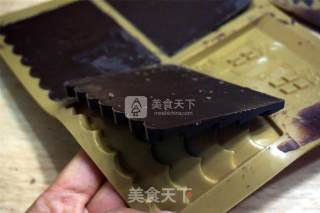
After the chocolate has solidified, it is gently demoulded.
6.
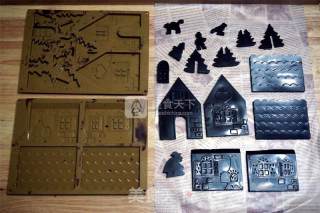
All parts are demoulded and placed, ready for assembly.
7.
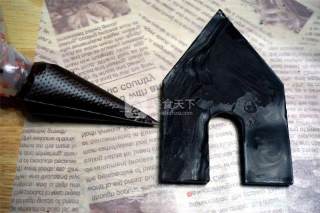
Put the excess chocolate paste into the piping bag to glue the house.
8.
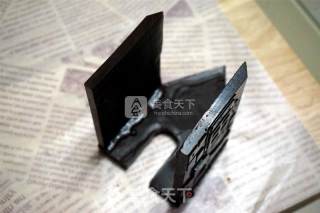
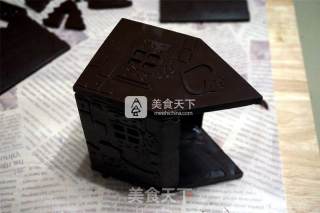
Lay the part of the front door flat with the back facing up. Then coat one side of the two walls with windows with chocolate paste, and then glue it to the front door, as shown in the picture.
9.
Coat the other edge of the two side walls with chocolate paste, and then put the back wall on top, paying attention to the alignment of all sides.
10.
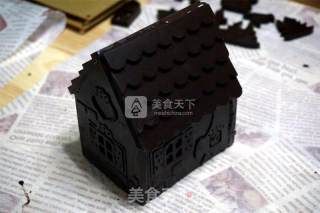
Coat both edges of the roof with chocolate paste and stick it on the main roof, and do the same on the other roof.
11.
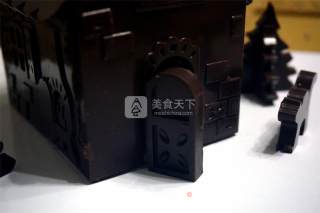
Then apply chocolate paste on one side of the small door, and then stick the door to the wall of the front door, as shown in the picture.
12.
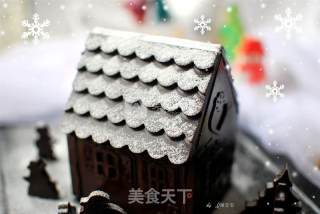
Finally, place the house and small accessories, sift the decorative sugar powder to create a feeling of snow, and finish.
Tips:
1. For chocolate, please choose hard chocolate with a low melting point and freezing point.
2. If there is no chocolate stove, it can be melted in water, do not cook directly.
3. The various joints of the house can be reinforced and connected with chocolates of the same color.
4. The temperature is high in summer, you can put it in the refrigerator to help solidify, and it can solidify at room temperature in winter.