Dream Snowy Mooncake

Dream Snowy Mooncake

by Qiaochu Baking

4.8 (1)
Favorite

Difficulty

Easy

Time

30m

Serving

2

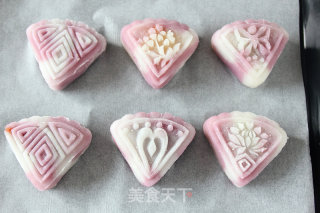
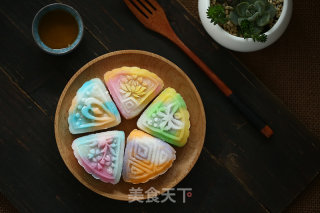
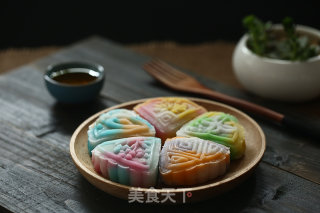
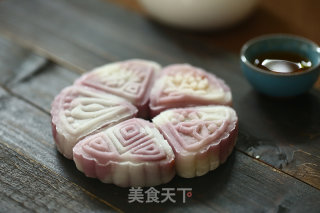
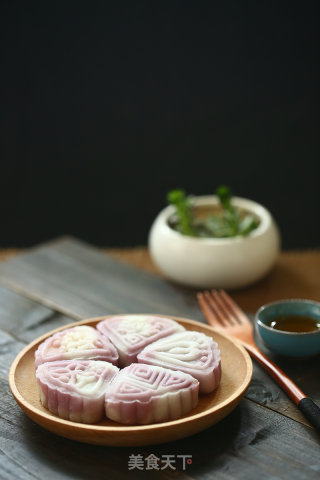
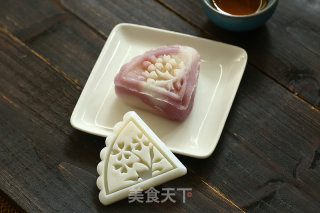
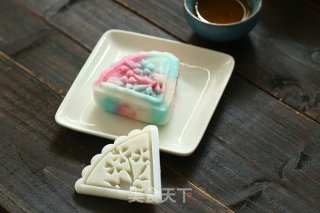
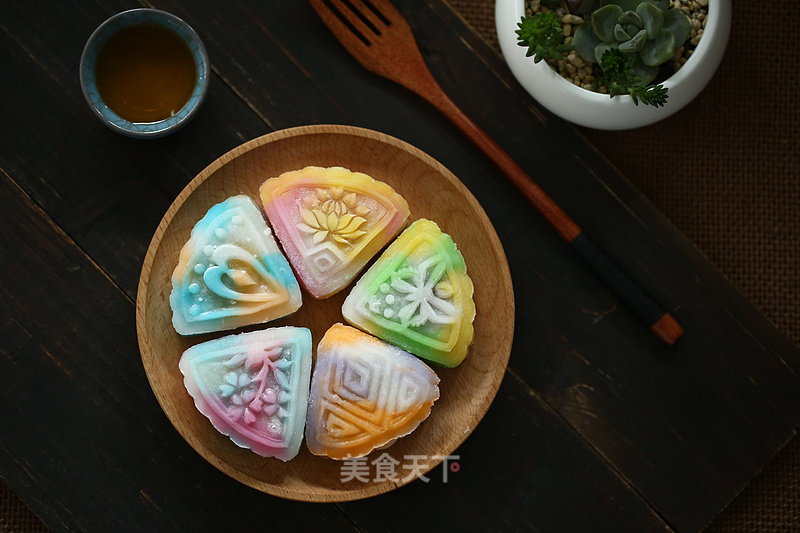
The crystal clear ice skin, colorful patterns, sweet and refreshing jam fillings, cold and soft texture. When you mention snowy mooncakes, you may think of these adjectives more or less. She completely breaks the standard of traditional mooncakes. It has no greasy taste and a lot of syrup. The skin made of cooked glutinous rice flour is sweet and refreshing, and it is cold. The taste can even give people the illusion that they are eating ice cream. This is entirely due to the fact that snowy mooncakes do not need to be baked and can be completed by putting them in the refrigerator. And those colorful dream effects are actually made from raw materials such as purple sweet potato powder, fruit and vegetable powder, matcha powder, etc. Nowadays, when various food safety issues have become hidden dangers, pure natural snowy mooncakes without pigments and additives cannot be missed. This Mid-Autumn Festival, take a dream journey among the colorful snowy mooncakes! "

Dream Snowy Mooncake

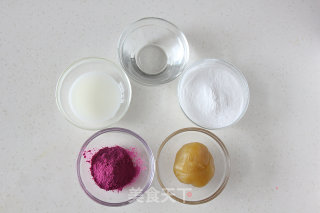
1. Ingredients: Zhanyi Snowy Mooncake Powder: 100g, cold water: 130g, white oil: 12g, mooncake filling: 225g, purple sweet potato fruit and vegetable powder: appropriate amount

Dream Snowy Mooncake recipe

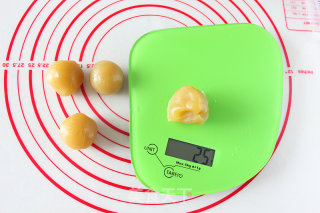
2. Production: 1. Divide the mooncake filling into 25 grams and one spare

Dream Snowy Mooncake recipe

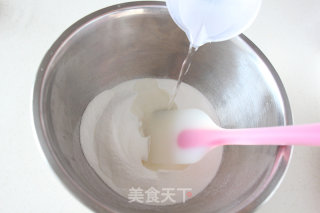
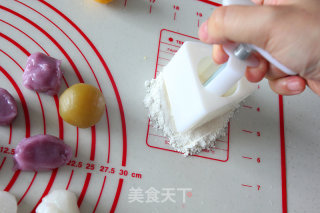
3. 2. Pour cold boiled water into the snowy mooncake powder and mix it quickly with a spatula until there is no powder. At this time, the dough is rough.

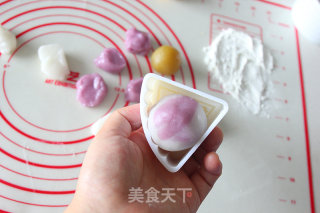
Dream Snowy Mooncake recipe

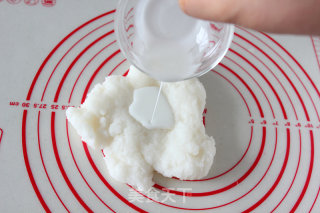
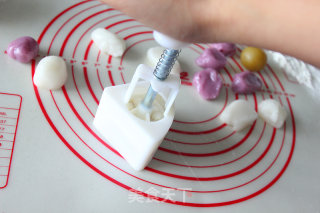
4. 3. Put the dough on the silicone pad, pour the white oil in portions and knead it by hand until the oil is completely absorbed

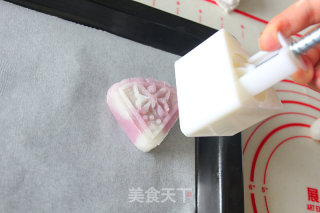
Dream Snowy Mooncake recipe

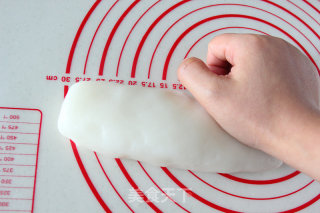
5. 4. Knead until the surface is smooth

Dream Snowy Mooncake recipe

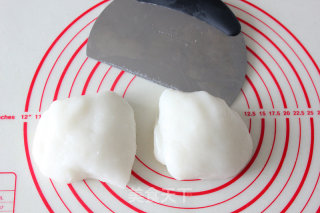
6. 5. Divide the dough into two equal parts

Dream Snowy Mooncake recipe

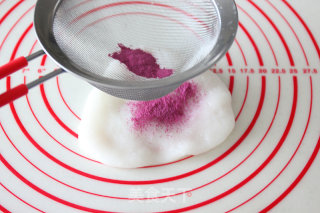
7. 6. Sift the fruit and vegetable powder into one of the doughs

Dream Snowy Mooncake recipe

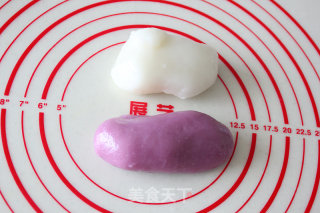
8. 7. Knead evenly with your hands, so it is a purple dough and a white dough

Dream Snowy Mooncake recipe

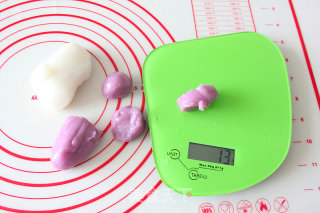
9. 8. Divide the purple dough into 13 grams and cover with plastic wrap to prevent the surface from drying out

Dream Snowy Mooncake recipe

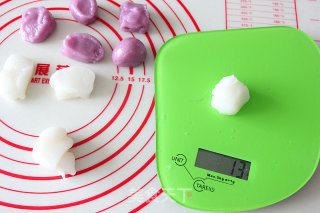
10. 9. Divide the white dough into 13 grams and cover with plastic wrap to prevent the surface from drying out

Dream Snowy Mooncake recipe

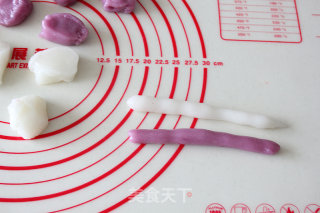
11. 10. Take a small white dough and a small purple dough and knead into long strips.

Dream Snowy Mooncake recipe

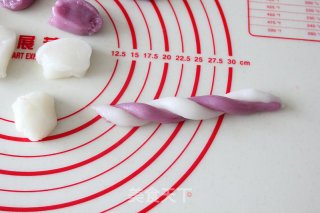
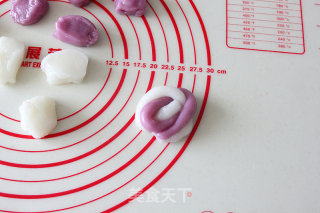
12. 11. Two color strips are wound together

Dream Snowy Mooncake recipe

13. 12. Glue the two ends together

Dream Snowy Mooncake recipe

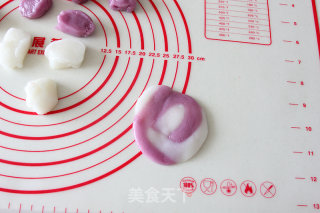
14. 13. Flatten the two-color dough again

Dream Snowy Mooncake recipe

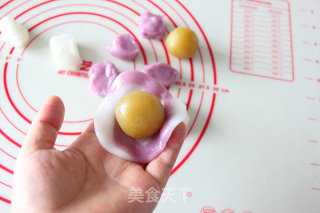
15. 14. Put a mooncake filling in the middle

Dream Snowy Mooncake recipe

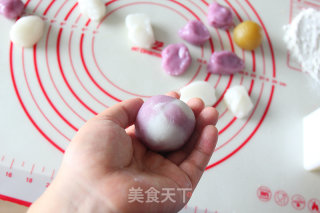
16. 15. Slowly push up with the mouth of the tiger by hand until the ice crust completely wraps the filling and close the mouth, stick a little cooked powder on your hands and rub the dough on your hands.

Dream Snowy Mooncake recipe

17. 16. Put 50 grams of triangular flower pieces into the mold, press down the mold to stick the flower pieces on the cooked powder, and then knock off the excess powder

Dream Snowy Mooncake recipe

18. 17. Put the dough into the mold

Dream Snowy Mooncake recipe

19. 18. Put the mouth down on the silicone pad and press the mold firmly

Dream Snowy Mooncake recipe

20. 19. Gently push to complete one

Dream Snowy Mooncake recipe

21. 20. Use the same method to press the rest of the remaining dough into shape, and put it in the refrigerator for storage.

Dream Snowy Mooncake recipe

22. Finished

Dream Snowy Mooncake recipe

23. ..

Dream Snowy Mooncake recipe

24. ..

Dream Snowy Mooncake recipe

25. .

Dream Snowy Mooncake recipe

26. .

Dream Snowy Mooncake recipe

27. .

Dream Snowy Mooncake recipe

Tips:

1. Fry the cooked noodles with glutinous rice noodles until slightly yellow
2. If there is no fruit and vegetable powder, add a little coloring instead

Comments

Similar recipes