Ah~five-ringed Egg Yolk Pastry
1.
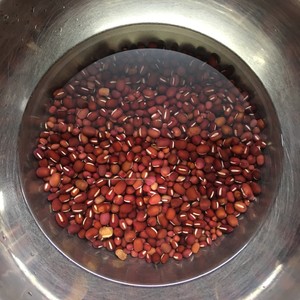
Wash the red beans and soak overnight, and put them in the refrigerator overnight when the temperature is higher in summer
2.
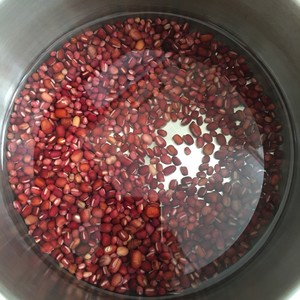
Pour out the water overnight and replace with new water into the pressure cooker (note that the ratio of water to beans is still in accordance with the recipe)
3.
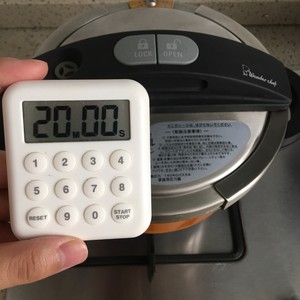
After the big fire SAIC, turn to medium fire pressure for 20 minutes, don’t rush to deflate and get bored for a while after the time is up
4.
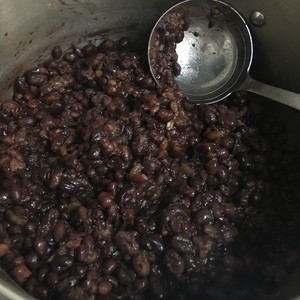
As shown in the figure, the beans are moist and soft
5.
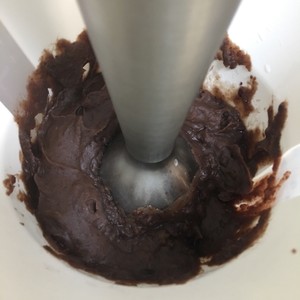
Use a cooking stick to beat the mud in stages, if there is a wall breaker, it will be more delicate
6.
You need to use a non-stick pan to put the puree into the wok, and the copper pan I use is also ok.
7.
Start to stir-fry because it will be thinner at first because of the water-sweetened rice, so don't worry about continuing to stir-fry patiently.
8.
Stir-fry to a slightly dry state, add vegetable oil two or three times, and add the next time after each absorption.
9.
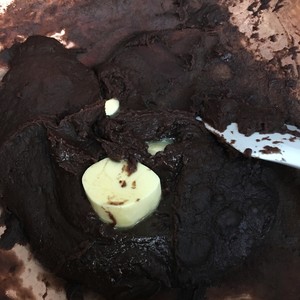
After all the vegetable oil is absorbed, add butter while stirring and let it melt and absorb slowly. Finally, add sugar to taste and adjust the sweetness.
10.
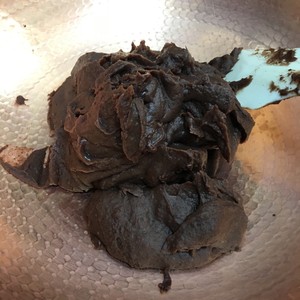
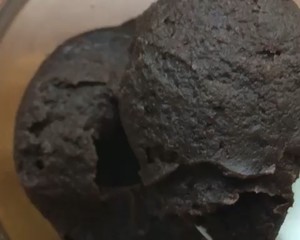
When fried to the following state, the non-stick spatula can basically form a ball (only can be unspeakable). When the fried is too wet, it will burst on the side, and when it is too dry, it will drop off.
11.
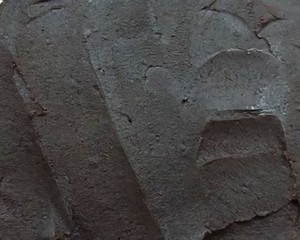
If you use it urgently, spread it on the baking tray and let it cool faster
12.
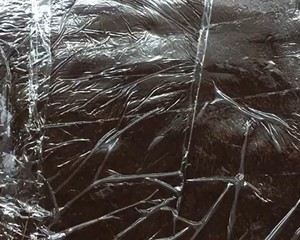
Cover the top and bottom with plastic wrap tightly. Do not leave any gaps that will generate water vapor, let it cool for later use
13.
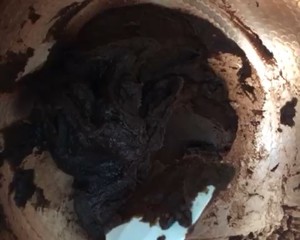
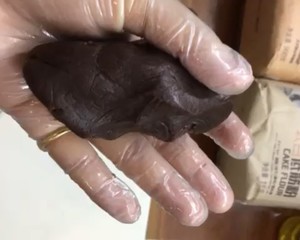
Look at the state, it is very condensed so that it will not stick to your hands.
14.
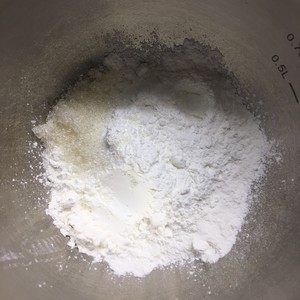
To make mochi, the powdered sugar is weighed together.
15.
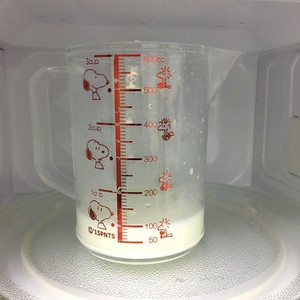
The milk is heated (about 50-60°).
16.
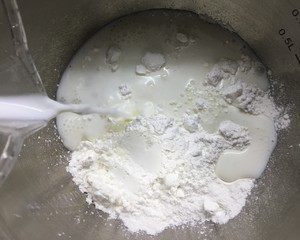
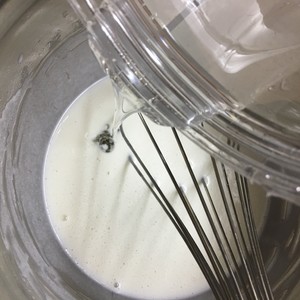
Pour the milk and stir well.
17.
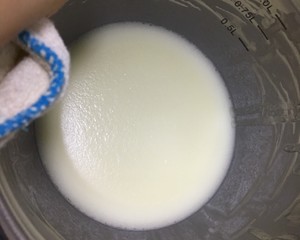
While it is warm, add the water mash and stir evenly (be sure to use a clear water mash with 84% sugar content!), sieve and pour it into a shallow dish.
18.
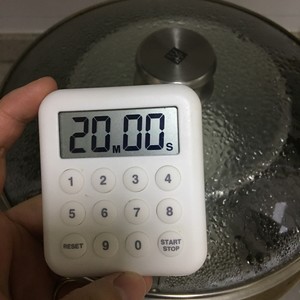
Steam on the heat for 20 minutes (heating in a microwave oven in batches until solidified is also okay).
19.
It can be done after the whole is solidified.
20.
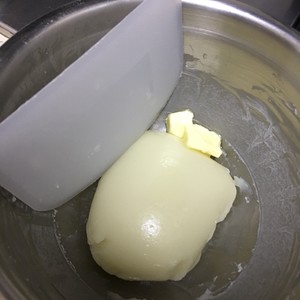
Shovel it out with a spatula and add the butter, cut the dough to help the oil fully soak (don't be very hot if you don't want to practice iron palms).
21.
I beat me with a dough stick and beat me into the oil.
22.
You can rub it up when it's not very hot.
23.
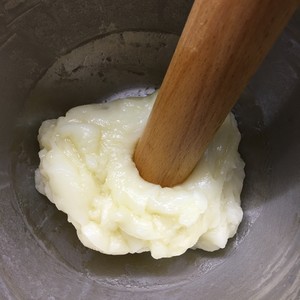
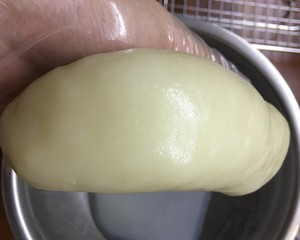
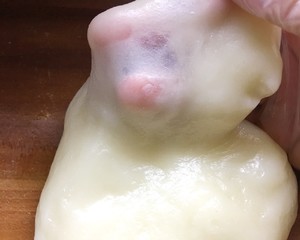
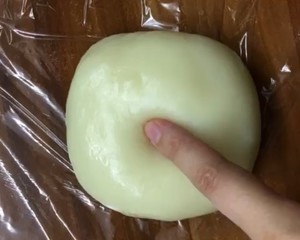
The finished product can be pulled out of the film.
24.
The prepared Mochi QQ is soft and non-sticky, very comfortable.
25.
Cover it tightly with plastic wrap and leave it to cool. You don't need to put it in the refrigerator.
26.
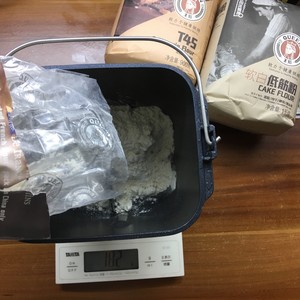
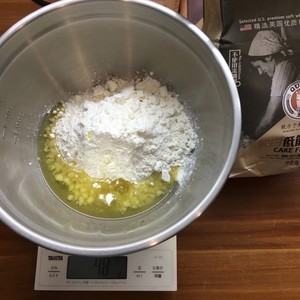
Weigh the materials, add vegetable oil and powder together.
27.
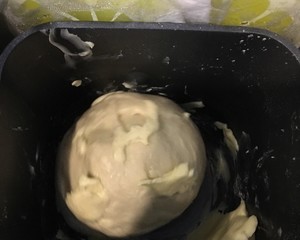
Start whipping the dough, taking care to control the surface temperature.
28.
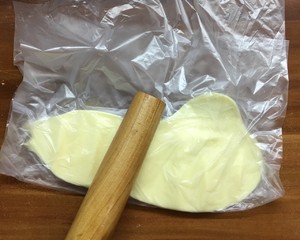
Wrap the butter with plastic wrap and beat it with a rolling pin (the butter processed in this way is softened and the temperature is not high).
29.
After the gluten is about 6-7%, add butter.
30.
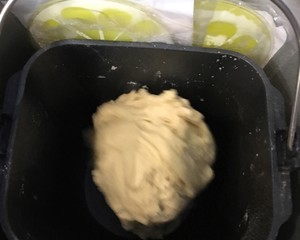
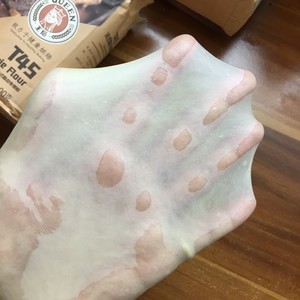
Beat to the full state, as commonly known as glove film as follows.
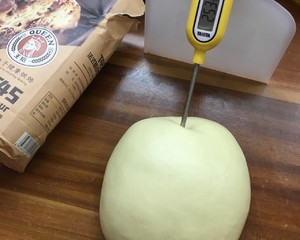
31.
The best surface temperature is 26°.
32.
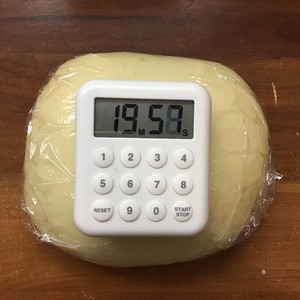
Wrap in plastic wrap and relax for 20 minutes.
33.
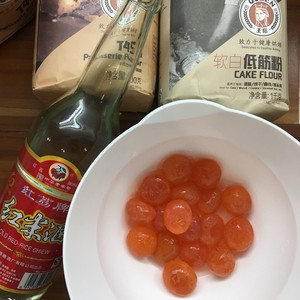
Shake the rice wine evenly and soak the egg yolk for about 20 minutes.
34.
Take advantage of the time to make shortbread.
35.
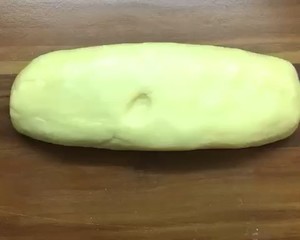
Knead as shown in the figure, knead well and don't knead too soft too much.
36.
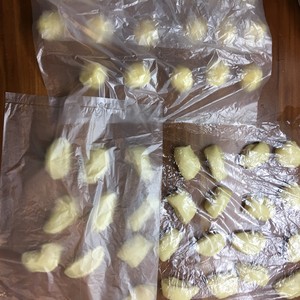
Divide 17g each of the shortening crusts equally.
37.
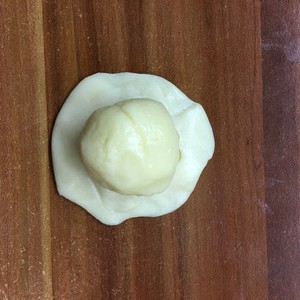
The oily skin wraps the shortbread, and remembers the order from beginning to end after wrapping it all at once.
38.
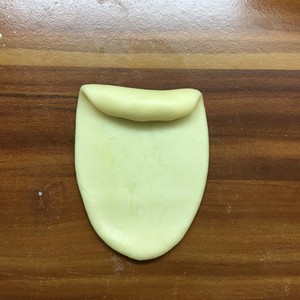
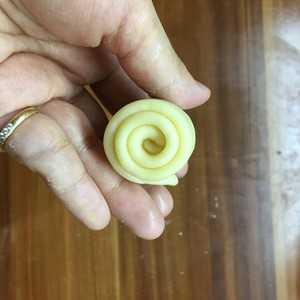
Start with the first one, squeeze and roll it into a tongue-shaped roll.
39.
After doing all this, let it relax for about 5-10 minutes from beginning to end.
40.
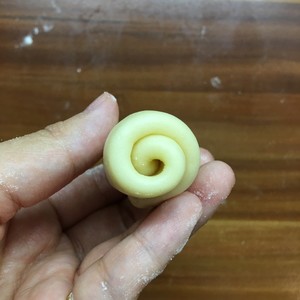
Roll out from the first one.
41.
As shown in the figure, put it in order and relax for 15 minutes.
42.
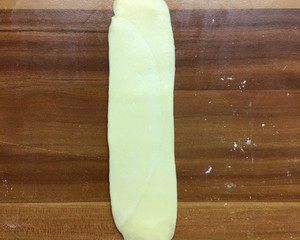
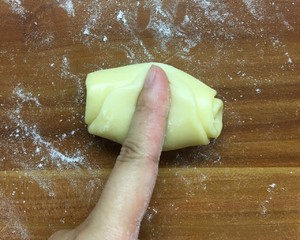
Press in the middle.
43.
Fold the two ends in half and pinch to press and bond.
44.
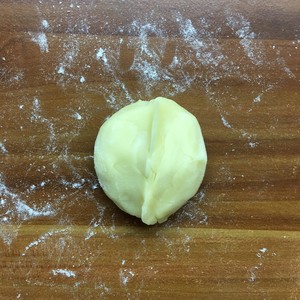
Flatten and roll out.
45.
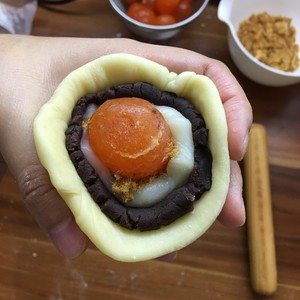
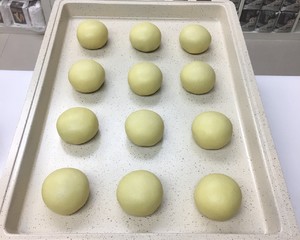
According to the formula: puff pastry + bean paste + mochi + pork floss + egg yolk wrapped into five rings (the egg yolk needs to be soaked in wine with kitchen paper to absorb the water).
46.
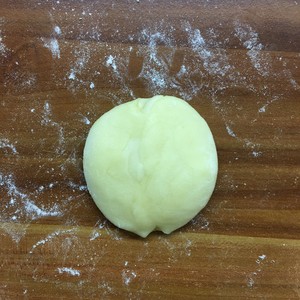
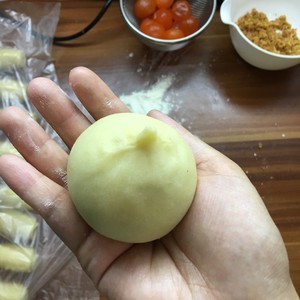
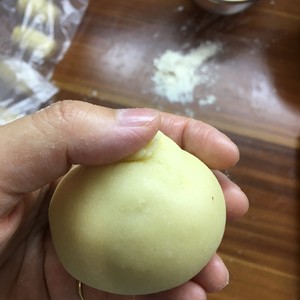
Use the tiger's mouth to push and close the mouth as shown in the figure (the pastry should be covered with plastic wrap and left to dry and crack during the whole process).
47.
Gently flatten the little tail left at the end.
48.
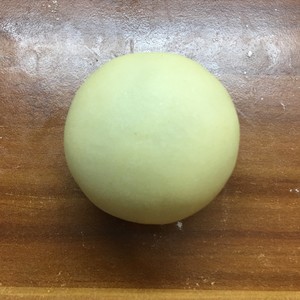
Repeat the above steps to complete other egg yolk pastries (hand speed should be fast, not procrastinating, easy to return oil).
49.
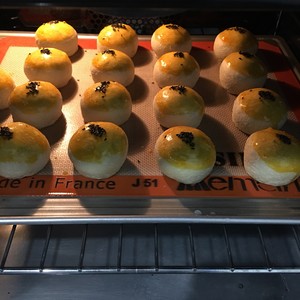
Bake the middle layer in a 180° oven for 15 minutes until the surface is slightly colored.
50.
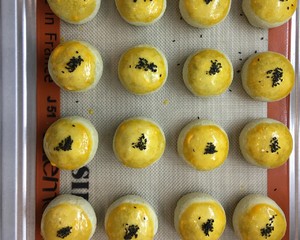
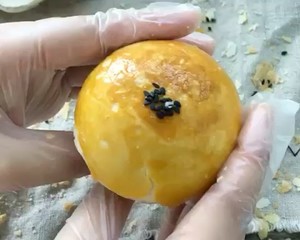
Take out and let it dry, brush two layers of egg yolk liquid, and sprinkle an appropriate amount of black sesame seeds.
51.
Return to the oven and continue to bake the middle layer at 180° for about 15-20 minutes.
52.
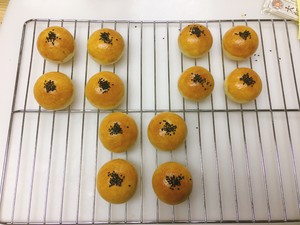
Leave it to cool, so that the method of applying egg yolk liquid and batch baking is not easy to crack.
53.
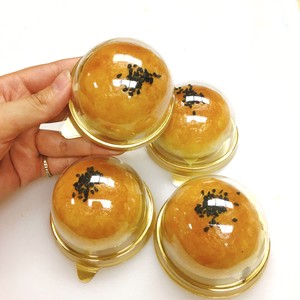
According to the weight of this ratio, it can be packed into an 85g egg yolk pastry box with Tiandi Lid.
54.
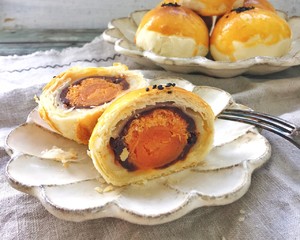
Tearing.
55.
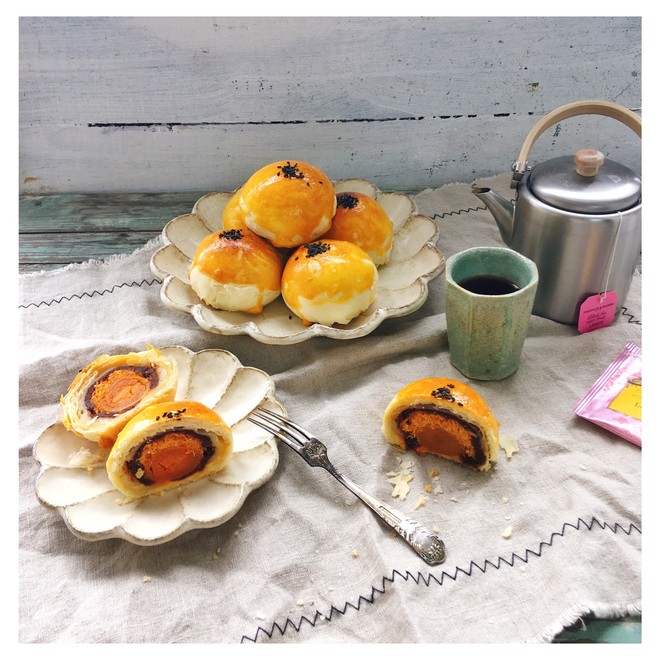
The cross-sectional view, layer upon layer, each bite is wrapped in a rich taste, so delicious that it can’t stop.
56.
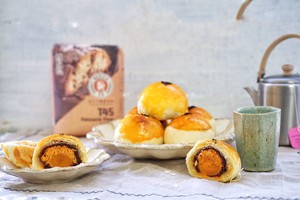
Teacher's Day, Mid-Autumn Festival gifts, afternoon tea must be ah ah ah ah, five rings~
Tips:
The oily skin must be beaten in place to produce the film, and the surface temperature must be controlled.
The surface temperature is very important and it is best to control it at 26°.
The softness and hardness of shortbread and oily skin are not easy to break and mix with crispy.
Cover the whole process with plastic wrap to prevent the puff pastry from drying out.
The hand speed must be fast enough, otherwise the oil will return after a long time.
The puff pastry does not need to be rolled out very large and closed with a push method, otherwise it will cause the bottom of the skin to be too thick.
The recipe quantity can make about 35 egg yolk crisps of 85g.
Welcome to join the Queen’s Baking Group WX: wangxiaolu0908

