Cream Transfer
1.
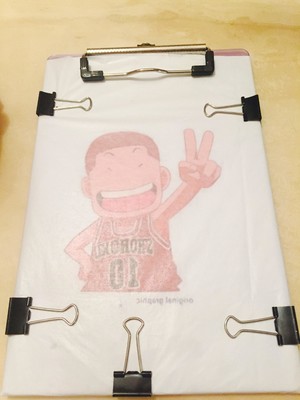
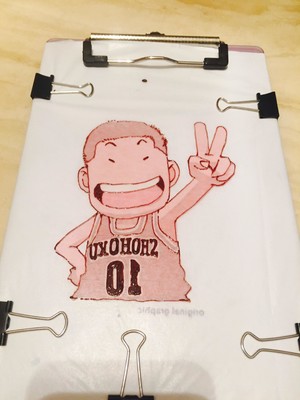
First, you need to print two transferred pictures in color, and use P picture software to do left and right mirror processing, so that the transferred pictures will not be reversed left and right. Cover one picture with greased paper and clamp it with a plate clamp, and flatten it around The clip is clamped, because the oil paper cannot clearly show the details of the pattern, the other one is used as a comparison picture
2.
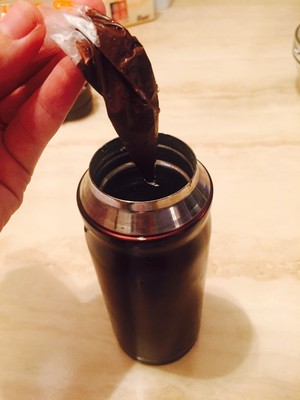
Put two chocolate coins in the piping bag and soften them in a thermos cup with hot water
3.
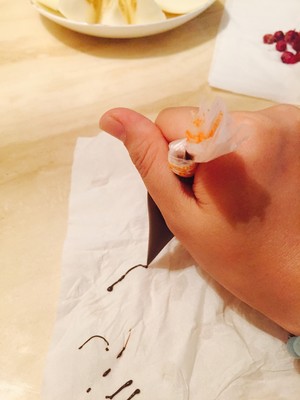
After melting, use sharp scissors to cut the piping bag into a small opening, the size shall be as long as you can easily squeeze out the elongated chocolate
4.
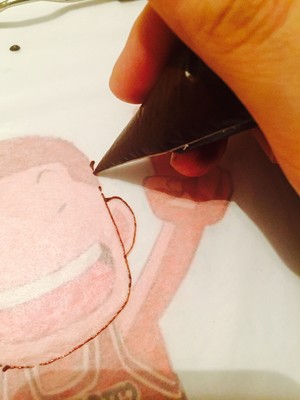
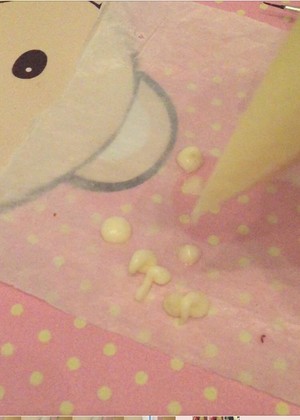
Start hooking, novices will basically shake at this step, shaking, shaking, more practice will be stable
5.
OK, after hooking the thread, let the chocolate dry until semi-dry, the chocolate thread is thin, it will be ready soon
6.
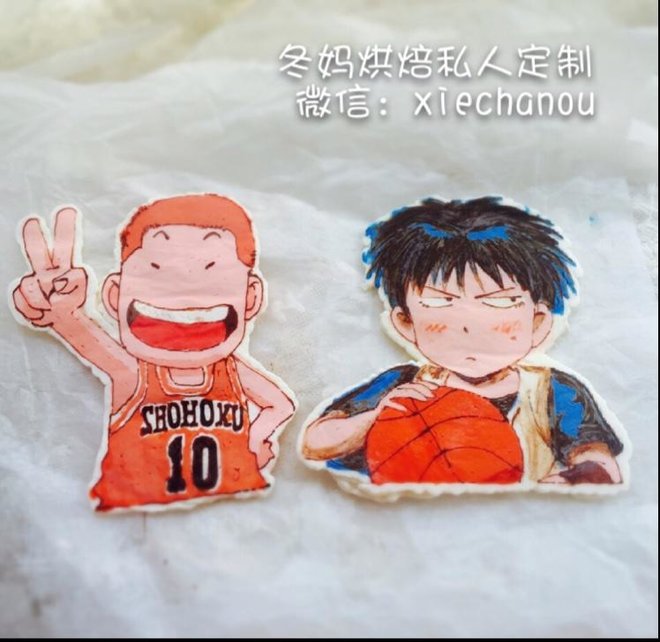
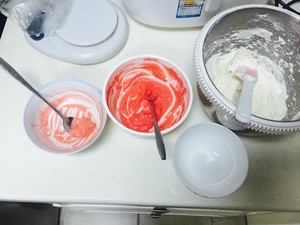
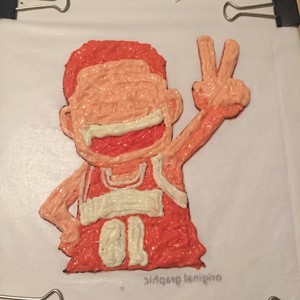
Prepare the buttercream and add food coloring to adjust the color in the picture. This Sakuragi Flower Road pattern, I first adjusted it to orange for his hair and jersey, and then added a little white cream to become the shade of the skin tone, and then added white to become his skin tone. The color preparation is relatively simple.
7.
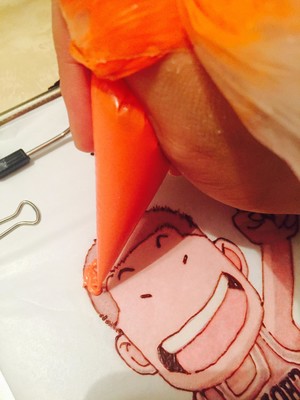
Put the color-adjusted cream into the piping bag and cut a small hole to fill in the color. The filling cream is better to be softer, so that it is not easy to leave holes after filling, and it is easy to level.
8.
Fill in the color block and that's it
9.
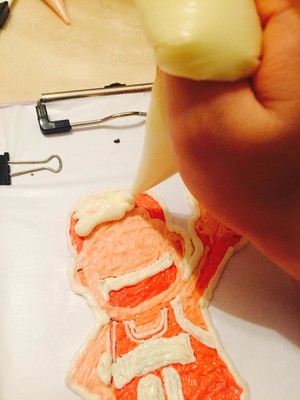
Finally, use the white cream frosting on the edge and then use it to pave the surface, the entire transfer will be thicker and not easy to crack
10.
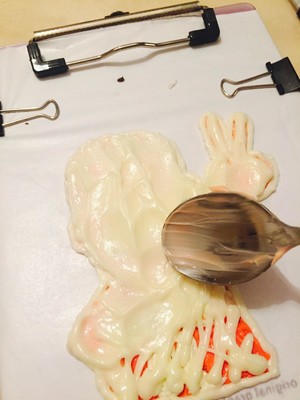
Use a spoon or a small spatula to smooth the surface in the last step, so that it will be easy to smooth when you put it on the cake later.
11.
Finally, put it in the freezer for at least 1 hour, and then take out the torn oil paper. When tearing the oil paper, do not touch the surface of the cream frosting with your fingers, so that the temperature of your hands will easily cause the pattern of the cream frosting to become flowery. Dangdangdang~Sakuragi Flower Road is freshly released!
12.
The state of the cream on the surface is very important. It should be so soft that the piping bag cannot stand up sharply, so that the finished product will not have holes.
Tips:
There are many recipes for cream frosting, I will not write them in detail. The basic requirement is that the cream frosting should be white so that the color can be adjusted. Then the French cream frosting with egg yolk is not needed. The butter is lighter-colored fermented butter, such as how delicious and fresh. Gold outfits are all good.
Dongma has a hand-painted cream frosting course. Those who are interested can contact us on WeChat!

