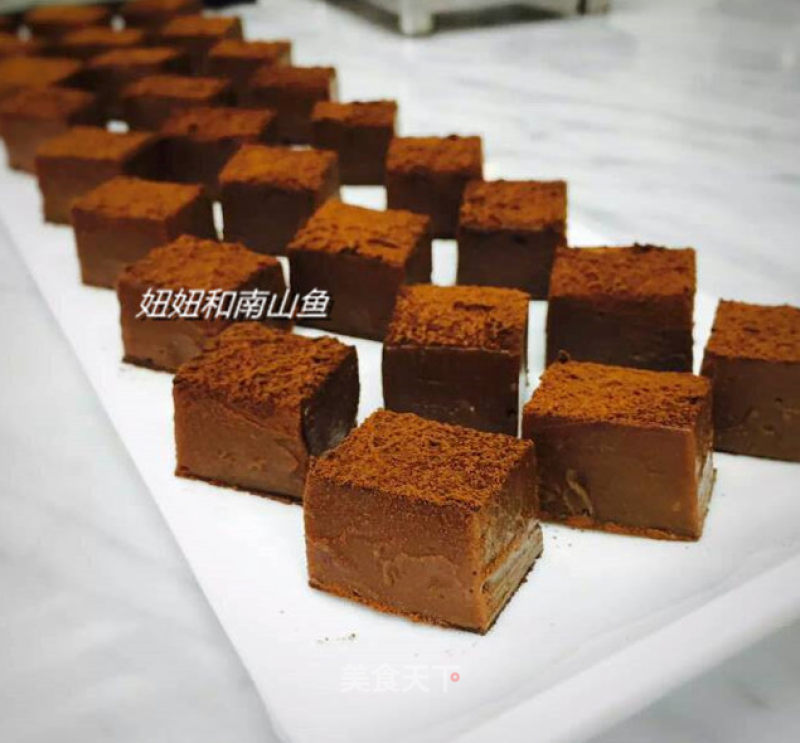
Dirty Mooncakes
1.
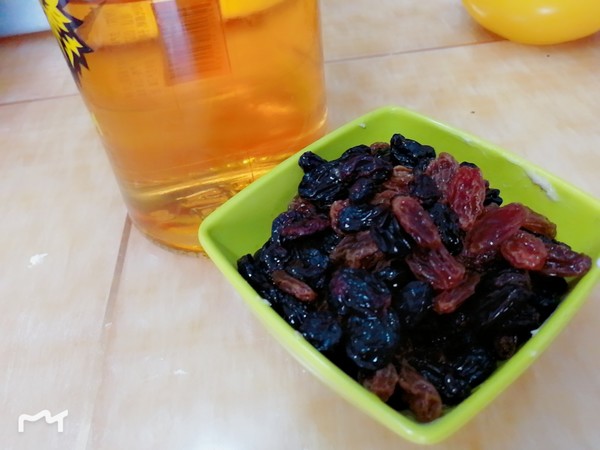
Dried cranberries, blackcurrants, and raisins are immersed in the rum 2-3 hours in advance (the dried blackcurrants I use are relatively dry and need to be steeped in rum to increase the flavor). Cover with plastic wrap and put it in the refrigerator for enough time to stay overnight! (I made a temporary intention, so I soaked for 2-3 hours)
2.
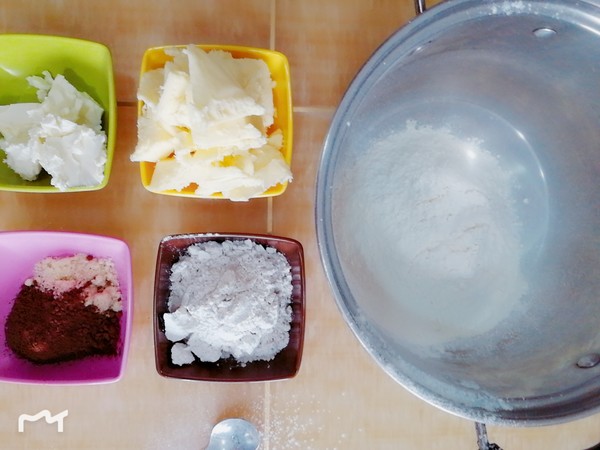
Weigh out the crust material. Unsalted butter is softened in a clean water-free basin, at room temperature in summer. Soften to the point that tapping can poke holes.
3.
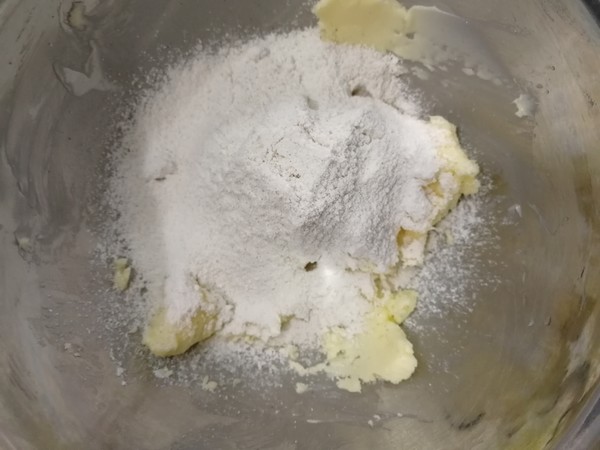
Sift in vanilla icing sugar (if not available, general icing sugar is fine), mix it with a silicone spatula to prevent the powdered sugar from splashing.
4.
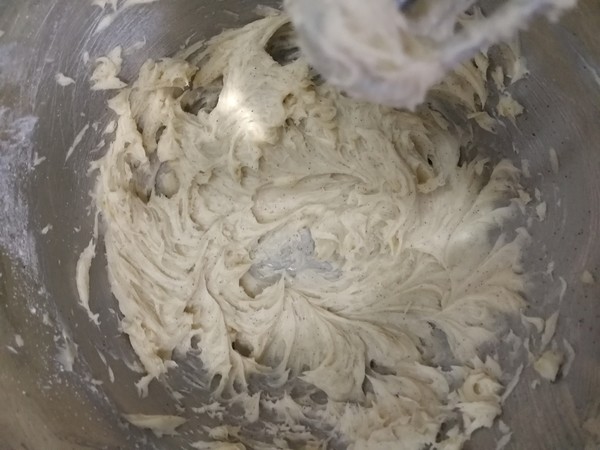
Then the electric whisk is fluffy and feathery. The vanilla icing sugar I added has vanilla seed particles, so it doesn't look so white.
5.
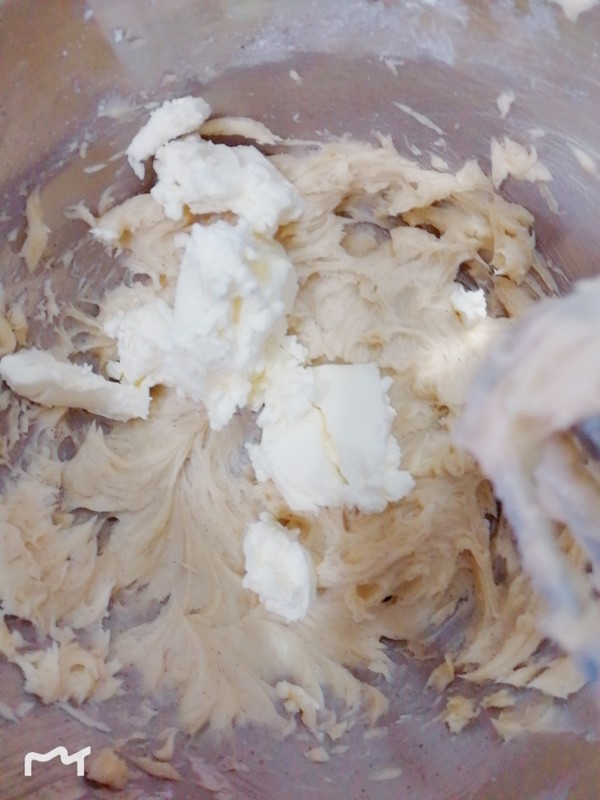
Add the softened cream cheese cut into small pieces in advance and continue with an electric whisk until it is evenly mixed.
6.
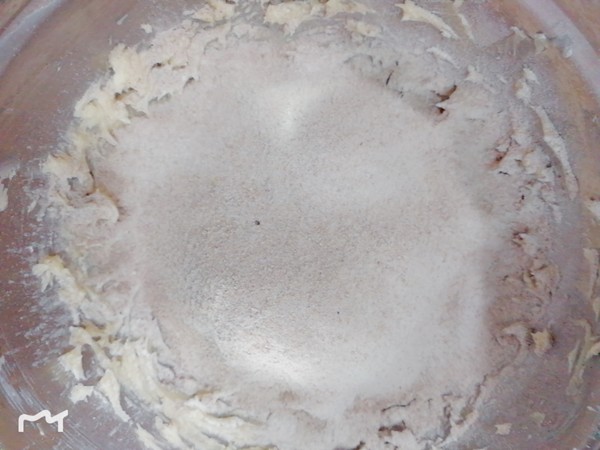
The mixture is milky white and puffy. Sift in high powder + cocoa powder + almond powder, and stir evenly with a silicone spatula. If you use it, cut and mix and press against the side of the bowl.
7.
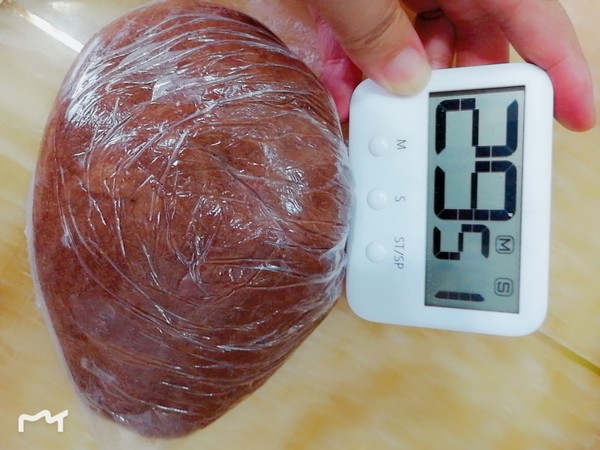
Mix the dough evenly without dry powder, put it in a fresh-keeping bag, and let it rest in the refrigerator for half an hour.
8.
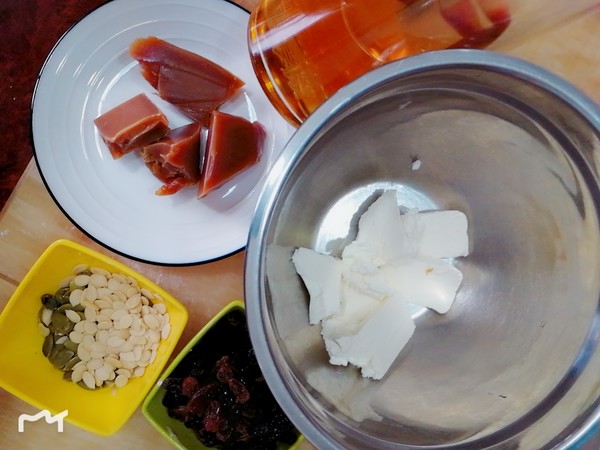
Ready, stuffing materials. At this point the dried fruit is drained from the rum and allowed to dry. Nuts can be replaced with almonds, I use cooked melon seeds (raw nuts are roasted in advance, and chopped for later use after cooling down).
9.
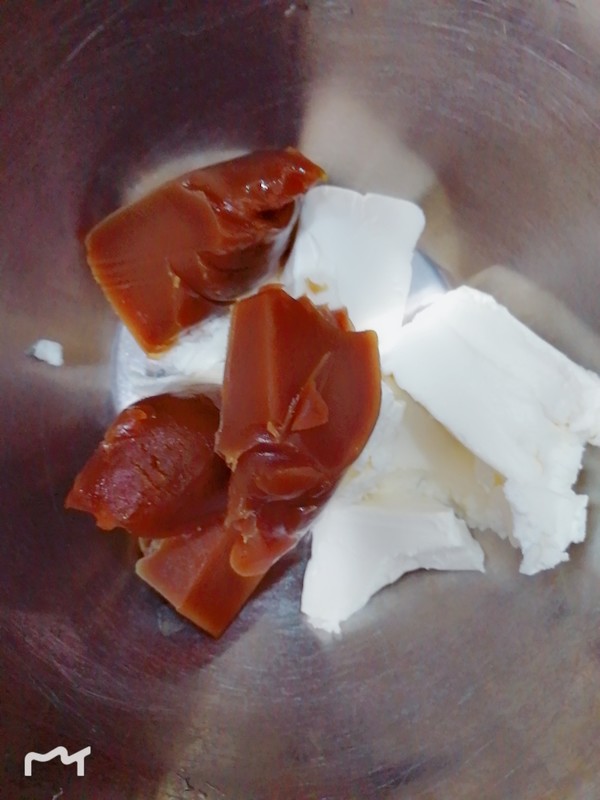
Put the cream cheese in a clean water-free basin to soften, add the lotus paste filling, beat with an electric whisk and mix evenly, about a medium speed for about 1-2 minutes.
10.
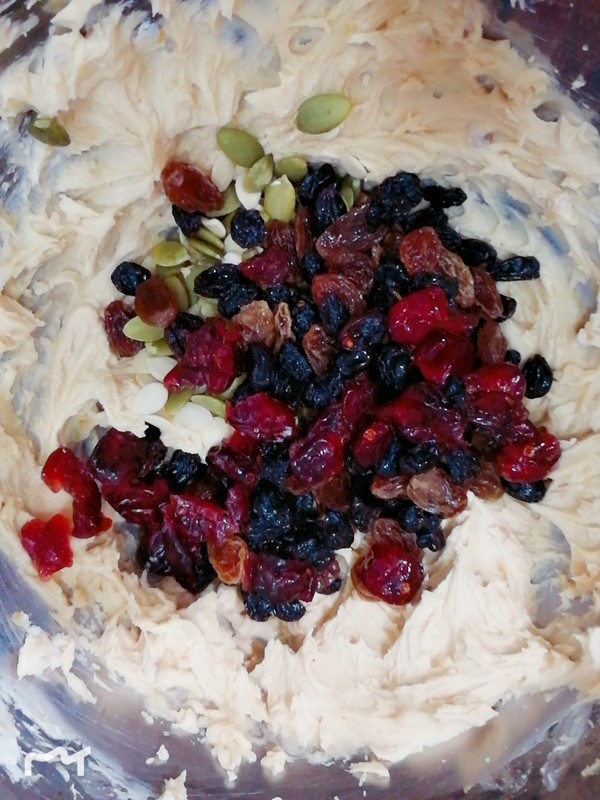
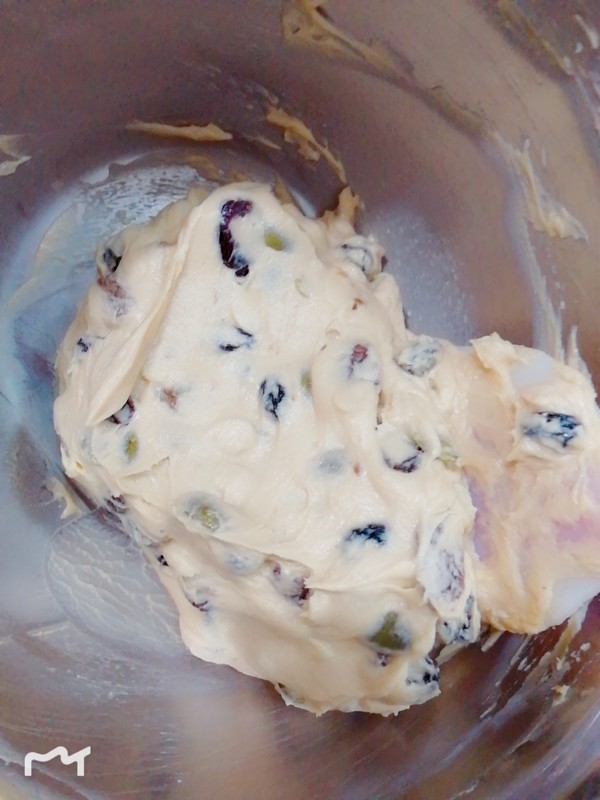
After mixing, pour in dried fruits and nuts, and stir evenly with a spatula (no restriction on technique)
11.
After mixing, put it in a fresh-keeping bag and refrigerate for later use. You can also freeze for a while in a hurry, just a little bit harder.
12.
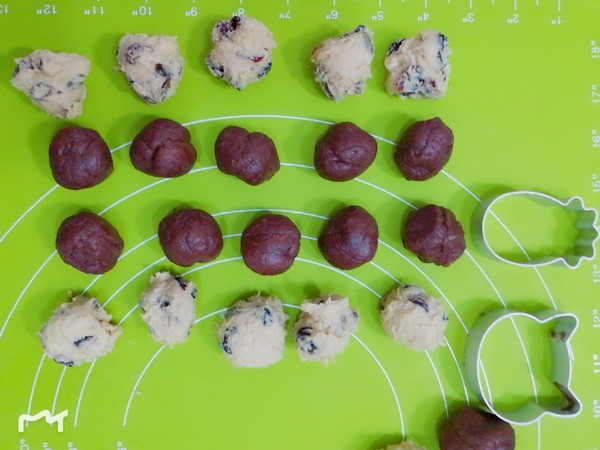
Take out the refrigerated pie crust and the refrigerated filling, depending on the size of the mold, pie crust: filling=1:1. Divide it into rounds and set aside. (It is best to use a small steel ring mousse mold, the pineapple cake mold and biscuit mold I used on a whim, 14 grams of pineapple cake crust, 14 grams of filling; 15 grams of love mold crust, 15 grams of filling; cat’s head 20 grams of pie crust, 20 grams of filling).
13.
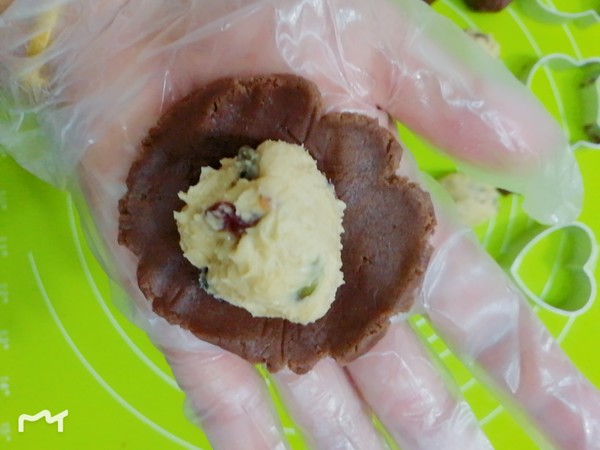
Take the pie crust and press it flat, put on the filling, gently push up the tiger's mouth, close the mouth tightly, in short, wrap the filling in the pie crust. Similar to the technique of wrapping egg yolk crisps and moon cakes.
14.
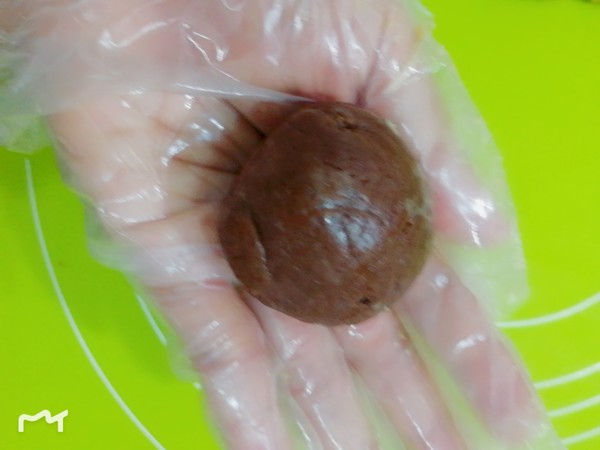
It looks like this after the package!
15.
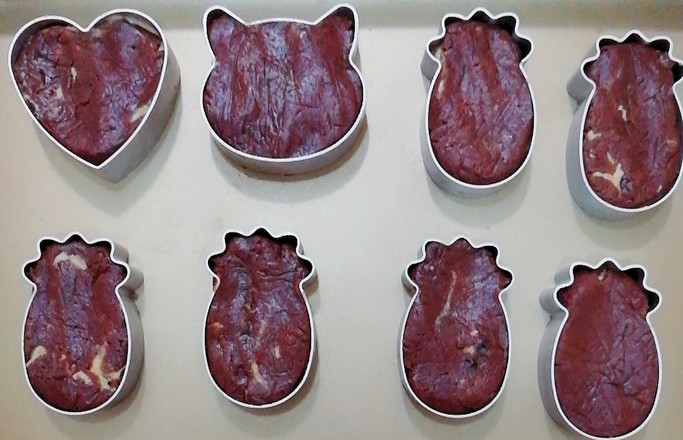
Put the mold into the mold (the mold is discharged into the baking tray in advance), and press it flat with your palm. Slightly lower than the mold, it will be higher when baked.
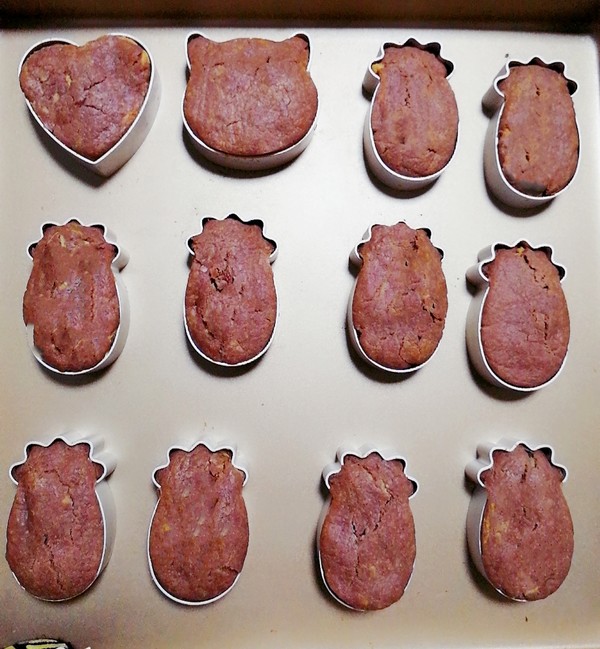
After pressing two or three times, the oven can be preheated, the upper is 180 and the lower is 150, and the preheat is about 10 minutes. After all the mooncakes are pressed into the mold, put the baking tray into the middle and lower layers of the oven and bake for 15 minutes. (It doesn't matter if there are defects in the roast, there is also glaze)
16.
After baking, take it out and let it cool. When there is residual temperature, it will be demoulded (the biscuit mold will be removed directly without sticking), and it will be neatly discharged on the cooling rack.
17.
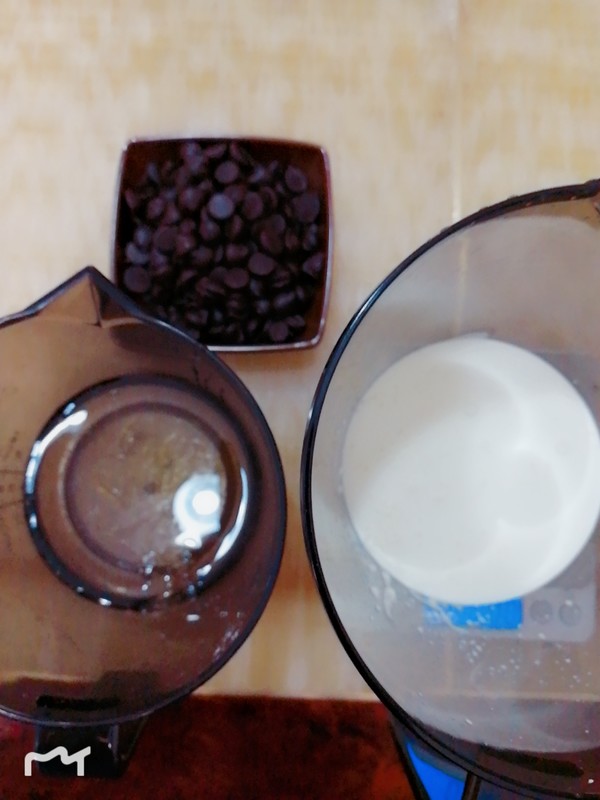
Weigh out the glaze material. Soak the gelatine in ice water for about 5 minutes to soften, and drain the water for later use.
18.
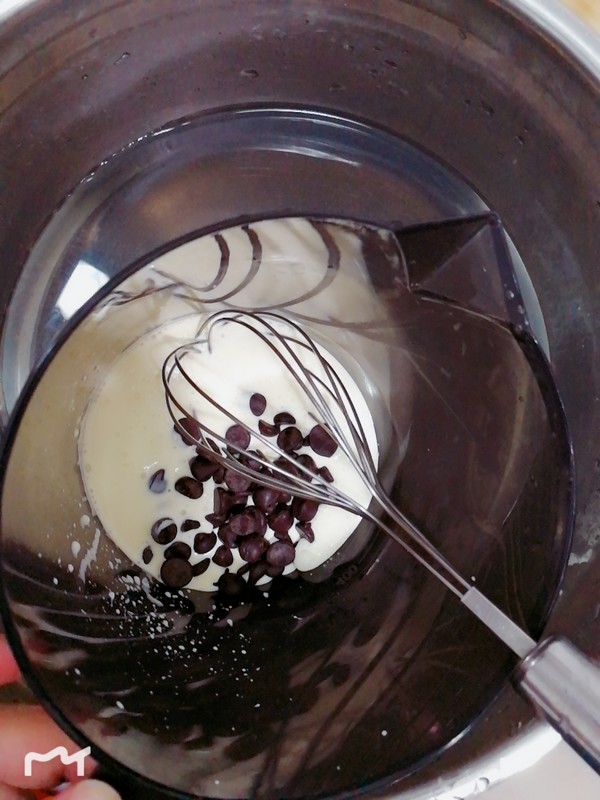
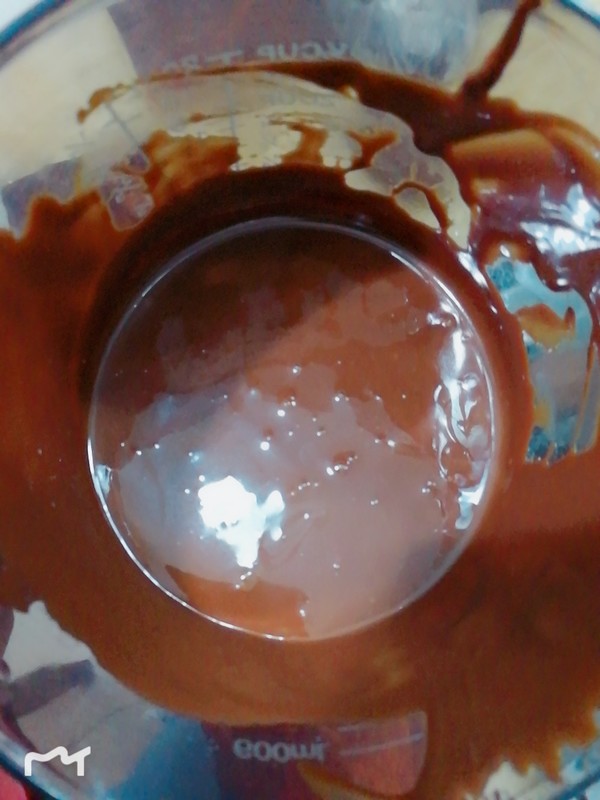
Pour the chocolate and whipped cream into a water-free and oil-free basin, put the basin into another basin with warm water (55-65 degrees) to melt in water, and stir evenly with a spatula.
19.
Add the gelatine slices prepared in advance, use the remaining temperature to continue to stir into a smooth and shiny glaze sauce, and cool slightly to warm.
20.
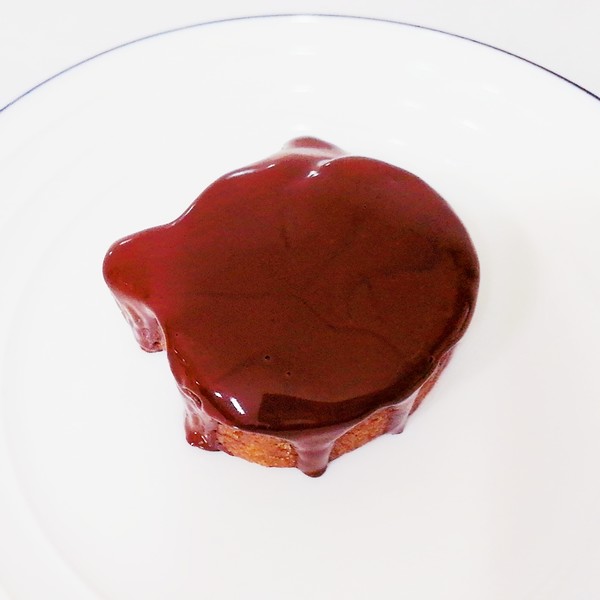
Place the cold rack with dirty mooncakes on a clean baking tray or container, and evenly pour the prepared chocolate sauce on the mooncakes, with gentle movements and uniform force, so that the surface of the embryo body is evenly glaze. (My glaze needs to be practiced)
21.
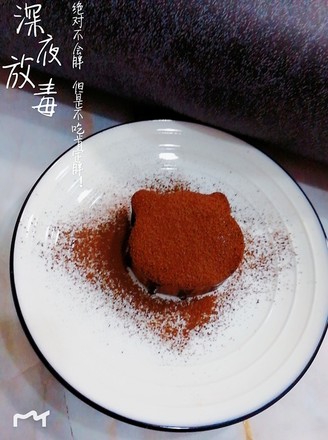
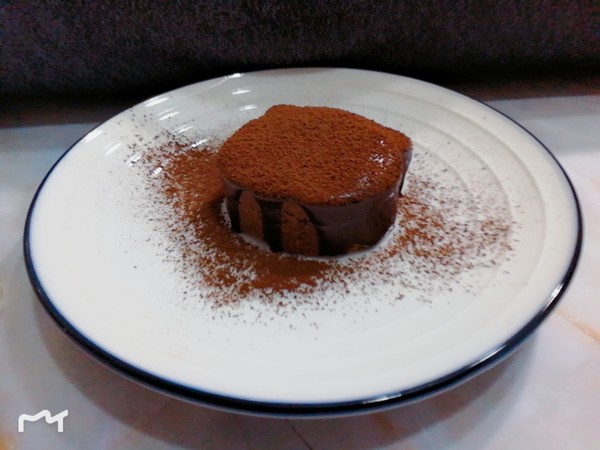
After drenching, let it stand for 15 minutes in an air-conditioned room. After the glaze is completely solidified, sift the moisture-proof cocoa powder and pack it!
Tips:
Tips: 1. There is no mousse ring, biscuit molds are okay. If the package is not good, you can use more crust and less filling.
2. Pay attention to the temperature of the chocolate glaze, do not cool for too long, glaze the noodles when it is warm. Excess glaze can be reserved for other uses.
3. How to determine the material of your own mold, first weigh the mold, take the cake crust to fill the mold, weigh, and deduct the total weight of the cake crust filling, divided by 2 is the cake crust and filling amount!


![A Sign of Love-[tiramisu] recipe](https://img.simplechinesefood.com/a3/a31b659dd074673c949717c2164c7c0b.jpg)

