Fondant Cake
1.
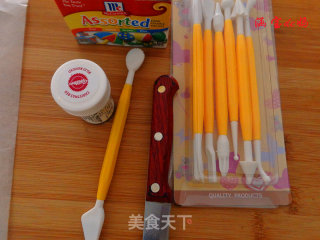
Tools needed
2.
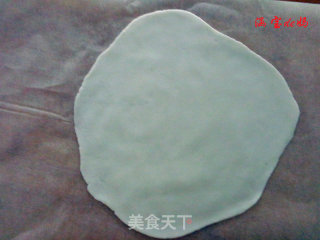
Put a little white oil on your hands, take an appropriate amount of fondant cream, knead it with your hands until it is soft, smooth and elastic, and roll it into thin slices with a rolling pin
3.
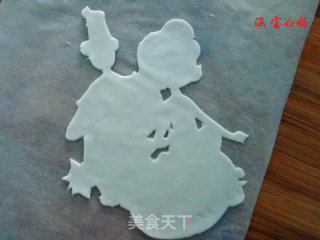
Carve out the outline with a carving knife
4.
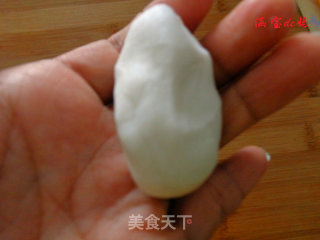
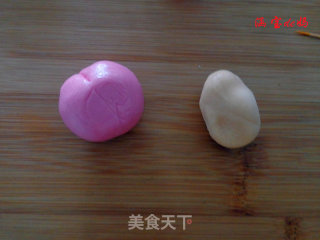
Take another amount of fondant cream
5.
Use a toothpick to mix in the right amount of pigment, add little by little
6.
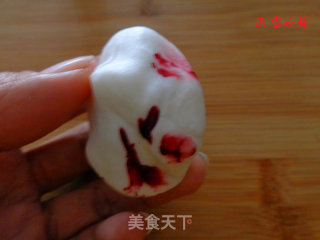
Mix the color and fondant cream evenly
7.
Call up the desired color
8.
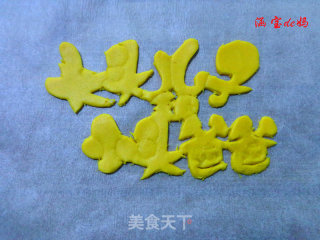
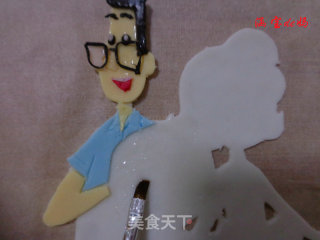
Carve out the details
9.
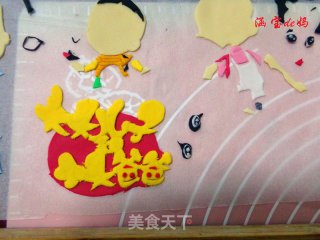
Carve out various parts of the character
10.
Spread a little honey with a fondant pen, assemble the carved parts, and adjust the details
11.
The characters are assembled
12.
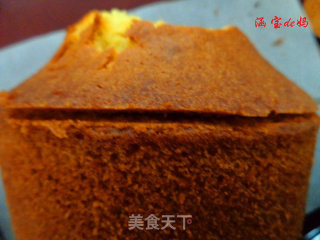
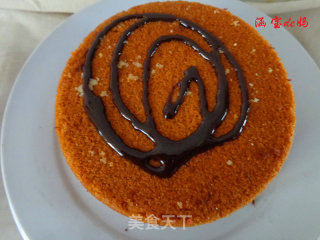
Remove the raised part of the heavy oil cake
13.
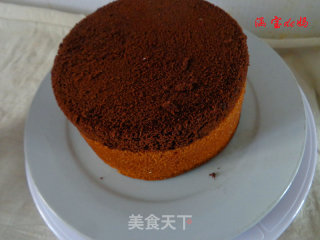
Just take half of the sponge cake
14.
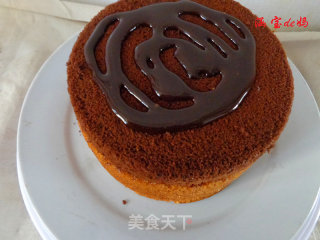
Spread the chocolate sauce between the two slices
15.
The top layer is also covered with a layer of chocolate sauce
16.
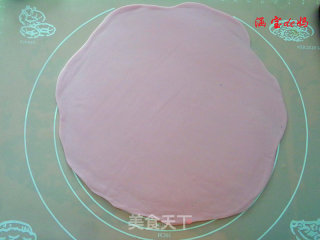
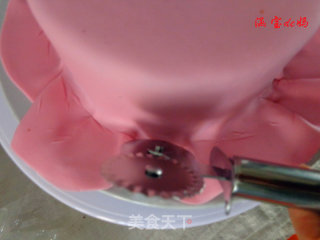
Dye the fondant cream on the main body of the cake and roll it out. The diameter is greater than the value of the cake body plus the height of both sides
17.
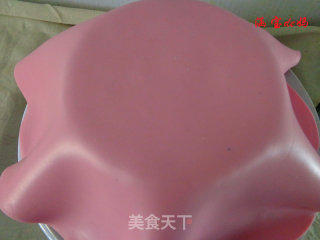
Spread it on the cake body
18.
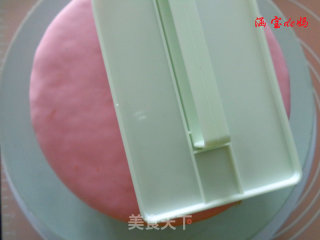
Smooth the surface and remove the excess part at the bottom
19.
Refinish the surface
20.
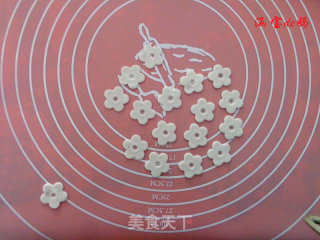
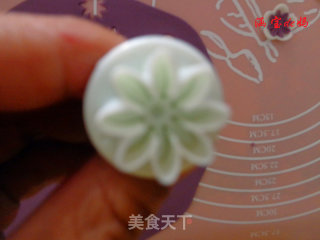
Take the white fondant paste and press out the shape with a mold
21.
Press it with a fondant tool to make it look three-dimensional. I didn’t buy a sponge pad, so I used a paper bag instead
22.
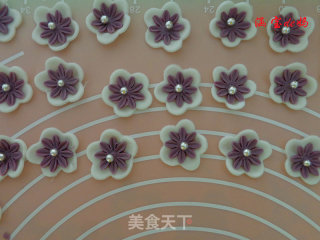
Take another flower mold and press out the shape
23.
Use the fondant tool to organize the shape
24.
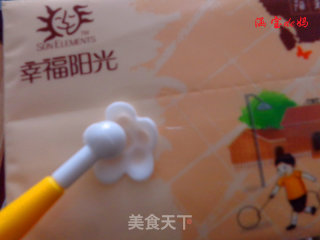
Combine them with honey, put sugar beads in the middle, and dry the flowers to shape them
25.
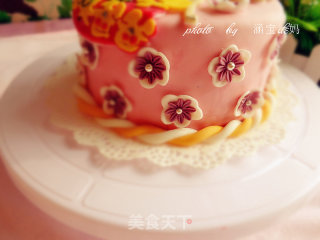
Assemble all parts on the cake body
26.
Finished product
27.
Finished product
28.
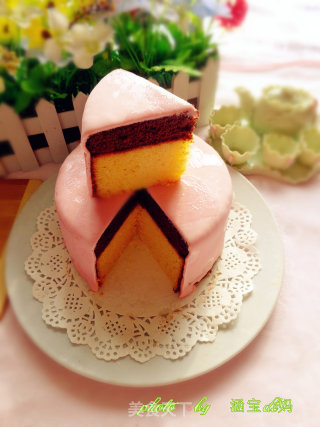
Cut open
Tips:
1. The pigment should be added in a small amount, not too much, otherwise the elasticity of the fondant cream will be affected
2. Red + blue makes purple
3. I used red+yellow for my skin tone, the color is slightly different
4. The pattern can be drawn on oil paper and compared to the cut shape
5. Refer to the other two recipes for heavy oil cake and cocoa sponge cake


