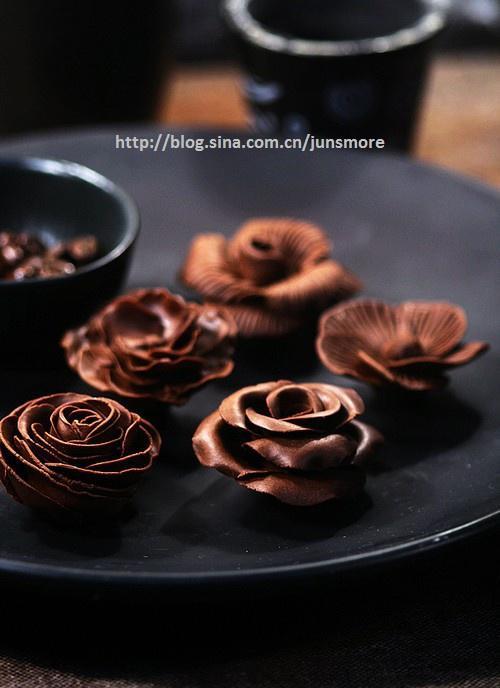
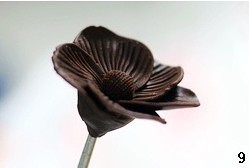
Handmade Chocolate Flower
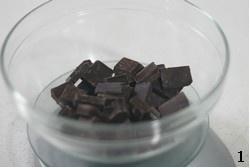
1.
Break the dark chocolate into small pieces and put it in a bowl
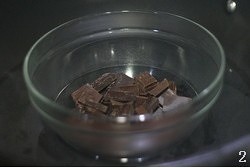
2.
Place the bowl in hot water over water and stir constantly. Be careful not to splash water into the bowl
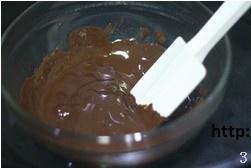
3.
Stir until the dark chocolate is completely melted, take the bowl out of the water
4.
Pour the syrup
5.
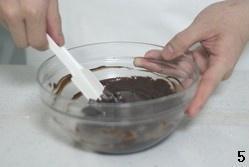
Mix well with a rubber spatula
6.
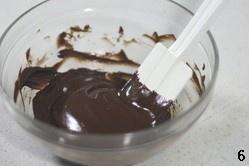
Mix well to form a thick chocolate liquid. If you are not in a hurry to use it, cover the chocolate liquid with plastic wrap and place it in a cool place or in the refrigerator, and wait for it to solidify before use. If you want to use it immediately, please follow the steps below
7.
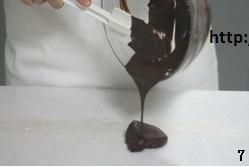
Pour the chocolate liquid on the marble countertop
8.
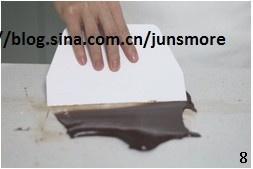
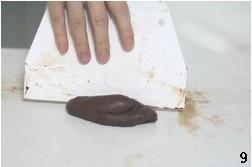
Scoop up the chocolate liquid repeatedly with a spatula to cool the chocolate
9.
The chocolate will quickly become thicker and thicker. Keep shoveling chocolate
10.
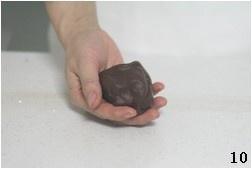
When the chocolate has solidified into a mass, but still soft enough, it can be used
11.
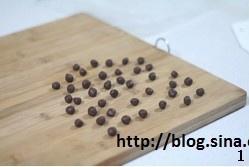
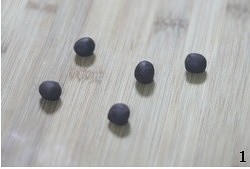
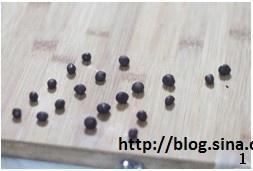
Knead the chocolate processed with syrup into small round grains the size of soybeans
12.
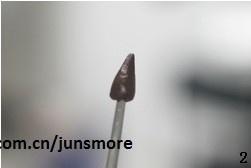
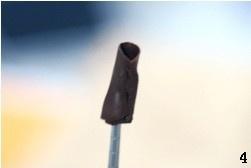
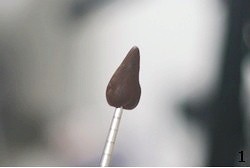
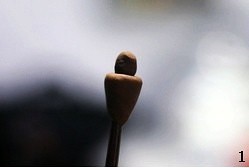
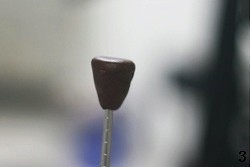
Take a piece of chocolate and squeeze it into a thick shape with the top tip and the bottom thick. Put it on the chopsticks as a flower heart
13.
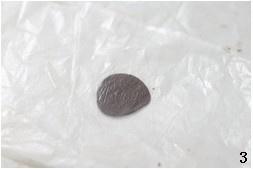
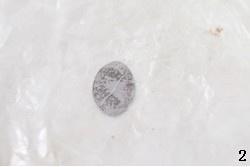
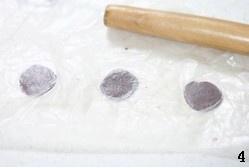
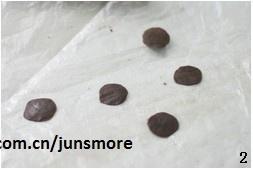
Take a small round pellet, sandwich it between two pieces of oiled paper, and roll it out into a circle with a rolling pin. Roll it out as thin as possible, the roses will be more beautiful. But the thinner the roll, the harder it is to operate. (The function of greased paper is to prevent chocolate from sticking to the rolling pin. You can use a fresh-keeping bag instead of greased paper)
14.
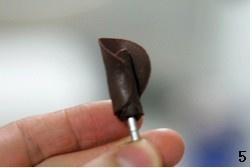
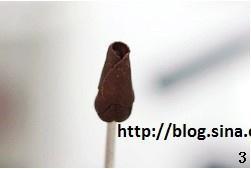
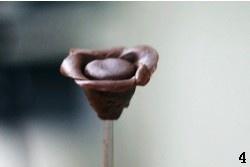
Tear off the oily paper and roll the rolled chocolate on the flower center. This is the first petal
15.
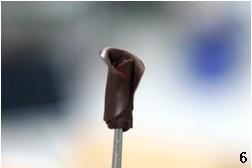
Continue to roll a chocolate disc as the second petal, and roll it on top of the first petal
16.
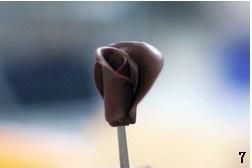
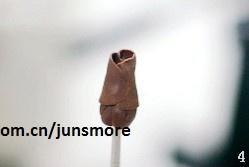
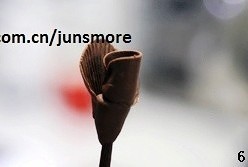
Use your hand to gently curl the upper part of the petals backwards to become the shape shown in the picture
17.
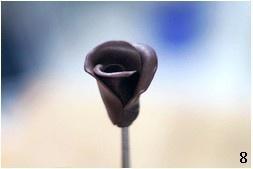
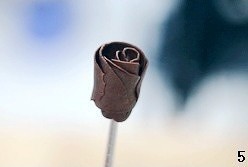
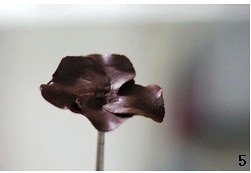
Continue to place the third petal in the same way and make it curl
18.
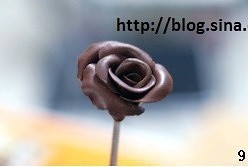
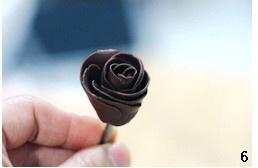
This is how the fourth petal is placed. When placing, make the starting point of each new petal be in the middle of the previous petal
19.
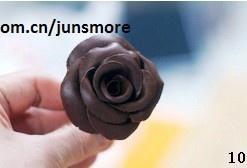
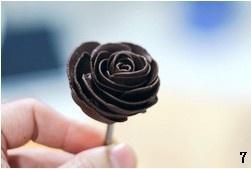
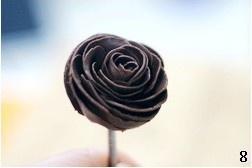
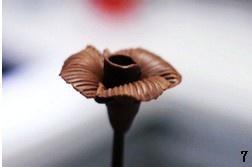
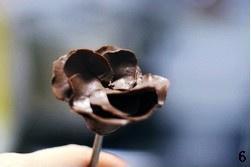
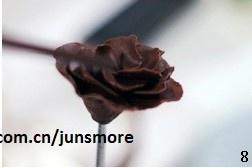
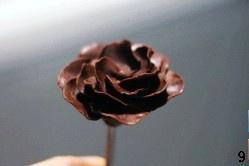
Repeat this process and the flowers will gradually take shape
20.
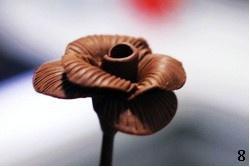
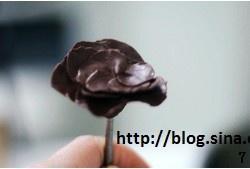
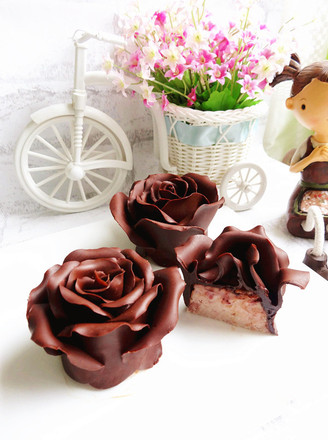
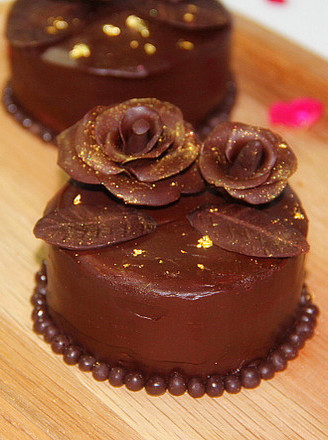
Finished product
21.
Also make a heart with a thick top and bottom. The heart of straight-edged roses is 2-3 times larger than that of curled-edged roses
22.
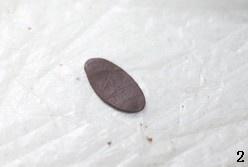
Take a chocolate ball of soybeans, sandwich it between oiled paper and roll it out into an oval shape (different from the round shape of a curled rose)
23.
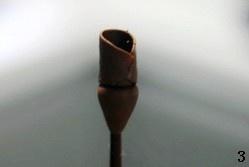
Wrap the top half of the flower center with the oval chocolate chip (do not wrap the flower center completely). This is the first petal
24.
Continue to roll out the elliptical petals. The starting point of the second petal is a little behind the starting point of the first petal, and the point of landing is after the point of the first petal, wrapping the first petal.
25.
Continue to place petals. The starting point of each new petal is slightly behind the starting point of the previous petal, and encloses the previous petal
26.
The petals are bigger as you go back. This is also different from the curled rose. The curled rose can use the same size petals from beginning to end, but the petals of the straight-edged rose must be larger and larger in order to smoothly cover the upper petal.
27.
As the petals increase, the heart of the flower is gradually covered
28.
Finished product. Straight-edged roses are more difficult to make than curled-edged roses
29.
Prepare 5 chocolate balls of the same size
30.
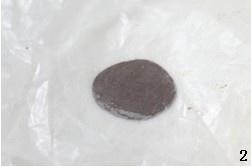
Sandwich between two pieces of oiled paper and roll out into a round sheet
31.
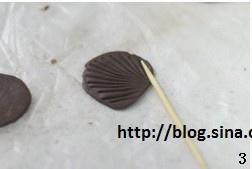
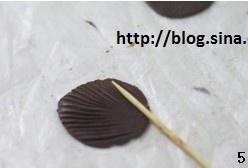
Use a toothpick to press the pattern as shown in the picture on the rolled disc
32.
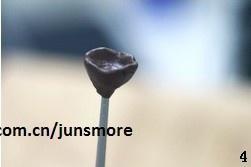
Take a piece of chocolate and squeeze it into a large and small shape as a torus. There is a dimple on the upper part of the torus, as shown in the picture
33.
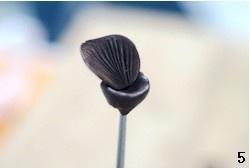
Place the first petal on the receptacle
34.
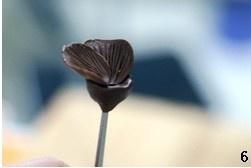
Put on the second petal. Half of the petal is pressed on the first petal
35.
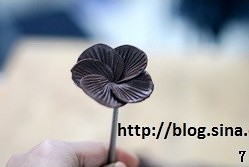
Place the remaining petals one by one. Make each petal press half of the previous petal
36.
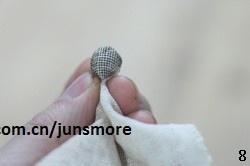
Take a chocolate ball and wrap it with gauze, so that the surface of the ball is printed with traces of gauze to create the texture of the stamen
37.
Place the stamen in the center of the flower and serve. Five-petal flowers are generally more beautiful the smaller they are. Doing too much will look silly. When decorating a cake, you can make many small five-petal flowers, which are decorated in clusters on the surface of the cake. The effect is very good.
38.
Make two chocolate balls, one large and one small. The big one is squeezed into a small shape, the small one is placed on top of the big one, which is the torus. as the picture shows
39.
First take a small chocolate ball, sandwich it between two pieces of oiled paper and roll it out into an oval shape
40.
Wrap the oblong shape around the small chocolate in the upper half of the torus to become a flower center
41.
Take three chocolate balls of the same size, sandwich them between two pieces of oiled paper, and roll them out into round pieces
42.
Use a toothpick to press out the pattern as shown in the picture on each disc to become petals
43.
Take a petal and stick it on the torus
44.
Paste the remaining two petals in turn. The three petals circle exactly around the center of the flower. Use your hands to gently curl the upper part of the petals backwards. This is the first layer of petals
45.
Make three more petals and stick them under the first layer of petals to become the second layer of petals. Each petal curls backwards, and the six-petal flower is ready
46.
Divide out several small chocolate balls
47.
First take 5 small balls of equal size and roll them out into round petals
48.
Take a piece of chocolate and shape it into a large top and a small shape as a torus
49.
Round the finished petals around the receptacle, curl the upper part of the petals so that the petals are flush with the surface of the receptacle
50.
Continue to roll out 5-6 petals. The petals must be very thin to have an effect. Place the petals on the receptacle according to the method of making a five-petal flower. This is the first layer of petals
51.
Continue to roll out 5-6 petals and place them on the first layer of petals in the same way to become the second layer. The petals of this layer need to be smaller than the first layer
52.
Roll out 5-6 petals to make the third layer. The petals of the third layer are smaller than the second layer
53.
Use chopsticks to separate each petal, so that each petal bends into a natural shape, showing a blooming posture
54.
Finished product. When making carnations, I only used three layers of petals. If you use four or even five layers, the effect will be better, but the difficulty of making them has doubled. The petals of carnations must be rolled very thin to bend into a natural shape

Tips:
1. Before kneading the chocolate flowers, you need to add syrup to the chocolate to make the chocolate texture softer and easier to shape.
2. The purpose of adding syrup is to make the chocolate texture soft and easy to handle. The added syrup is mainly glucose syrup. Except for the categories clearly marked as glucose syrup, corn syrup and oligosaccharide syrup can be used. In theory, both fructose syrup and maltose syrup can be used, but the usage ratio may be different.
3. Adding syrup does not mean that the chocolate will remain soft. It still has the characteristics of melting when heated, and becoming harder as it gets colder. A suitable room temperature will make it easier to knead the chocolate flowers. When the weather is hot, you can reduce 10 grams of syrup to make the chocolate easier to handle.
4. The chocolate after adding syrup can be sealed and stored in the refrigerator if it is not used up. It can be stored for a long time.
5. All the steps of rolling out the chocolate are done by sandwiching the chocolate between two pieces of oil paper. Oil paper can prevent chocolate from sticking to the rolling pin. After rolling it out, just remove the grease paper. If the chocolate softens too much, it may stick to the greased paper and cannot be peeled off. At this time, let the chocolate cool down a little, or press the bottom of a cup filled with cold water on the chocolate, the chocolate will not be so soft. There is no greased paper, but plastic wrap can be used instead.
6. When the room temperature is right, you can roll out all the petals needed for a flower, and then assemble them piece by piece. But when it's cold, the rolled chocolate is easy to harden, it is best to roll one piece to stick.
7. When it is hot, prepare a cup filled with cold water, and be ready to use the bottom of the cup to press on the chocolate to cool the chocolate. At any time, try not to touch the chocolate for a long time with your hands, otherwise the chocolate will melt. This also requires us to make the action as clean and neat as possible. Straight-sided roses and carnations are more difficult to make in hot weather.
8. When placing the chocolate flower on the cake or on the plate, cut off the extra flower center at the end to make the bottom smooth.
9. If the chocolate processed with syrup is not used up at one time, put it in a sealed box and put it in the refrigerator for storage. It can be taken out for use at any time. The chocolate just taken out of the refrigerator will be very hard, and it will become soft when the temperature rises after repeated kneading (or put it at room temperature for a period of time).

