Homemade Cold Skin
1.
Regarding the question that many friends asked why the dough would break when making it, I would like to give a unified reply.
There are several situations for this reason according to my analysis, please refer to:
1. There is too little water left in the step of pouring the batter, and the batter is too thick and easy to crack. The state should be stirred very hard by hand.
2. The steaming time is too long or the fire is too big. After the water is boiled, it will be medium to small fire. When you see the dough is transparent and there are big bubbles in the middle, take it out immediately.
3. Cover the lid when steaming. I probably forgot to write about this.
In short, you still need to try several times. Steam one sheet first. If it cracks, please try to find out one by one according to the above.
Finally, thank you so many people for loving my recipe.
2.
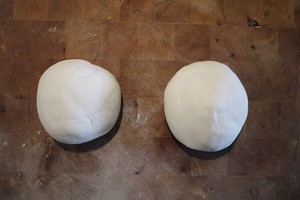
First make dough with water and put a little salt in the flour. Don’t ask me how much water and how much noodles. I have always followed the principle of adding more water to the noodles and adding more water to the noodles. In the end, the balance became two relatively hard. For a little bit of dough, there is no high-gluten flour at home, so I use wheat flour instead. The taste is good, but the gluten is less washed out.
3.
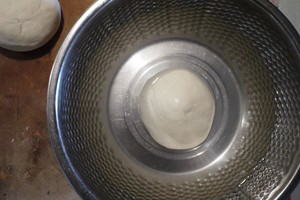
Let the dough stand for more than 15 minutes, which is what we often call waking up. I left these two doughs for about 30 minutes. Then find a basin and fill it with water that is less than half the dough level, then put the dough in it and knead it with your hands. You can use the method of washing clothes. At this time you will be as panicked as I am, because after washing, the dough shattered and turned into dregs, and then the water became whiter and whiter.
4.
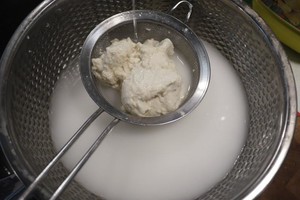
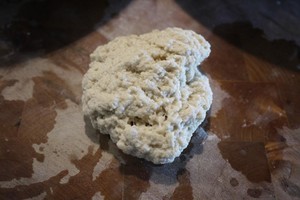
Then take another basin, filter the noodle soup with a strainer, and mix the remaining noodles with the previous dough, put the basin in fresh water and continue washing, then you can put the dough in the strainer and squeeze Wash it until the water does not show the color, and the dough is like gluten, so this stuff is the last gluten to eat.
5.
Washed gluten.
6.
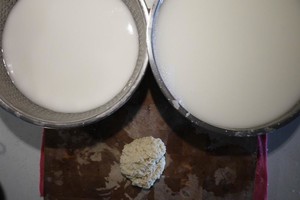
This step is the most tormenting, because the water used to wash the noodles is now turbid, and you can’t make the cold skin directly. You have to stand still for more than a few hours. In fact, the best way is to do these three items one night in advance, and then the second You can eat Liangpi in the morning, because I really don't have that much endurance, so I put it from noon to night, remember not to move the basin during this period.

7.
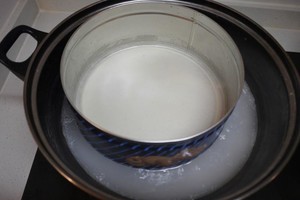
After a few hours, the noodles had basically settled down, and the water on it became clearer and clearer, and then slowly poured out the clear water on top, exposing the white noodle soup underground. Use a spoon or hand to vigorously stir the noodle soup for a long time. After stirring, use a flat iron plate. If not, you can use a biscuit box or a pizza plate like I did. First boil a pot of boiling water, then use cooked oil (fried oil) to brush a thin layer on the iron pan, then pour a spoonful of batter on top, not too thin, not too thick, you just make one or two Mastered. At this time, the water is boiling, put the iron pan in the boiling water, quickly stir the batter with your hands, then close the lid, and start the pan after 3 minutes.
8.
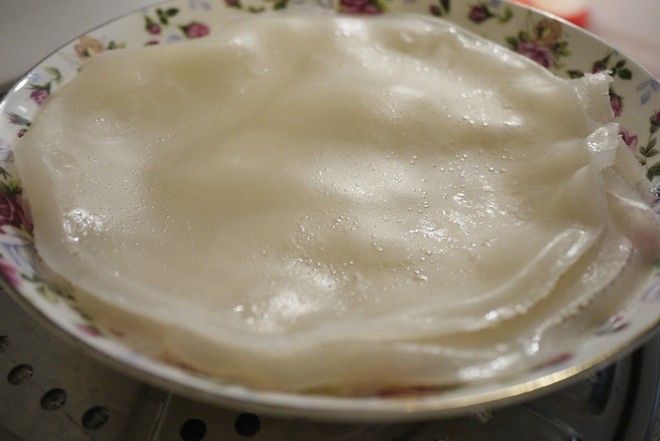
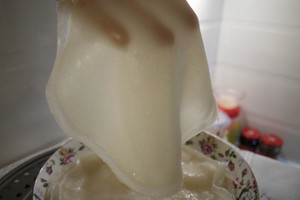
At this time, the cold skin has become transparent. Take out the iron plate and put it in cold water to cool it down. It can be cut off smoothly. A thin, transparent, strong and smooth cold skin is ready.
9.
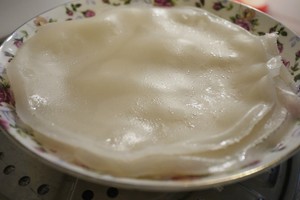
And so on, and then do it. When the two cold skins are stacked together, be sure to apply a thin layer of oil on the bottom skin, otherwise it will stick together, ding~~~~ Not bad!
10.
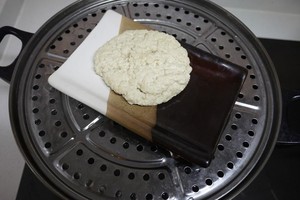
Let's talk about gluten. This is much simpler. The gluten washed before is steamed in the pot for about 15 minutes. Depending on the size, you can also use chopsticks to poke it. The inside will be cooked when it is not thin. After being steamed, cut into small cubes and toss with cold skin.
11.
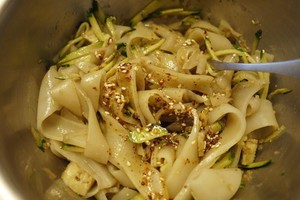
The final mixed product ~~ There are no bean sprouts or coriander at home, only cucumbers, but the taste is not diminished at all, success! !

