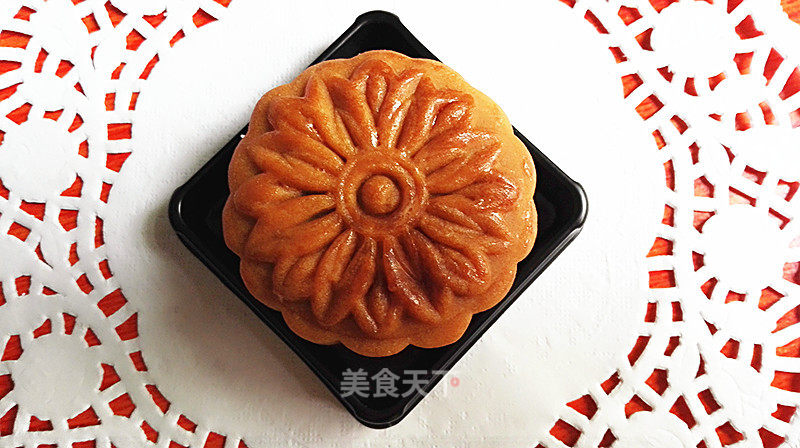
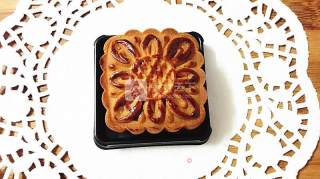
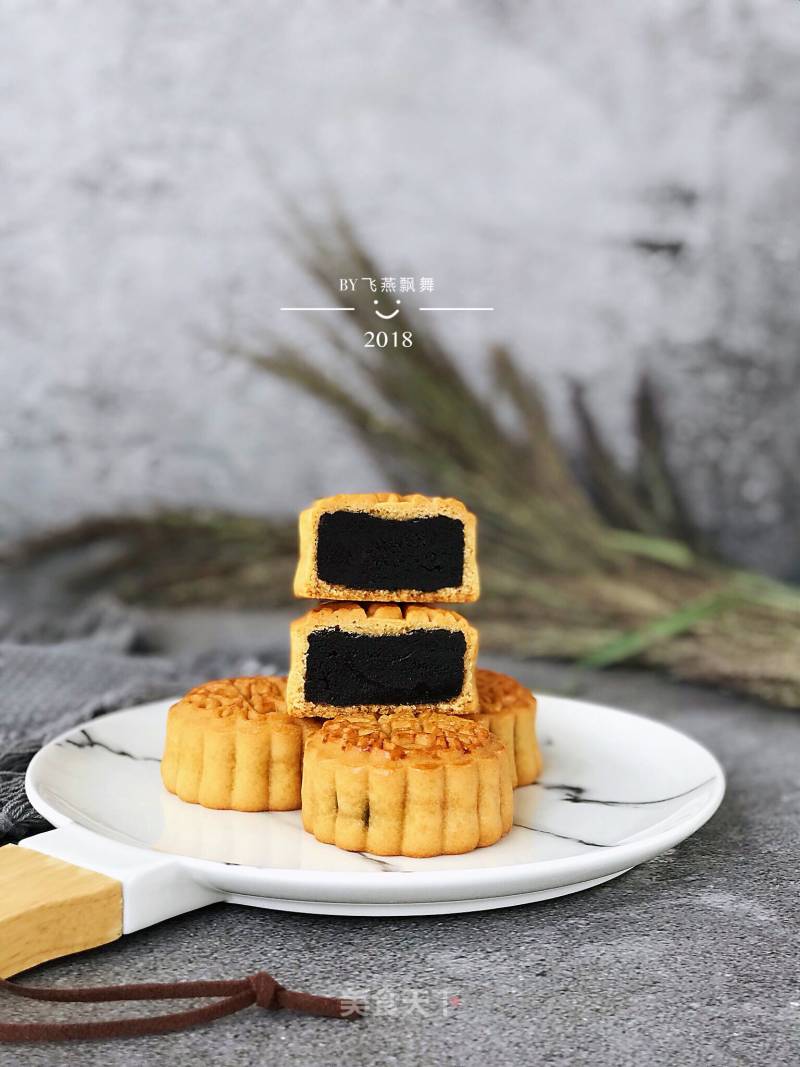
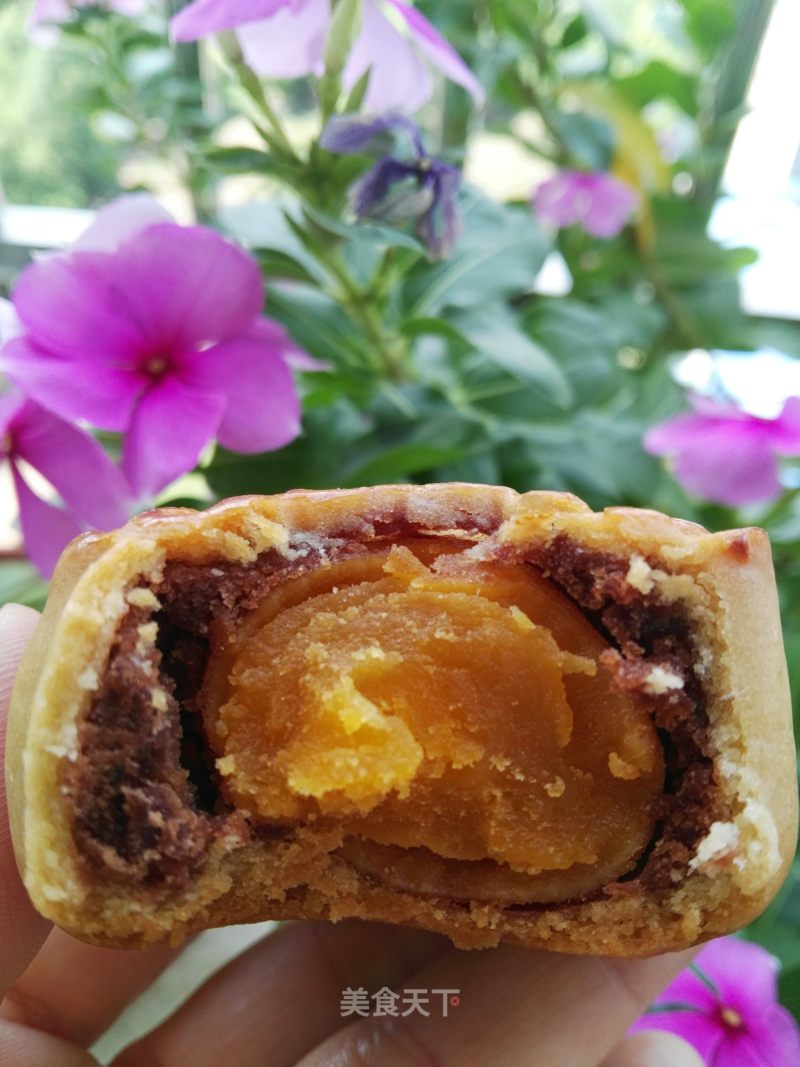
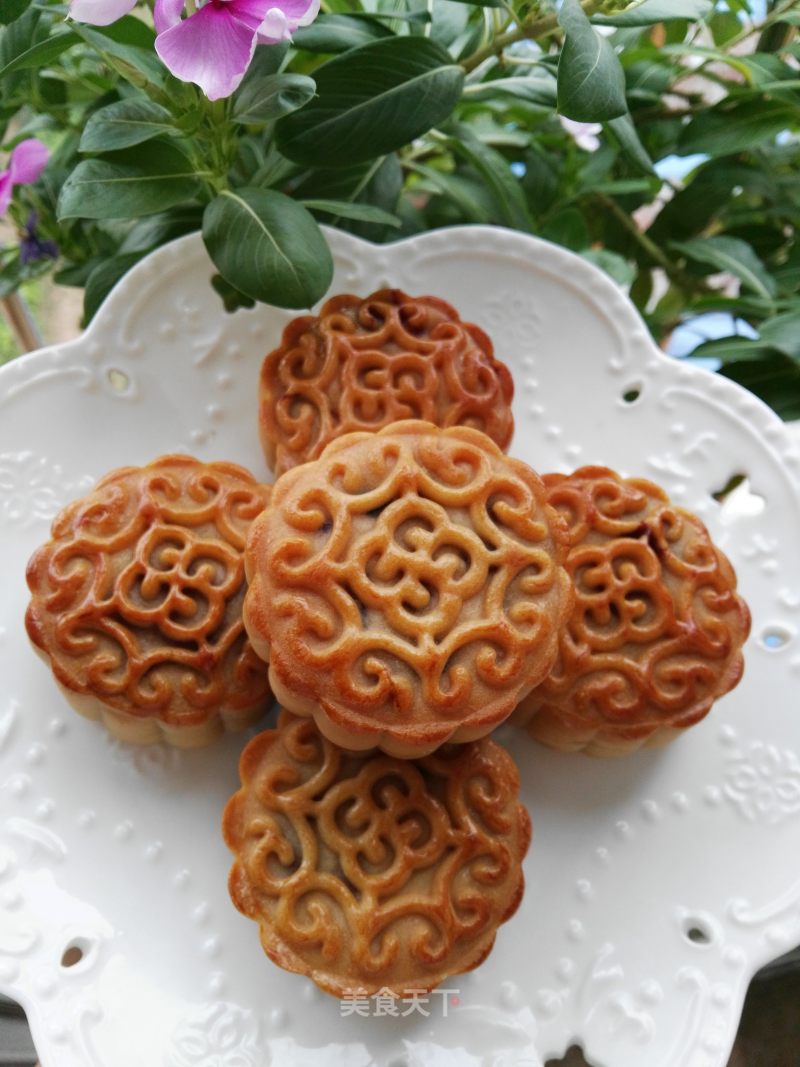
Mooncakes with Egg Yolk and Lotus Seed Paste
1.
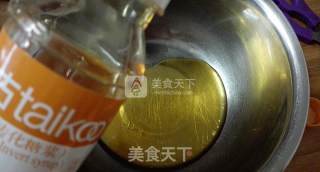
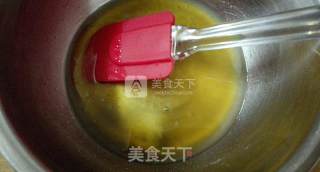
Put the desired invert syrup into the container.
2.
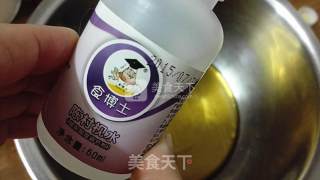
Add 2 grams of alkaline water.
3.
Adding edible oil, many people like to use peanut oil, but I don’t like the taste of peanut oil, so I just use normal salad oil, which is not bad!
4.
Use a whisk or a rubber spatula to mix all the ingredients evenly to fully fuse them together.
5.
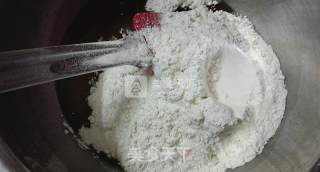
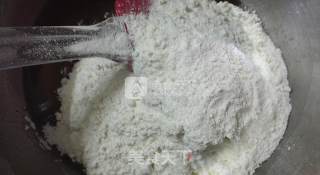
Add low-gluten flour.
6.
Add custard flour, if you don't have it, you can use it, just replace the low-gluten flour with 115 grams.
7.
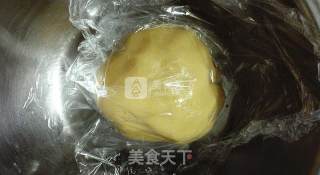
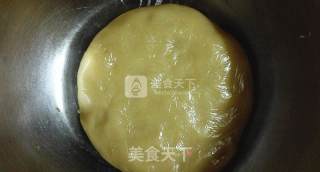
Use your hands to make a smooth dough and cover it with plastic wrap.
8.
Let stand for 1-2 hours.
9.
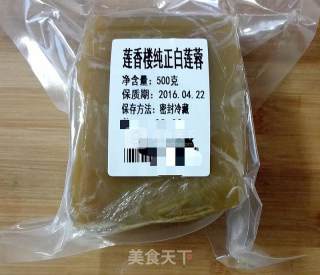
While the dough is standing still, we take out the lotus seed paste prepared in advance. Although you can make the filling you like, one is that it is more troublesome to make the filling and the storage time is not long. The other is not done well, and the filling will be too thin. It affects the appearance of the finished product, so it is recommended that novices buy ready-made fillings directly. The best filling should be the brand of Lianxianglou.
10.
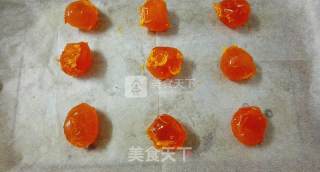
I also bought salted egg yolk directly.
11.
First take out the salted egg yolks to be used separately, each egg yolk here is about 10 grams.
12.
The total weight of the mooncake we are going to make is 75 grams, my mix is 25 grams of dough and 50 grams of filling (depending on the weight of the egg yolk, the rest is the weight of the lotus paste filling), here the egg yolk is 10 grams, The lotus paste filling occupies 40 grams, wrap each lotus paste filling with the egg yolk inside and round it for later use.
13.
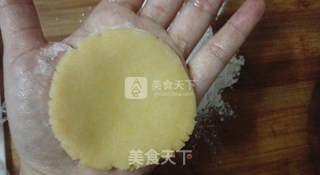
I'm ready to pack mooncakes. Sprinkle some loose powder on the cutting board in advance to prevent sticky hands. Take some loose powder on the palm of your left hand and take a small ball. Take some loose powder on the palm of your right hand and flatten the ball into a dough with a diameter of about 5-6 cm.
14.
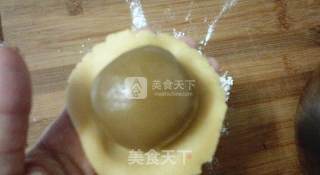
Take a filling and place it on the dough.
15.
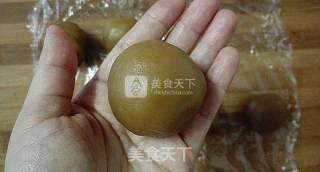
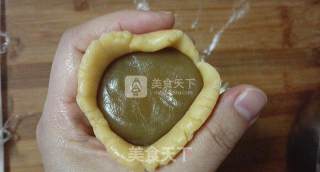
Slowly push up the dough with the help of a tiger's mouth, wrap the bean paste filling, and turn while pushing, so that the dough gradually wraps the filling and closes. The closing must be tightened to prevent the filling from leaking. The skills of this package should be slowly experienced by yourself, practice makes perfect!
16.
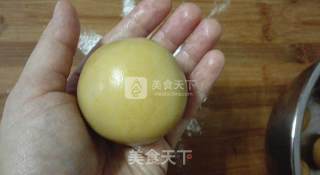
Squeeze the opening tightly and round it again to prevent the filling from leaking out.
17.
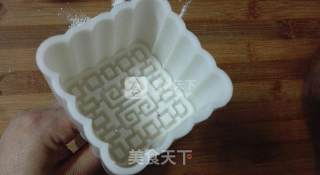
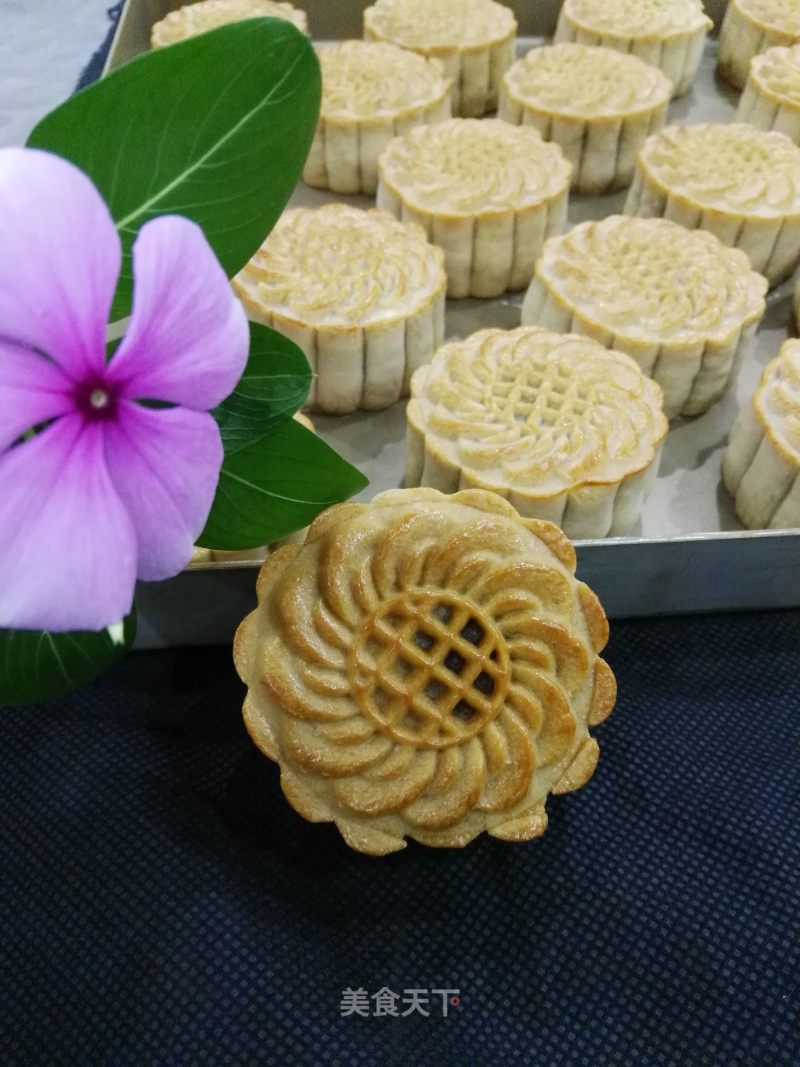
The current moon cake molds are all press-type and very convenient. There are different sizes, different flower pieces, and different shapes to choose from. Here I use a square 75g mold.
18.
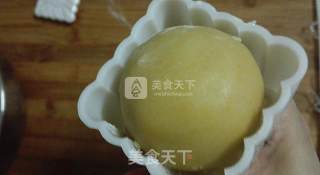
Gently put the moon cake ball into the mold.
19.
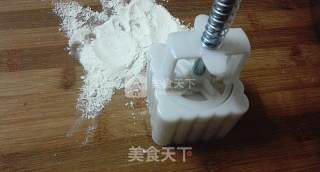
, Invert the mold to press the moon cake forcefully.
20.
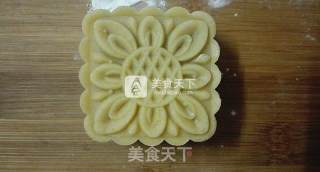
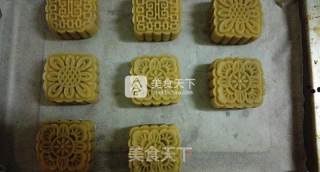
One mooncake embryo is ready.
21.
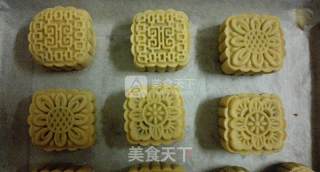
Press all the mooncake embryos directly on the baking tray.
22.
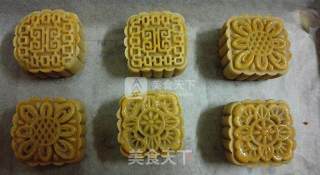
Put the pressed moon cakes into the preheated oven at 200 degrees for 5 minutes (each oven brand is different, the temperature and time are for reference only), first bake the moon cakes a little and shape them, and then bake them. We prepare an egg, leave a little egg white, and make it into egg liquid for brushing moon cakes.
23.
Take out the baked and shaped moon cakes, and evenly brush a thin layer of egg liquid on the surface of the raised pattern of the moon cakes after a little airing. It is important to note that the brush should be scratched on the edge of the plate after it is dipped in the egg liquid to make the brush Don't put too much egg liquid on it, otherwise, after the thick egg liquid is applied to the moon cake, the pattern of the baked moon cake will be very unclear and unsightly.
24.
Continue to put the bakeware brushed with egg liquid back into the oven, and the temperature will drop to 190 degrees for 20 minutes. (Each oven brand is different, temperature and time are for reference only)

