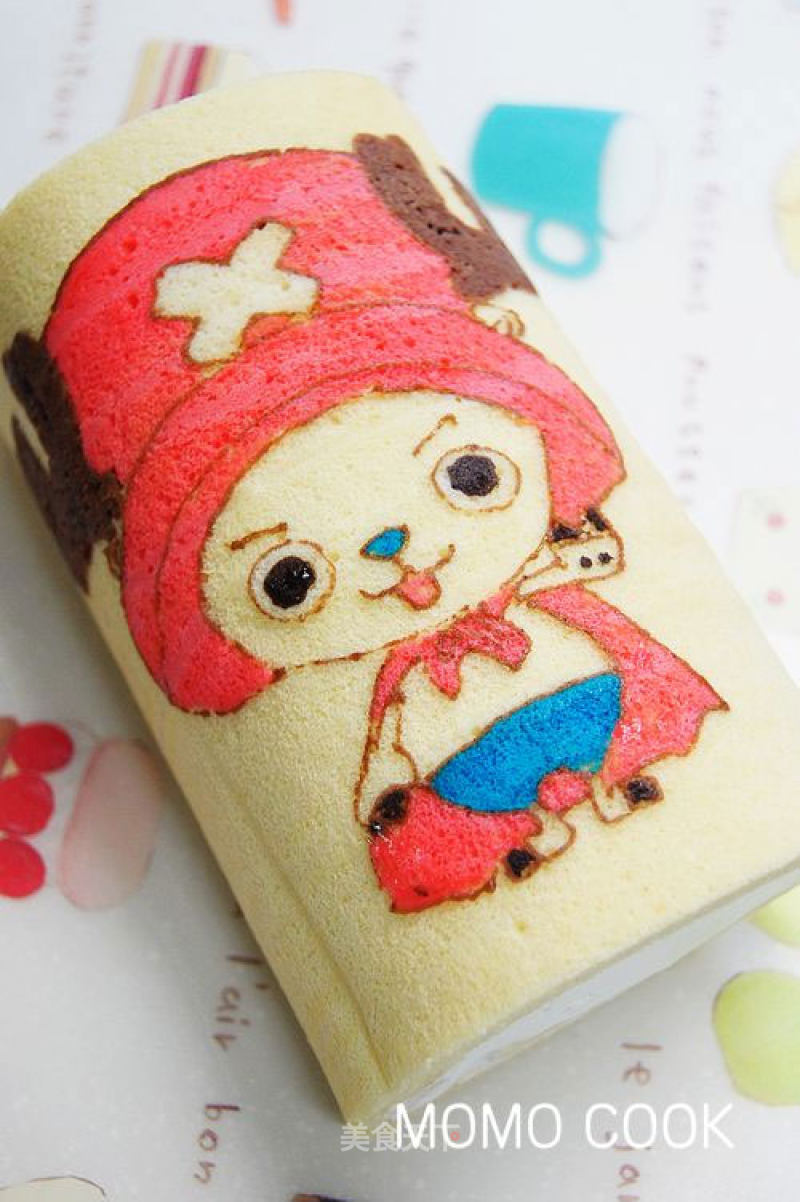
One Piece Choba Painted Cake Roll
by MOMOCOOK
Favorite
Difficulty
Hard
Time
2h
Serving
2
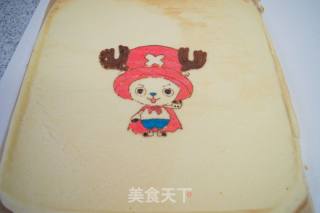
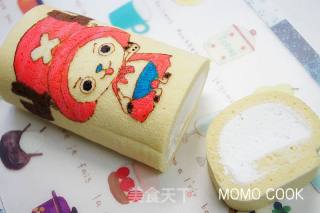
This kind of cake roll has been made many times, every time the soup is changed without changing the medicine, the recipe and the operation method are basically the same, the difference is the pattern on the cake roll.
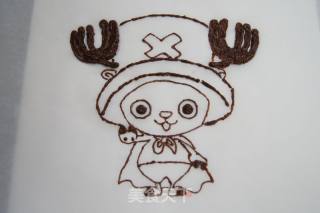
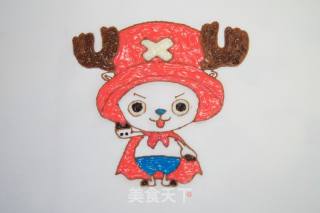
The motivation for me to make such a cartoon cake roll is not the cake itself, but the cartoon characters on it. Every time I complete a cake roll with a different character or picture, I will feel that I put this character or picture His soul was printed on the cake, which moved me. Just like today’s Chopper Cake Roll, this Chopper has always thought that he is a timid, cowardly, and not recognized by people around him, and is great with his friends. During the journey of sailing adventure, I gained courage, strength and precious friendship.
(30*30CM baking tray)"

