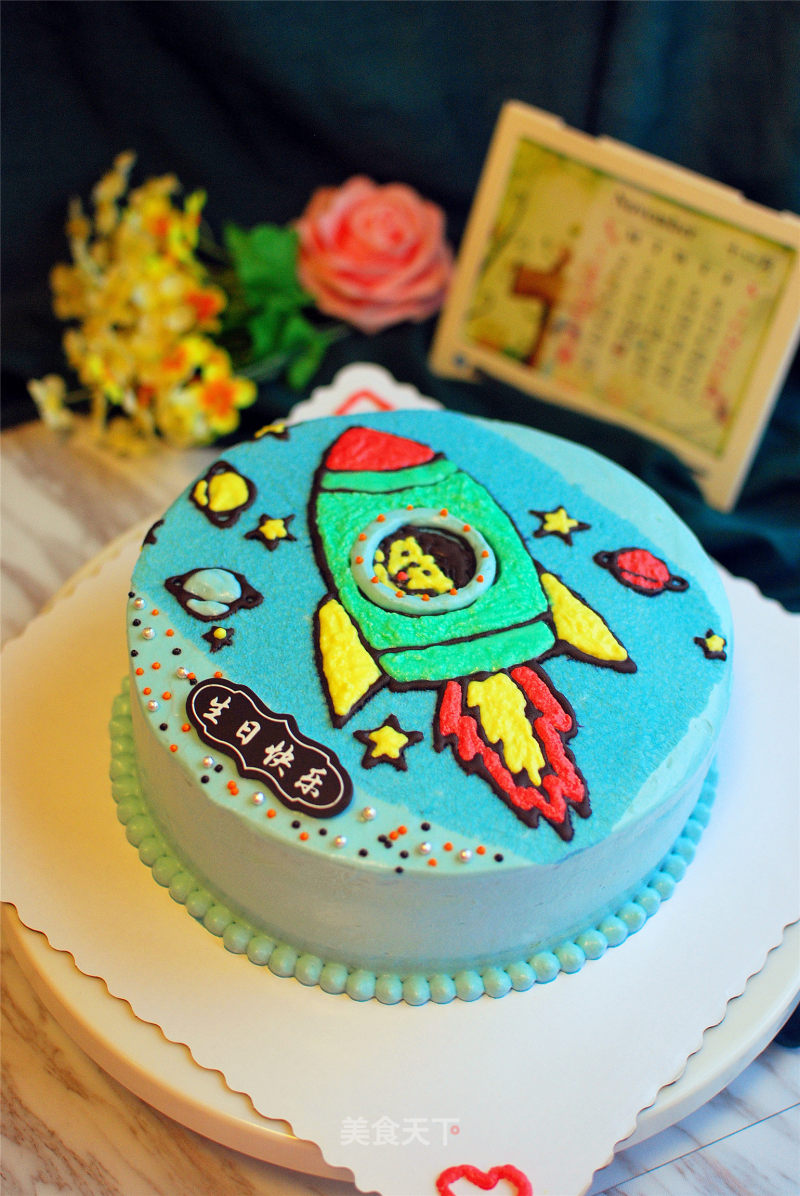
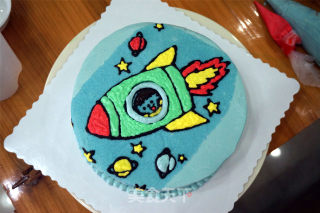
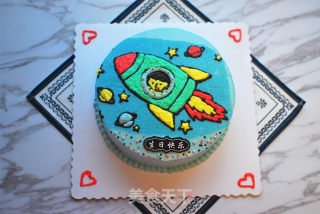
#trust之美#little Rocket Birthday Cake
1.
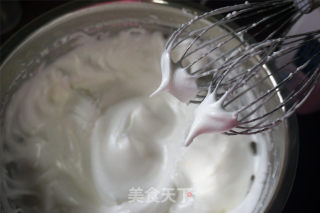
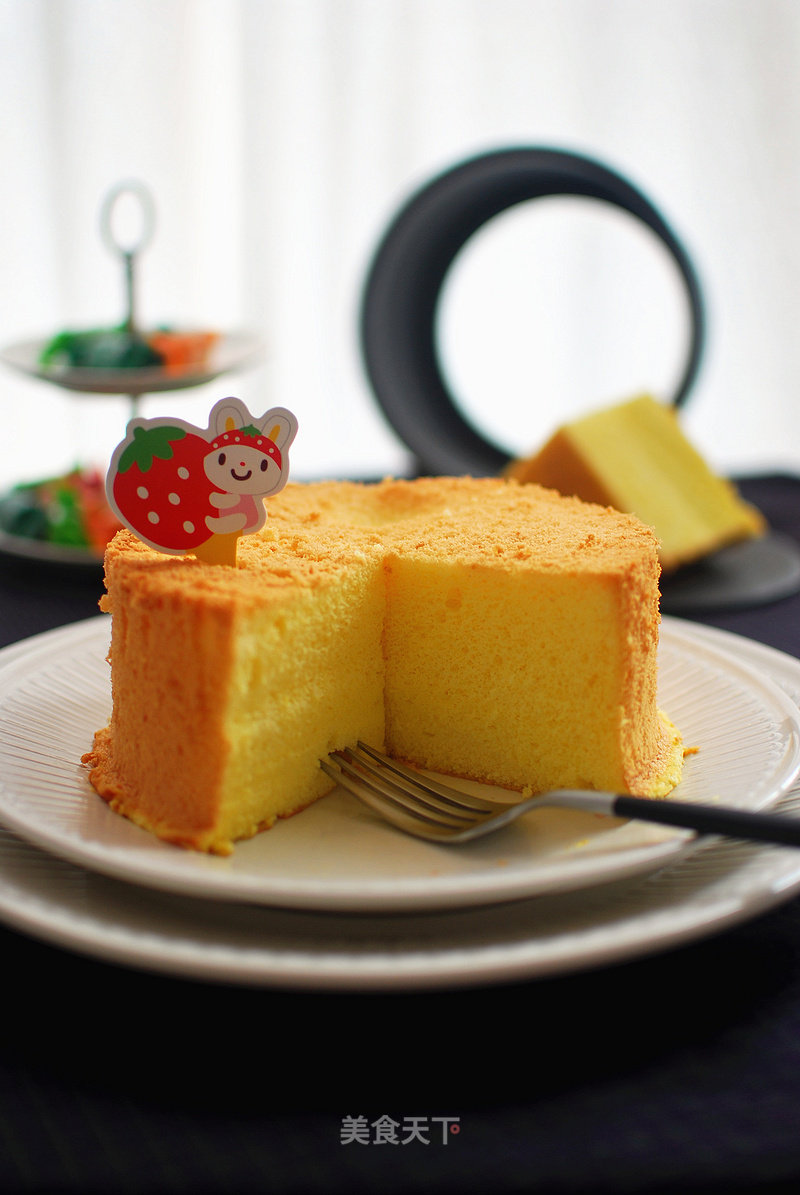
Whisk the egg whites: 6 egg whites, add 4 grams of lemon juice, 2 grams of salt, 66 grams of fine sugar (add in three times), beat at low speed to coarse foam, then turn to medium speed, and beat until neutral foaming , The protein does not flow out).
2.
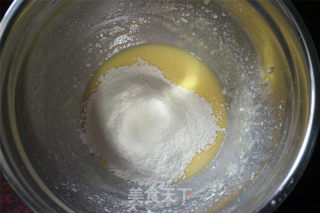
To make the batter: Add 26 grams of fine sugar, 40 grams of pure milk or water, and 66 grams of corn oil to the egg yolk, and mix until the sugar melts. Then sift in the chiffon cake flour and mix until there is no dry powder.
3.
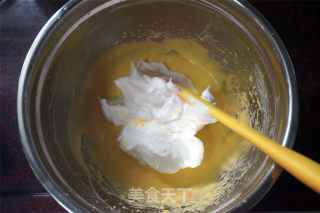
Add one-third of the egg white paste to the egg yolk paste, cut and mix evenly. Then pour it into the remaining egg white paste and mix well.
4.
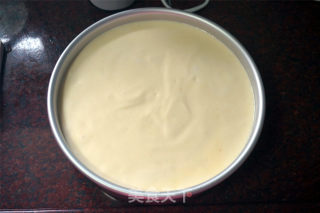
Pour the batter into an 8-inch round live bottom cake mold and shake out large bubbles.
5.
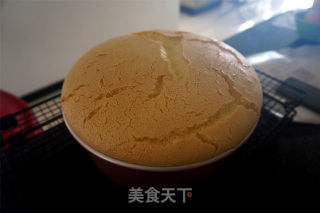
Put it in the middle and lower level of the preheated oven, and heat up and down at 160 degrees for 60 minutes. After being out of the oven, it will be reversed and demoulded after cooling.
6.
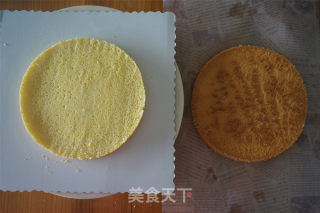
Divide the cake into 3 slices.
7.
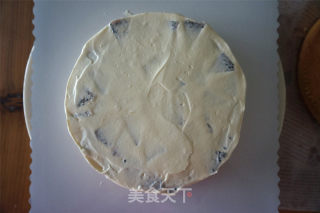
Put a layer of cake slices on top of a layer of cream and fruit filling, cover the last layer with cake slices and pause for a while, to color the remaining whipped cream.
8.
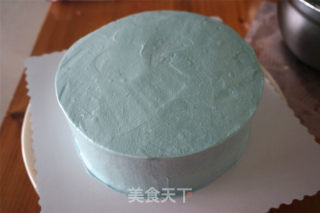
First fill up half a bowl of white whipped cream. Add blue pigment to the rest to make it blue. Then spread the whole cake with blue whipped cream.
9.
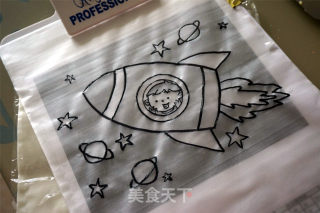
Put a transparent transfer sheet on the pattern paper, and then put a piece of glutinous rice paper on the surface, and draw the pattern with an edible color pen.
10.
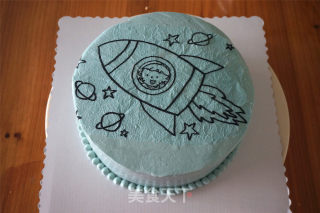
Cut out the pattern and place it on the cake body.
11.
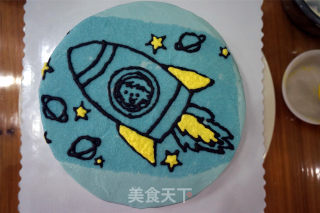
Put about 30 grams of chocolate in a piping bag. After it melts in water, cut a small hole to draw the pattern. Then fill in the pattern.
12.
Spoon a small amount of white whipped cream, add pigments to color, put it into a piping bag, and then fill in the pattern.
13.
Finally, put on the chocolate happy birthday slice and the sugar bead decoration to complete.
Tips:
1. If you have good art skills, you can directly use a toothpick to draw a pattern on the cake body without the help of glutinous rice paper.
2. Do not whip the whipped cream too hard before color mixing, so as to avoid excessive whip and oil-water separation during the later color mixing.

