#
1.
Prepare the raw materials, separate the egg white and protein, and put them into clean, water-free and oil-free egg beaters. (In hot seasons, eggs can be put in the refrigerator for one or two hours before being taken out for use.)
2.
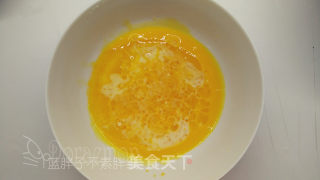
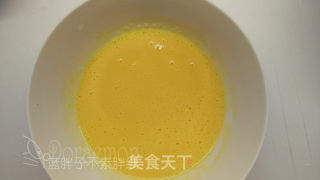
Break up the egg yolks, add milk and salad oil, and stir them until there is a layer of fine foam on the surface, that is, the emulsification is complete. (I usually draw the "Z" character. Stir until after the egg beater is scratched, lines appear. I took about 4 minutes for the emulsification process. The emulsified egg yolk paste can reduce the separation of oil and water and increase the foaming power , Make the volume larger. Mix with the batter to make the cake texture fluffy and soft.)
3.
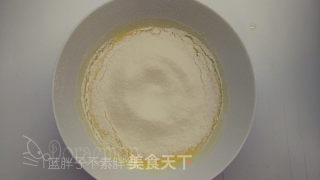
Sift in low-gluten flour. (The flour must be sifted!!! The sifted flour will bring in more air, and at the same time it can prevent the flour from becoming damp and agglomerate, making it easier to mix.)
4.
Use a manual whisk to draw "Z", stir it into a delicate and smooth shape, and set it aside for later use. At this time, the oven can be preheated to 170°C. (The baking temperature needs to be adjusted according to your own oven. The preheating temperature can be 15-20°C higher than the actual baking temperature, because when you open the oven door, after the cold air enters, the temperature in the oven will drop rapidly. )

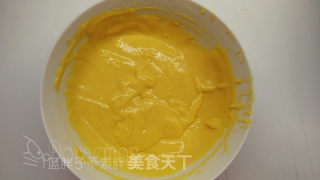
5.
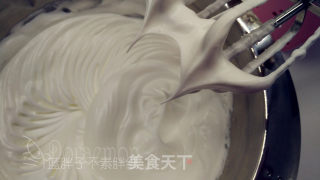
Add powdered sugar to the egg whites 3 times and beat until dry and foamy. (First, use a whisk at low speed to beat the egg whites until the fisheye bubbles, add 1/3 of the powdered sugar. Next, continue to beat with an electric whisk at high speed until the volume of the egg is doubled, then add 1/3 Powdered sugar. Then, continue to beat with an electric whisk at medium speed, and the lines will appear slightly, add the remaining 1/3 of the powdered sugar. Finally, beat at low speed until you feel obvious resistance. When you lift the whisk, the tip is short and small (Remember, do not leave a gap between the mixing bowl and the mixing head! Otherwise, the egg whites will not be whipped evenly. Also, remember to scrape the surrounding meringue with a spatula from time to time to make a more stable meringue .At the same time, be careful not to beat the meringue too hard, you will find that they are agglomerated when the meringue and the batter are mixed, which is more difficult to mix, and the mixing time will increase. , Then it may cause defoaming.)

6.
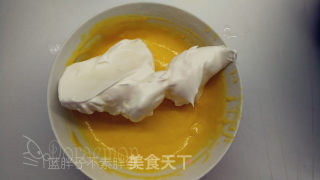
5. Take 1/3 of the meringue and add it to the egg yolk paste, and mix well with a rubber spatula. (At this time, you can see that the state of the meringue is actually very delicate and shiny. This state is the best and it is easy to mix evenly. Technique: Hold the spatula with your right hand and turn the basin with your left. The knife is from the 2 o'clock position Into the basin, the blade is perpendicular to the basin and extends straight through to the 8 o'clock position, then flip the knife to turn the egg batter up. At the same time, turn the basin counterclockwise with your left hand.
7.
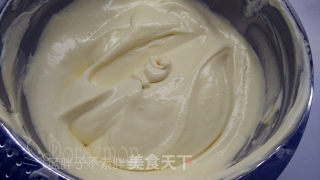
Pour it back into the meringue and continue to mix well with a rubber spatula until no trace of egg white is visible and the batter is smooth and smooth. (Be sure to stir evenly, otherwise the area with more meringue will swell badly.)
8.
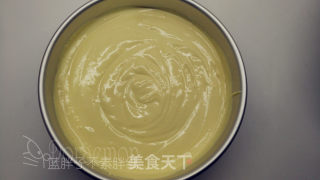
Pour the batter into the mold, smooth it slightly with a spatula, and shake it twice. (Don't use too much force during vibration to prevent running into the air, which is counterproductive.)
9.
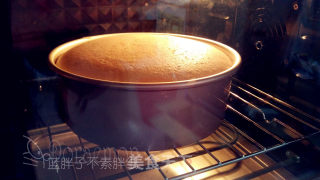
Put it into the preheated oven, heat up and down at 150°C, and bake for 60 minutes. (Want to know if the cake is well cooked, you can open the oven door and pat the skin with your hand before the baking is over. The inside of the baked cake is obviously not moving. After pressing, it will be elastic and will rebound.)
10.
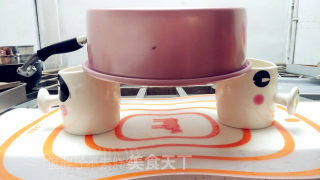
After being out of the oven, it shook twice and let it cool down. (When the cake is just out of the oven, the inside is still very hot. After a fall, the heat inside can be shaken out and the inside is cooled down, which can prevent the cake from collapsing. The biggest reason for the undercut is to prevent it from collapsing. I like to hold the cake upside down. The middle of the bowl, so that the middle is empty, which is more conducive to the dissipation of heat, and at the same time plays a role of pulling down.)
11.
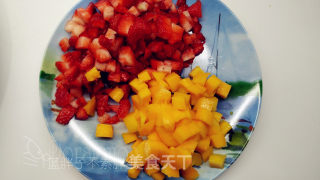
Cut the fruit into small cubes.
12.
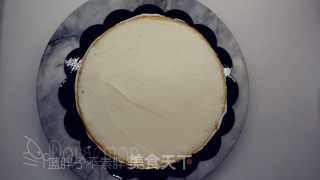
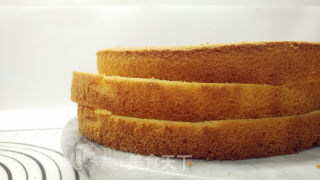
After the cake cools, it is demoulded and divided into three evenly. (The layering of the cake must be even, with a serrated knife, you can put the cake on the decorating table, while rotating the decorating table, use the serrated knife to slowly draw a circle first, and then gently separate them in parallel).

13.
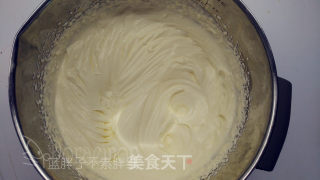
Whip the whipped cream until the lines appear. First, send it away with ice water. Second, whipped the whipped cream as low as possible, so that the whipped cream is more stable and more delicate. Third, the whipped cream used for wiping the noodles can be beaten until the lines have just appeared. Don’t hit the piping state all at once. It is difficult to smooth them, and during the wiping process, the spatula and the whipped cream will be rubbed further, and the final may Go too far and become rough. (Pour the whipped cream into the egg beater in advance, and put it in the refrigerator together with the whisk (this can ensure low temperature in summer and help the whipping of the whipped cream).
14.
Take 1 piece of cake and spread it on the bottom. Take the whipped cream and place it on the cake slice. (Use a spatula to smooth it out a bit, you don't need to spread it very flat here, you can do it at will.)
15.
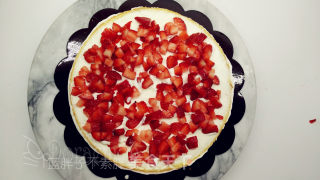
Put the diced fruit evenly. (Remember to leave a little space around and in the middle so that the cake will not fall apart when it is cut.)
16.
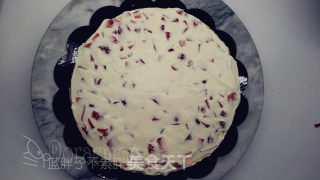
Then take an appropriate amount of whipped cream to cover the fruit and smooth it. Then cover the second slice of cake, remember to align with the edge of the first slice of cake when covering. This is repeated until all 3 cakes are completed.
17.
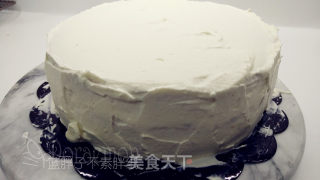
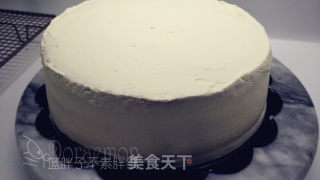
First spread a layer of light cream on the sides and top of the cake base with light cream to cover the cake base.
18.
Then start to wipe the side, the spatula is perpendicular to the cake body, the knife body is close to the side, and the decorating table is turned so that the side will gradually become flat. Make sure that the spatula is clean when wiping the noodles! ! ! Wipe the spatula clean every time you wipe it. At the same time, if the whipped cream on the spatula has cake crumbs, remember not to use the whipped cream, just wipe it off, otherwise it will contaminate all the whipped cream, and then you will find that it becomes more and more smooth.

19.
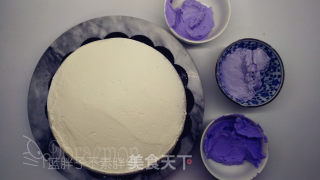
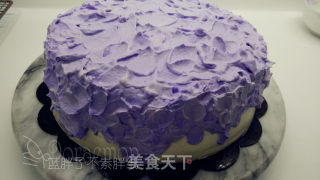
Scoop out half of the remaining whipped cream, add two drops of purple pigment, and send it to the decorating state, then take out half. After that, add half of the remaining white whipped cream and continue to send it to the piping state, and then take out half as well. Finally, mix the remaining white whipped cream and purple whipped cream, so we get three different levels of purple whipped cream. (The whipped cream here needs to be sent to the piping state, but remember not to beat it, it becomes rough.)
20.
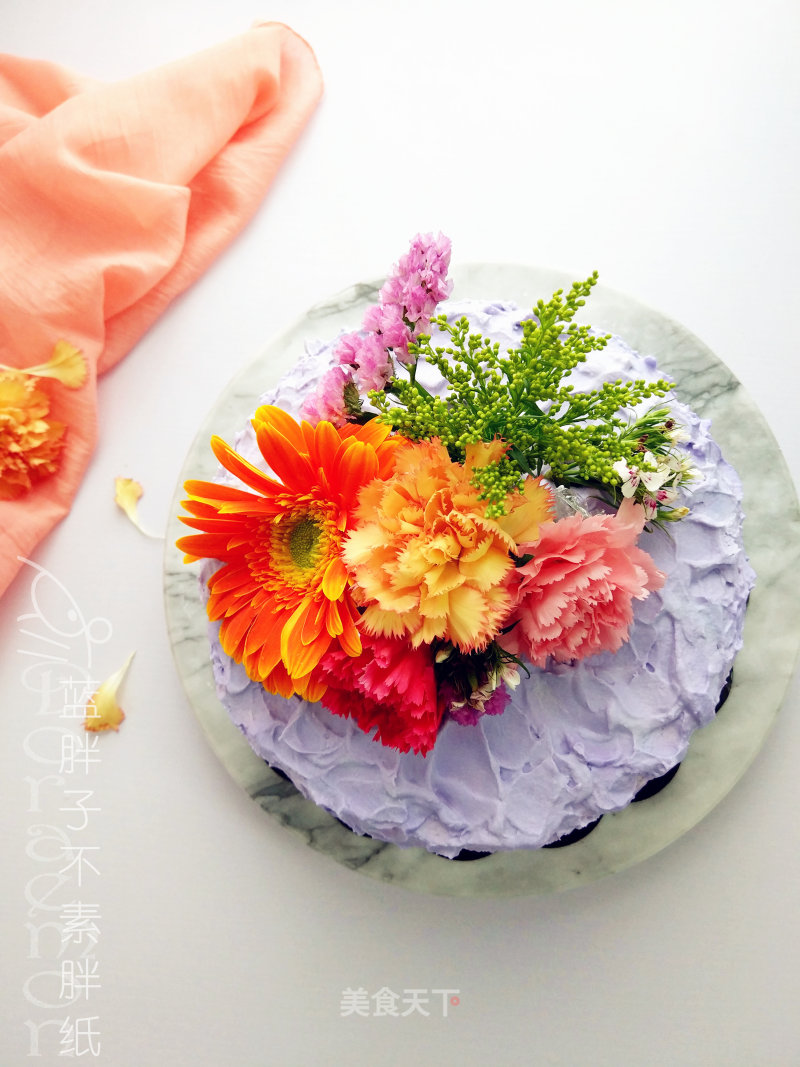
Dip light cream on the back of a spoon and spread it on the cake. The three colors are alternately applied.
21.
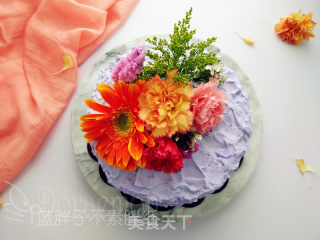
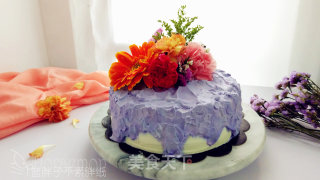
After the flowers are cleaned, wrap the bottom with plastic wrap and place them on the cake. (Flowers must be cleaned and wrapped in plastic wrap to ensure hygiene.)
22.
Meimei da.
Tips:
The tips are in each step, please read it carefully.

