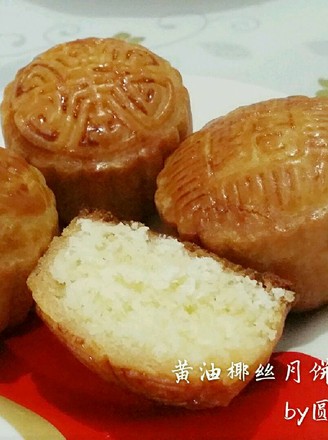
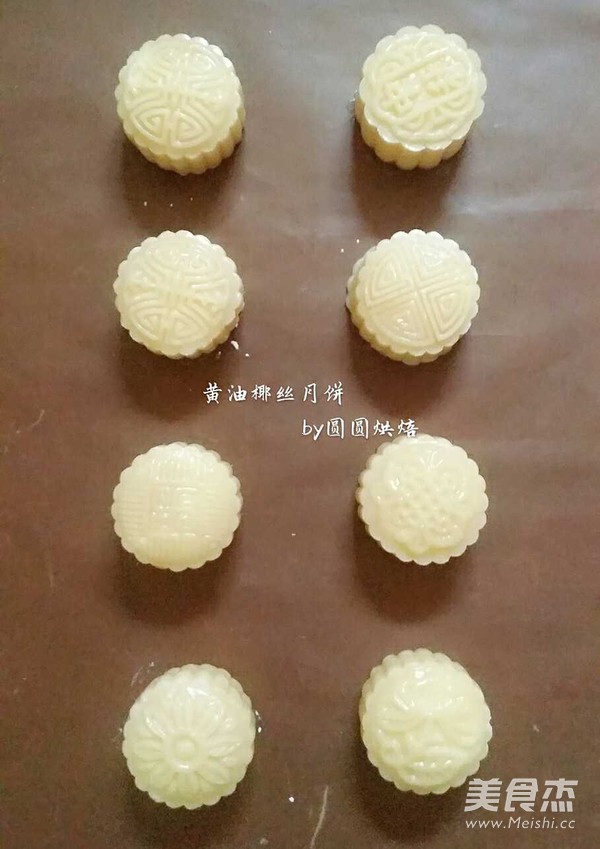
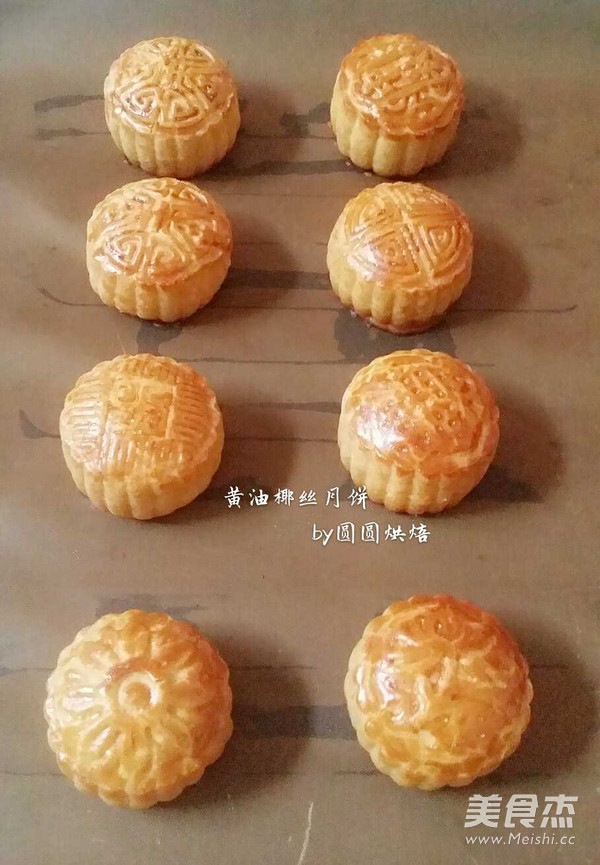
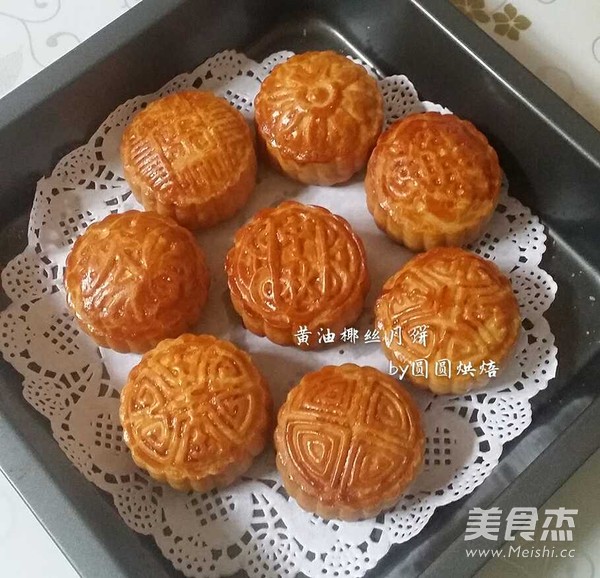
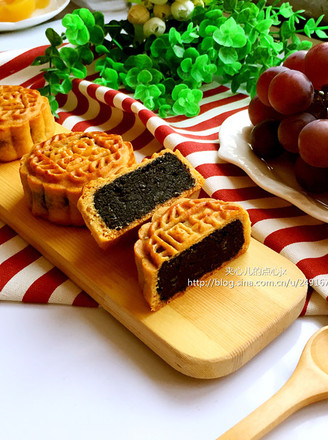
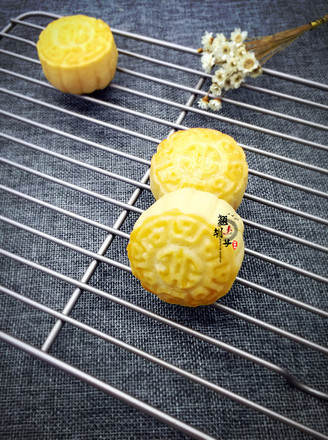
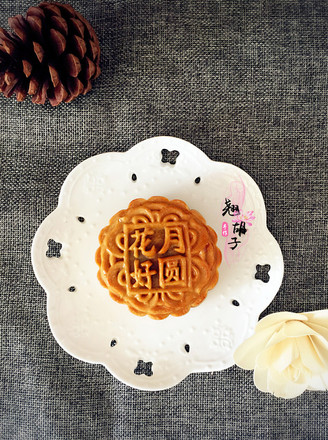
50g Butter Coconut Mooncake with A Total of 8 Proportions
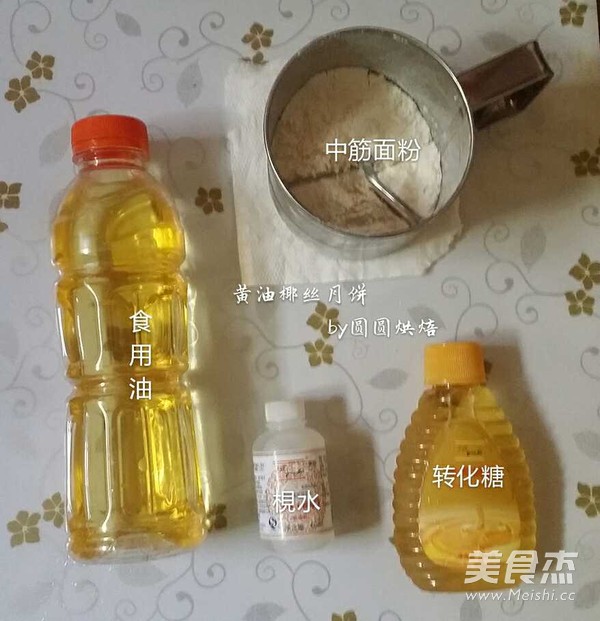
1.
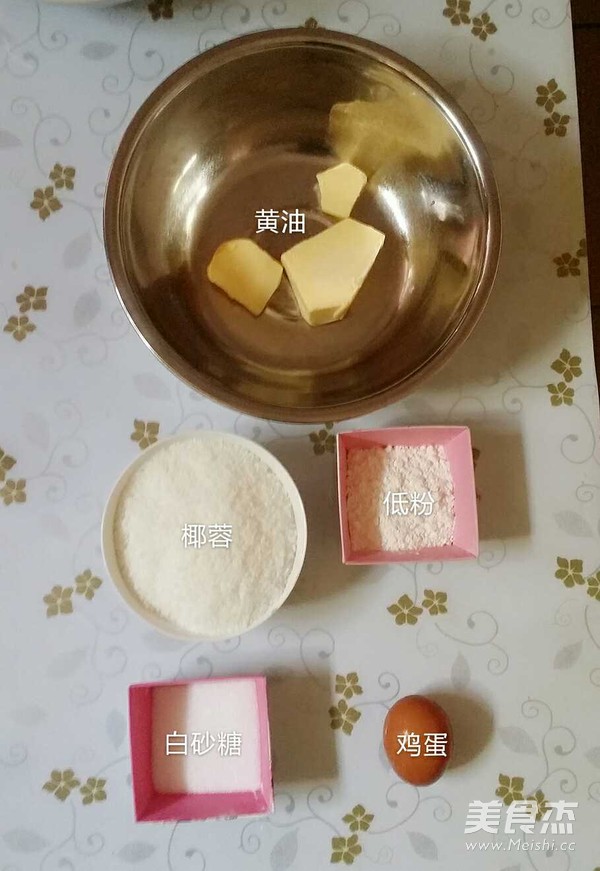
Prepare all the ingredients for the crust.
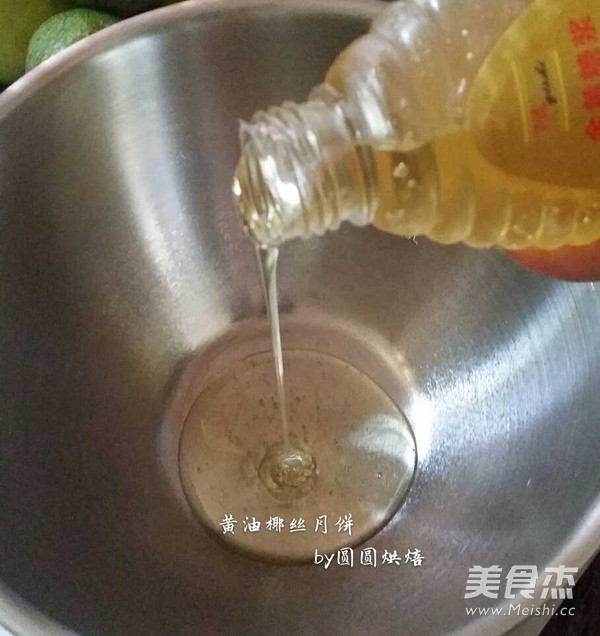
2.
First mix the invert sugar and soap.
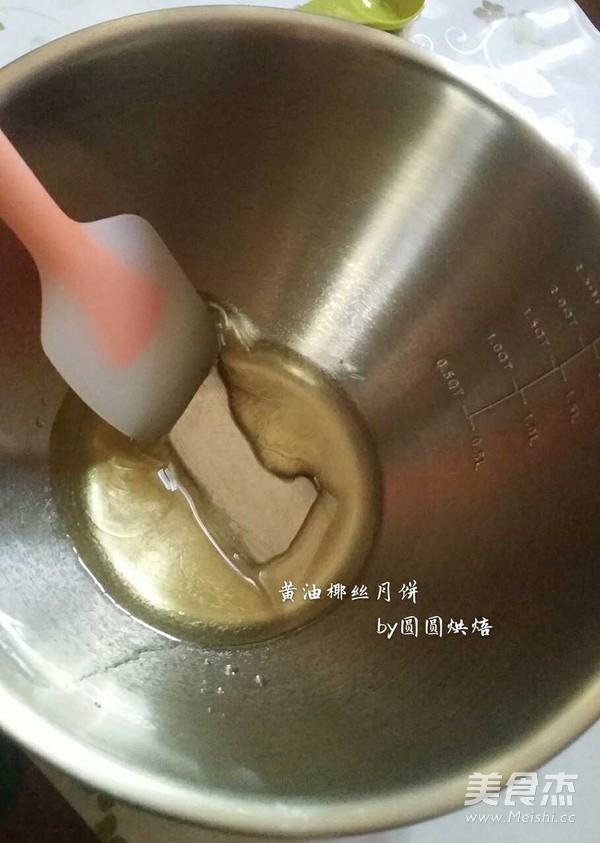
3.
Pour in food oil and stir well.
4.
Add all-purpose flour.
5.
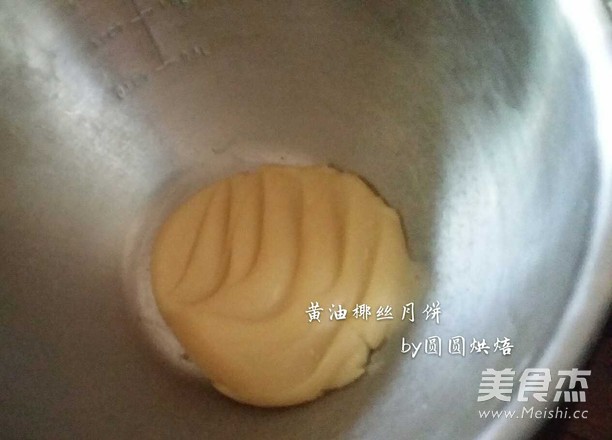
Stir it evenly to form a shiny dough, put it in a fresh-keeping bag, and refrigerate for 1 hour.
6.
Prepare the filling materials.
7.
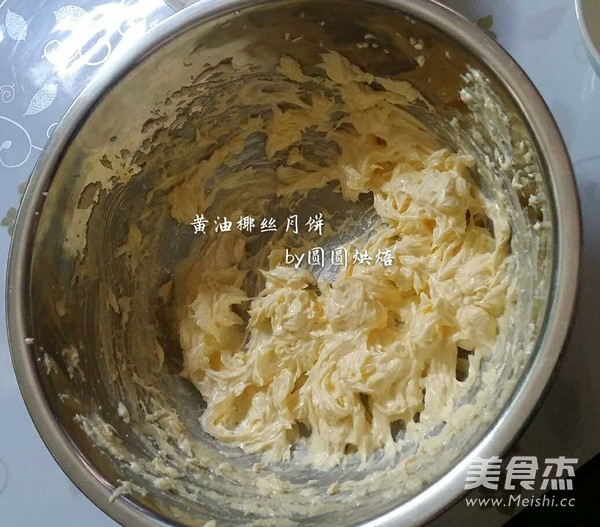
Add granulated sugar to the pre-softened butter and beat.
8.
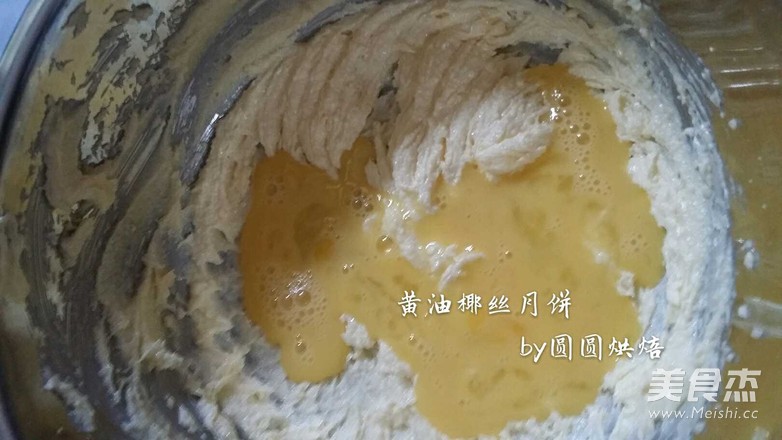
Add egg liquid (don't forget to set aside a little egg yolk in advance to brush on the surface of the moon cake).
9.
Keep going.
10.
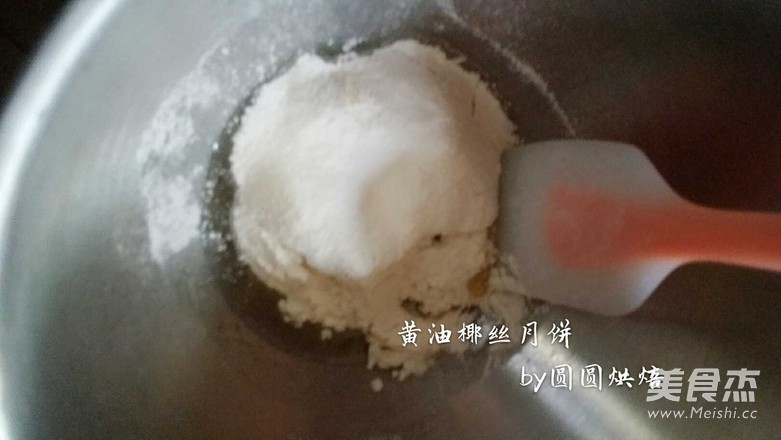
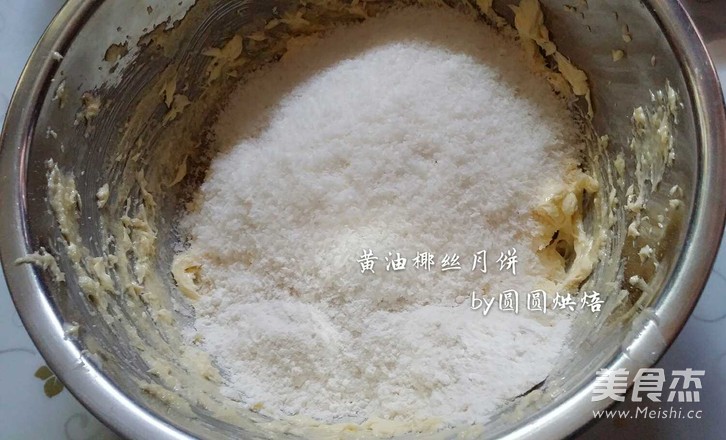
Add coconut and low-gluten flour.
11.
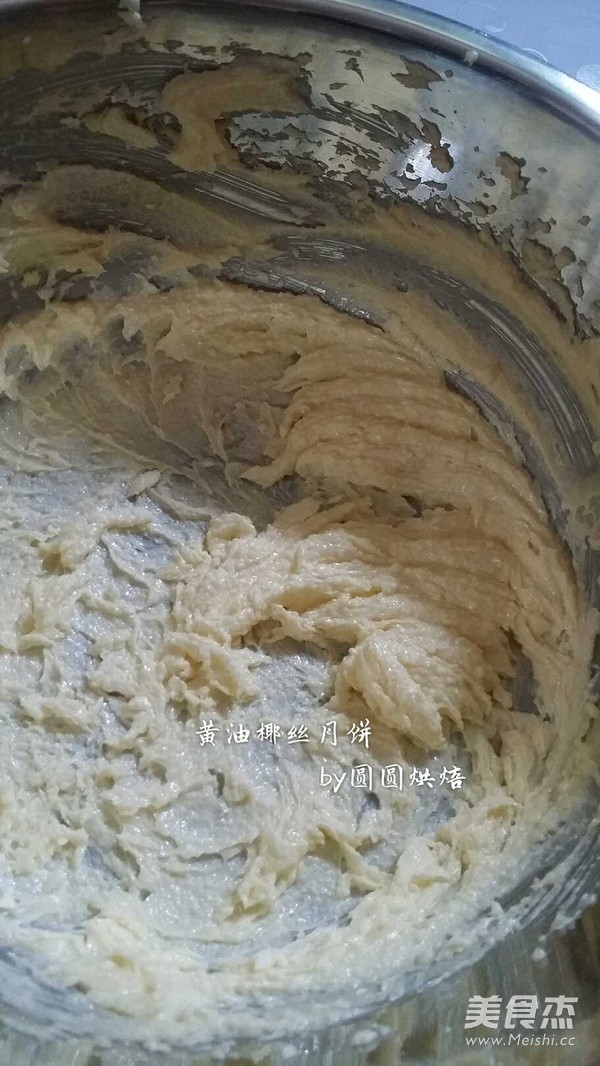
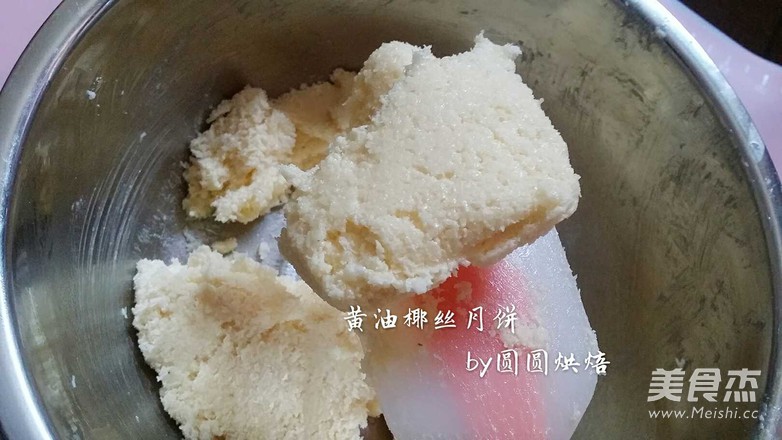
Stir it evenly, just like this and a moderate thickness.
12.
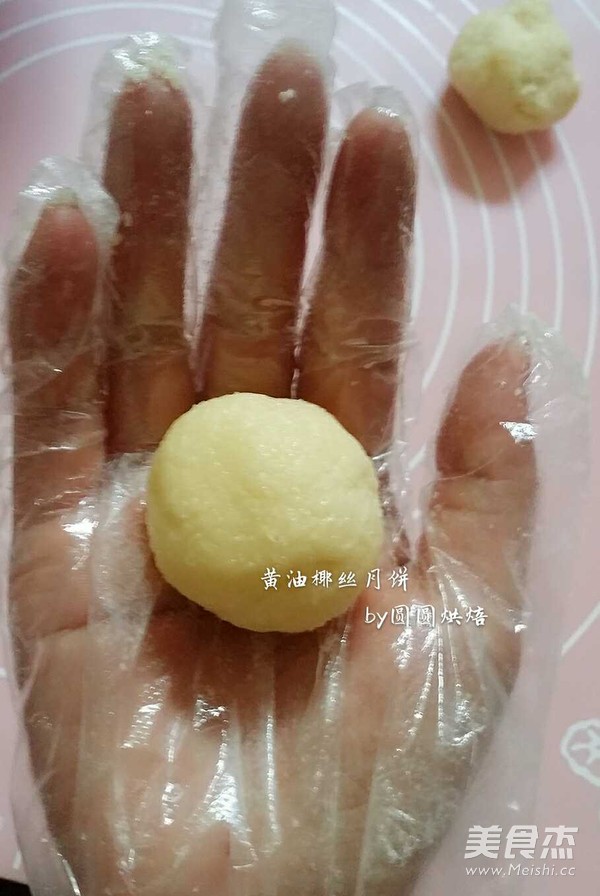
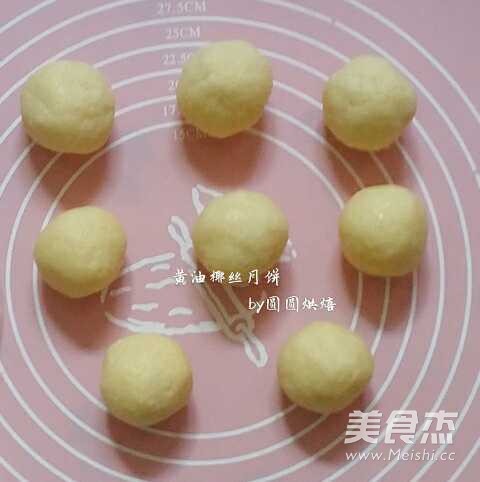
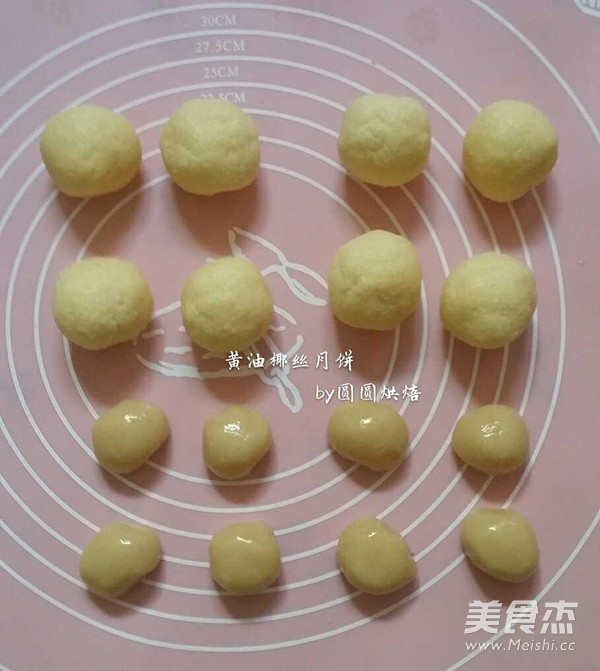
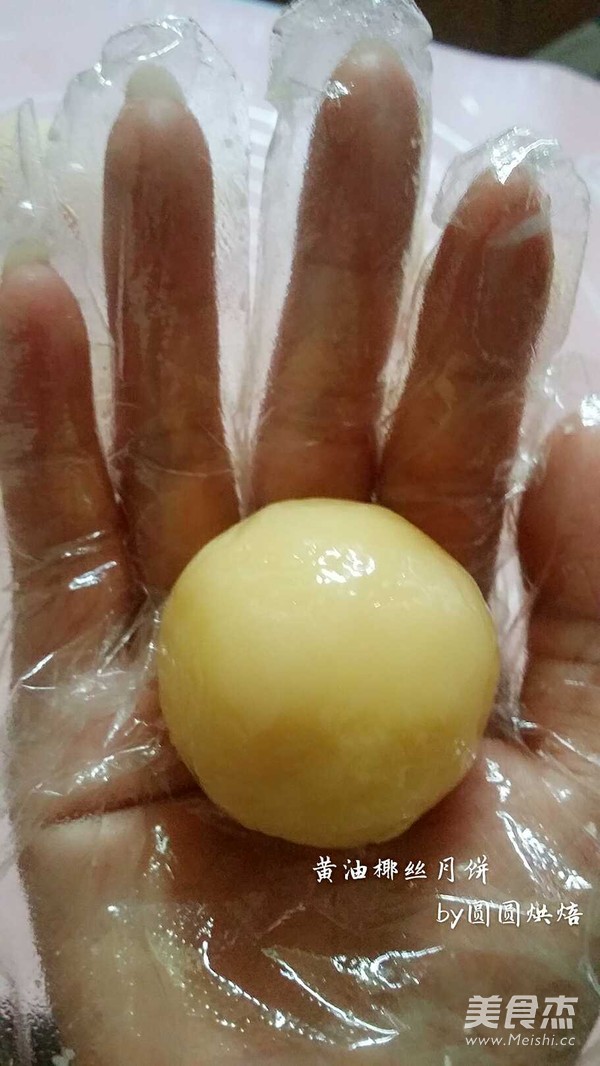
Put on gloves and divide the filling into 35g pieces, a total of 8 pieces.
13.
Knead it into a ball and set aside (as long as it is not loose after kneading, it proves that the filling is suitable).
14.
At this time, the refrigerated crust can also be used (I waited for the butter to soften naturally after making the crust, so the time is exactly 1 hour, if friends are making the crust, the butter has softened, it’s okay, do it The fillings and the crust are also loose, so you can make moon cakes directly).
15.
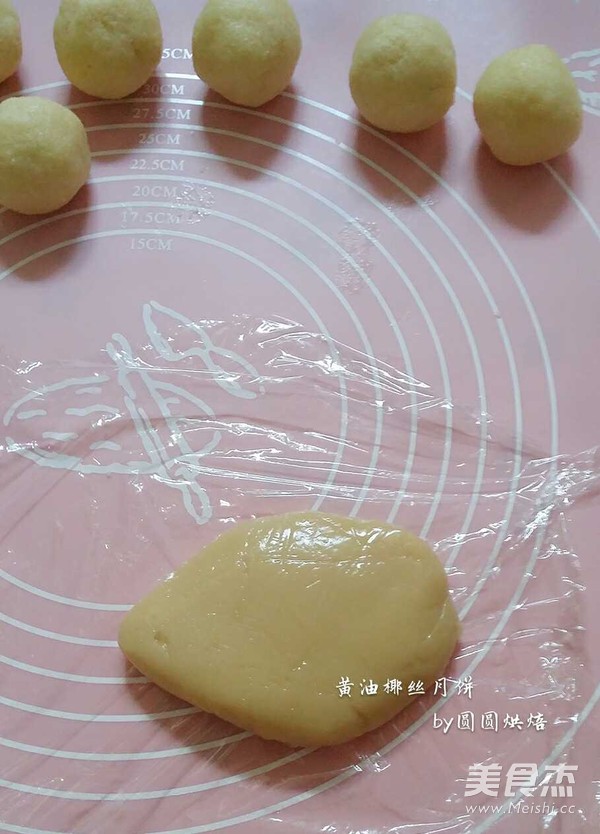
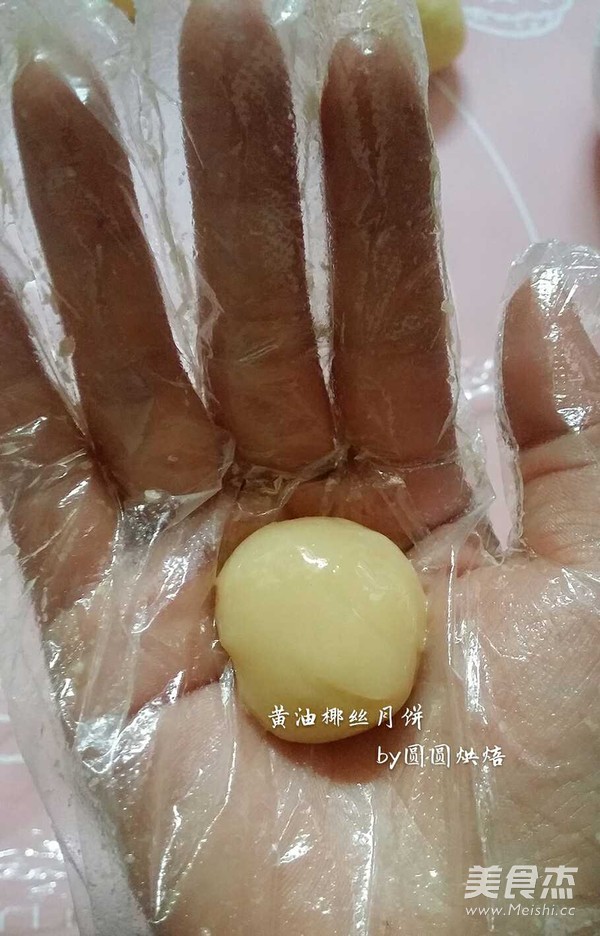
Wear gloves and divide it into 8 pieces, 15g of dough.
16.
Divide the dough and knead it into a ball. At this time, the crust will be smoother, softer, but not thin.
17.
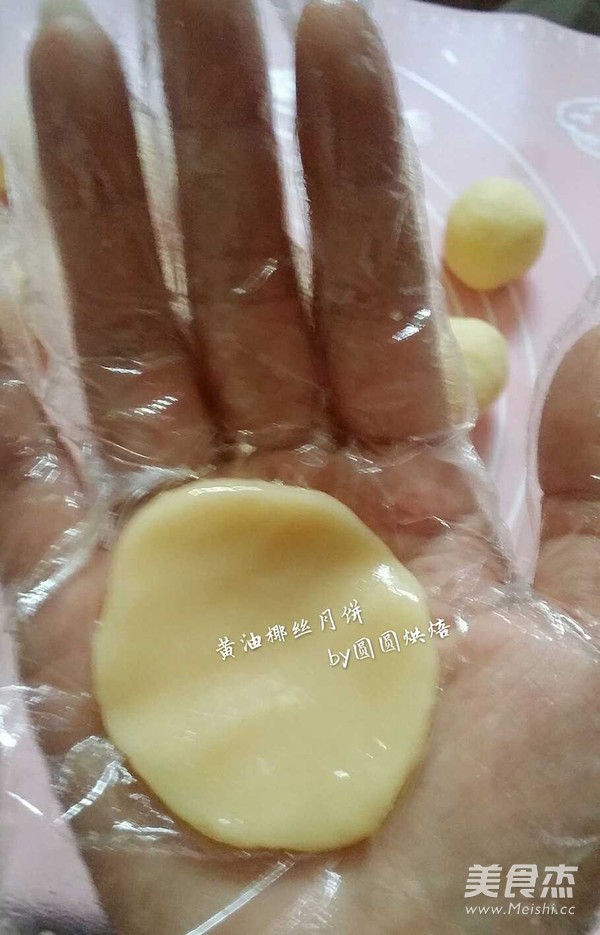
Now starting to make mooncakes, the following steps require patience and skill. First put the pie crust on the palm of your hand and press it flat.
18.
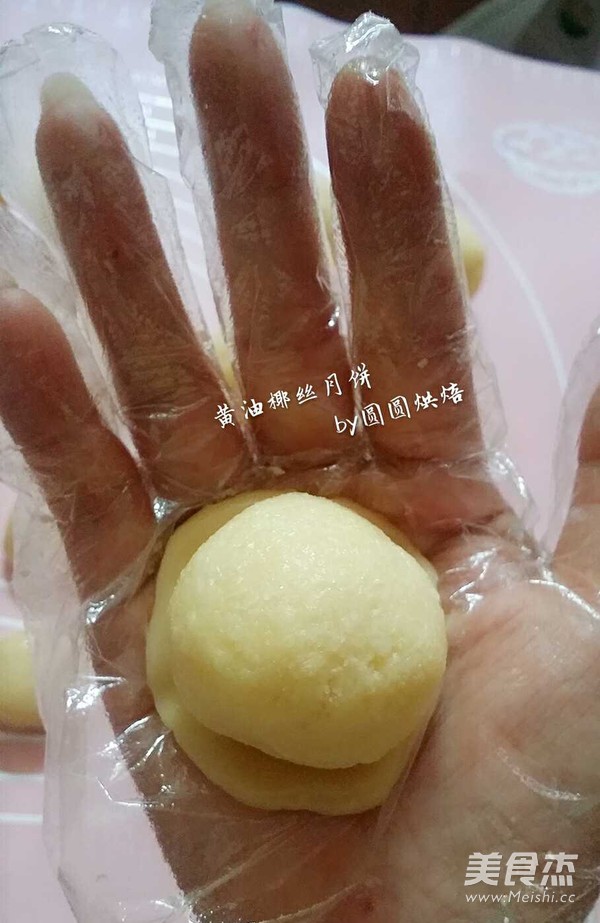
Place a filling in the middle of the pie crust, buckle it upside down, let the crust face up, and slowly push the crust down with the help of the food, be sure not to force it.
19.
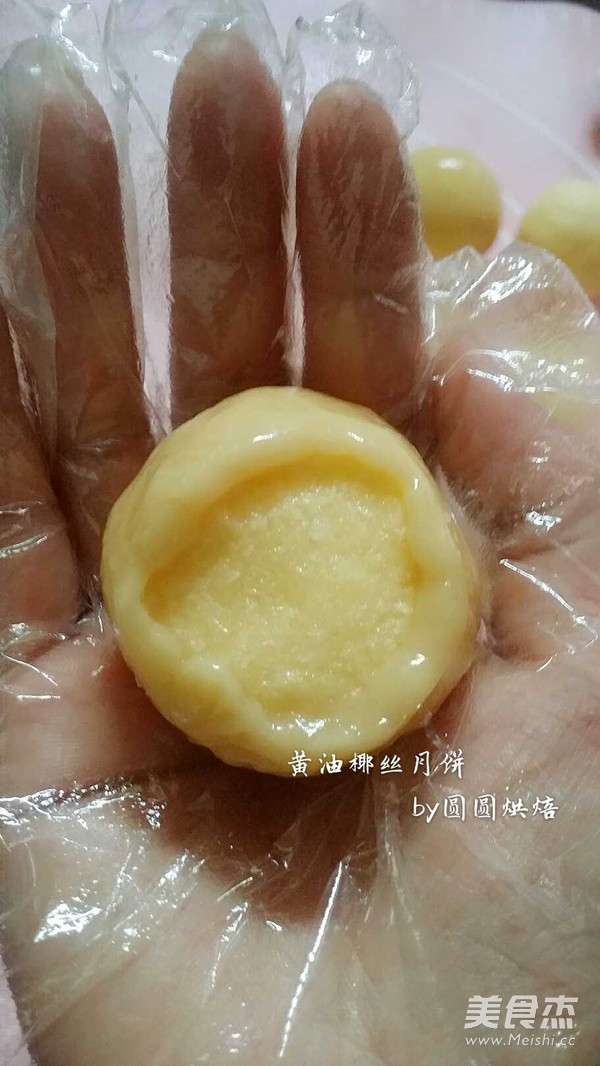
Slowly push the dough to this level, you can turn it over, so that the remaining unwrapped fillings face up, and continue to push the dough slowly up with the help of life, and don't force it.
20.
The dough wraps all the fillings, and then gently rubs it with your hands, so that the dough wraps more evenly.
21.
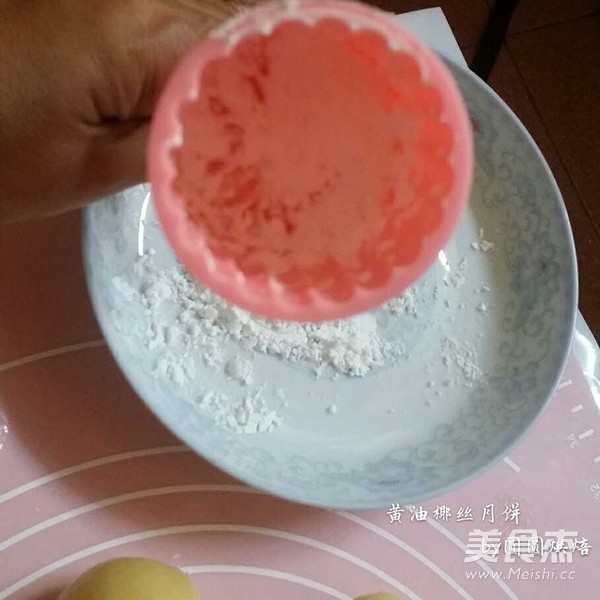
Next, we are going to use the mold to print out the lovely moon cakes. I didn’t have any flour for frying (I'm lazy). Instead, I used some cornstarch. Add cornstarch evenly in the mold, turn it around, and pour out the excess flour. It doesn't need to be too much, as long as the moon cake can be easily demoulded.
22.
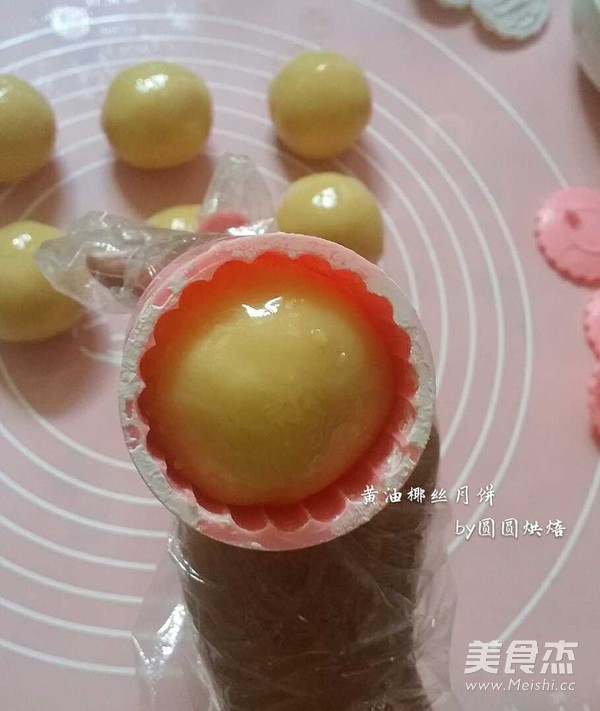
Put a moon cake ball into the mold.
23.
According to the above two steps, put the remaining moon cake balls into the mold one by one, and print out the patterns you like. (So cute, my mood was so good when I did this step)
24.
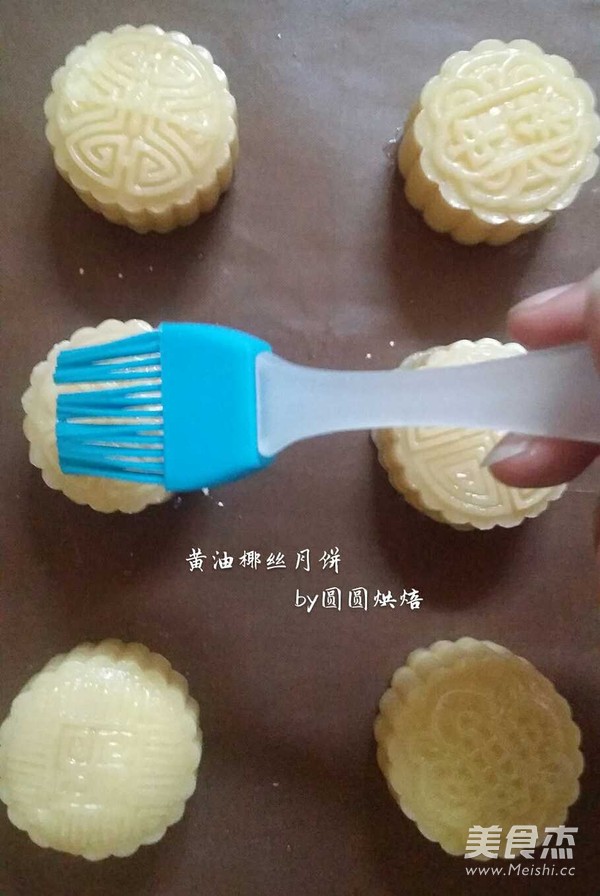
Brush a little bit of water on the mooncakes. I think everyone uses a small watering can. I don’t use a brush. With this light brush, you can also brush off the powder left on the surface when you just made the impression. The appearance is clean and beautiful. .
25.
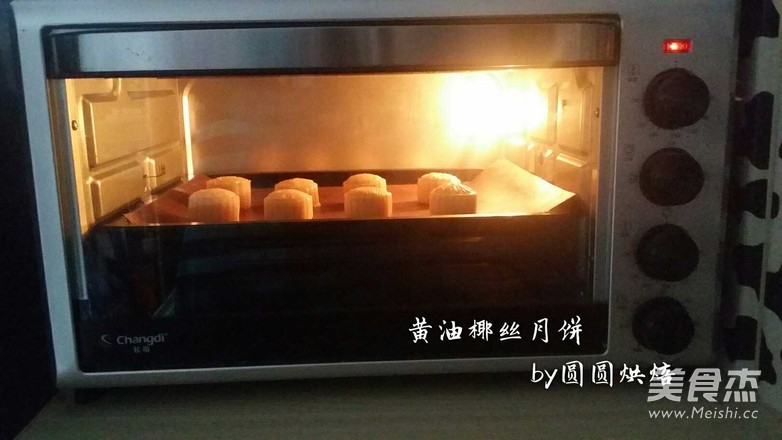
Put the raw mooncake embryos in the oven preheated 180 degrees in advance, and bake for 12 minutes.
26.
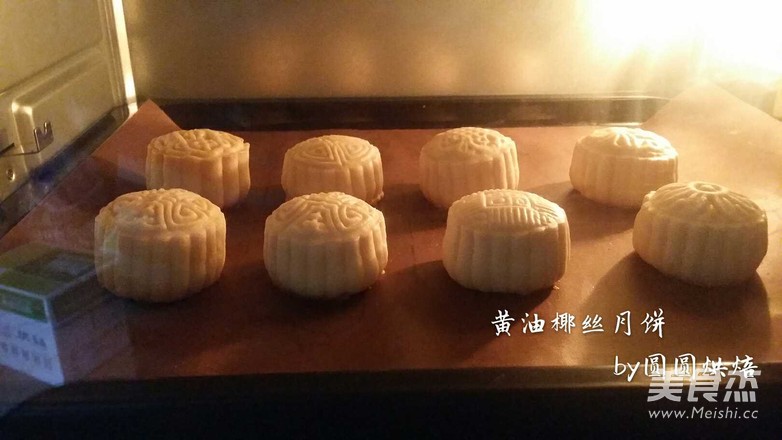
After 12 minutes, the embryo is like this. The color of the bottom of the moon cake has turned slightly yellow.
27.
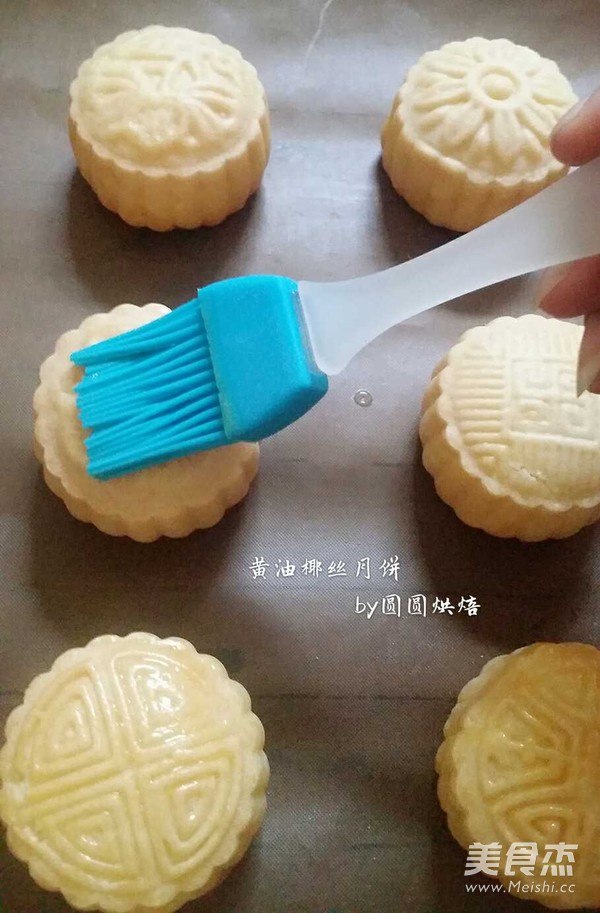
Take it out and brush the egg liquid on the surface of the mooncake, not too much, just a thin layer.
28.
Continue to put it in a preheated oven at 200 degrees, bake for about 5 minutes, and the mooncakes can be colored. The temperature of each oven is different, so friends master the temperature and time according to their own oven (the oven in my home is 38 liters of Changdi). The most important thing is to observe more and look at the color.
29.
Come out, do you look appetite?

