Carrot Buns Baby Food Recipe
1.
Reference age: 12 months or more, for babies who are not allergic to ingredients. Food preparation: 100g all-purpose flour (normal flour), 60g carrot, 5g sugar, 1g yeast Operation time: 40 minutes Difficulty analysis: Elementary
2.
First peel and dice the carrots and put them in the wall breaker
3.
Add 150 grams of clean water after weighing into the wall breaker.
4.
Start the wall breaker and beat the ingredients finely.
5.
After whipping, filter out 55 grams of carrot juice.
6.
*The grams of carrot juice can be adjusted appropriately according to the water absorption of the flour you use.
7.
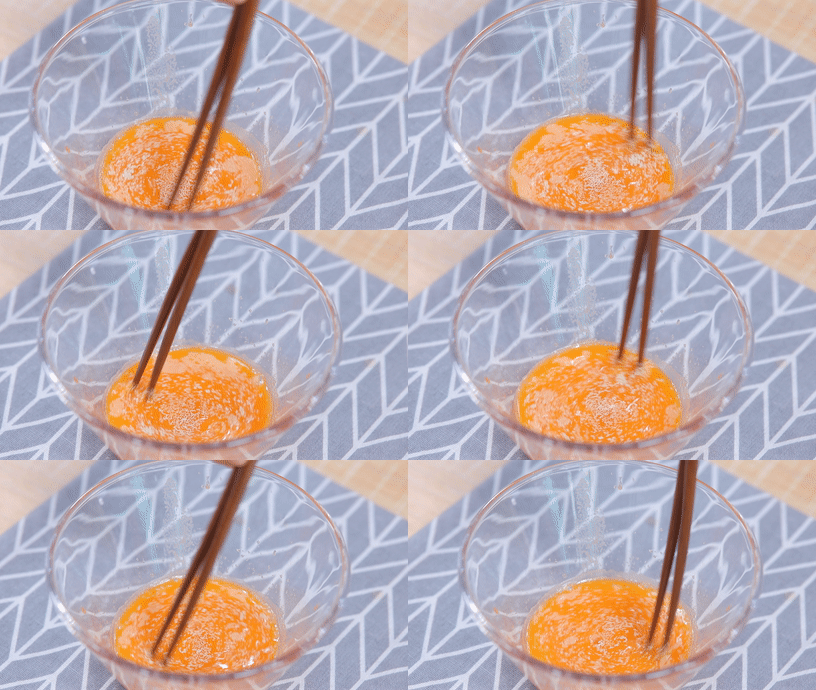
Add yeast to the carrot juice and stir with chopsticks until the yeast melts.
*Note about yeast:
1. Yeast must be used within the validity period. If it fails, the noodles will not be easy to ferment.
2. After opening, the yeast should be stored in a sealed container or kept in a cool and dark place to prevent the yeast from becoming invalid after contact with air.
3. At the time of purchase, it is best to buy the smallest package, which can be used up after two uses, so as not to lose its activity after long-term storage.


8.
Continue to add plain flour and sugar to the bowl.
*About sugar:
Sugar can play a role in flavoring, and can also play a role in promoting fermentation. Of course, it can be omitted, mainly according to the baby's taste.
*About flour:
1. Low-gluten flour: low-gluten flour, with a protein content of 6.5-8.5%, suitable for cakes, cookies, muffins and a variety of desserts.
2. All-in-one flour: All-in-one flour is the most common and common flour. It is made directly from whole wheat and is suitable for making homemade buns, dumplings, noodles, etc.
3. High-gluten flour: flour with very high gluten, with a protein content of 10.5-13.5%, suitable for making bread, toast, pizza crust, etc.
9.
Stir all the ingredients into a flocculent shape.
10.
Then knead it into a smooth dough.
11.
*Press the cotton wool together with the power of the palm, the dough will be a little sticky at the beginning, knead and knead, the dough will gradually become elastic and the surface will become smooth.
12.
Cover the dough with plastic wrap and ferment to double its original size in a warm place.
*Here is the point! Many sisters will make mistakes in this step, so I will explain in three aspects:
1. About covering plastic wrap:
Covering with plastic wrap can prevent the dough from losing water and cracking on the surface.
13.
2. Regarding the fermentation temperature:
1. Room temperature fermentation: It can be placed directly indoors in summer for room temperature fermentation.
2. Constant temperature fermentation in the oven: Put the dough in the oven, select the fermentation mode (down tube 40 degrees) to start the oven, it takes about 1 hour.
14.
3. In autumn and winter, it can be fermented in a warm container: add half a pot of hot water of about 40 degrees to the pot (it feels warm to the touch, not hot), put the dough on the cage and cover the pot to ferment. When the water gets cold in the middle, you can turn on the fire for a few seconds, and then turn off the fire when it feels hot. It usually only takes a few seconds.
15.
3. Two methods for testing whether the fermentation is successful:
1. Dip your fingers in flour and insert them into the dough to observe. (If the fingers are not dipped in flour, it will be easy to stick to the dough):
Insufficient fermentation: When a finger is inserted into it, the small hole quickly rebounds.
Proper fermentation: insert your fingers into it, the small hole will not rebound, and the dough will not collapse, as shown below ↓↓↓
16.
Excessive fermentation: when the plastic wrap is opened, the sourness is heavy, the dough is not firm, and it will collapse quickly when tapped, as shown in the figure below ↓↓↓
17.
2. Tear the dough by hand to observe whether the pores are even:
Insufficient fermentation: no dense stomata.
Proper fermentation: dense and even stomata, as shown in the figure below↓↓↓
18.
Excessive fermentation: large stomata, and a big sour taste, as shown below↓↓↓
Wait until the batter has fermented to twice its size, and the fermentation is over. Fermentation must be based on 2 times the state, the fermentation time can only be used as a reference.
19.
After the dough is fermented, remove the plastic wrap, knead the dough, and arrange it into strips.
20.
*Remember to sprinkle a little dry flour on the kneading pad and knead gently to empty the "honeycomb air" in the dough. This step of exhausting is very important, and it is the key to ensure that the surface of the steamed buns is smooth.
21.
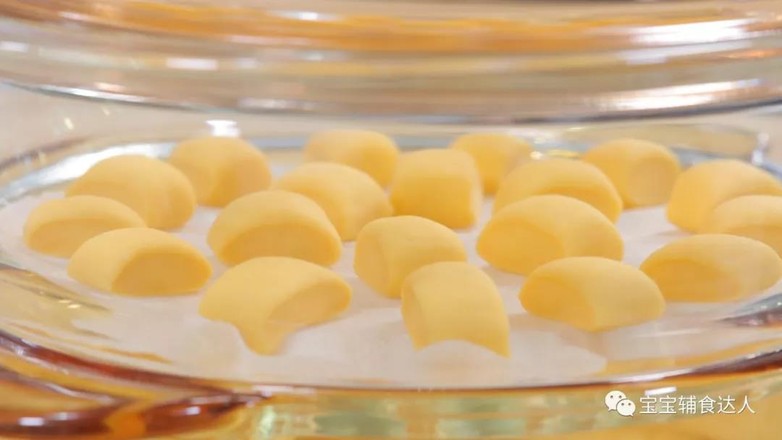
Then use a knife to cut into even small pieces
22.
Put it in a steamer with a cloth.
23.
Put the lid on and leave for about 10 minutes a second time.
*The second proofing does not need to fire, and the temperature does not need to be specifically controlled. The main thing is to let the small steamed buns calm down for a while, otherwise the steamed buns will still be flat after steaming, and they won't be sent out.
*If the room temperature is very low in winter, you can extend it for 5-10 minutes.


24.
Turn on medium high heat, steam for about 12 minutes, turn off the heat when it is cooked through, and continue to simmer for 5 minutes.
*Do not remove the lid immediately after steaming, simmer for 3-5 minutes, and then open the lid. If the small steamed bread comes into contact with cold air immediately, the surface will not be smooth or even dented.
*Preservation method: if you can't finish it at one time, you can seal it well and keep it in the refrigerator for 3 days or frozen for 5 days. When it’s too late to cook, steam it and add a bowl of vegetable porridge or nutritious soup, or take your baby out to play with a few on your back. This is the healthiest meal.
25.
Well, after reading this article, do every step as I said once. If there is still a failure, remember to take a picture, send it to me on WeChat, and I will help you solve it!