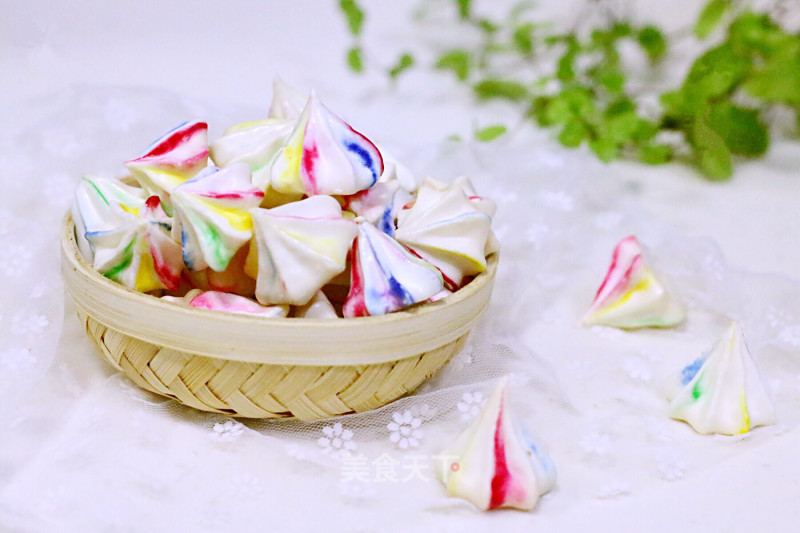
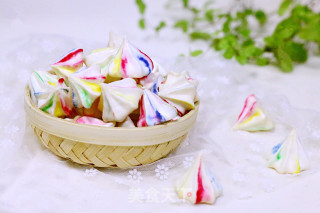
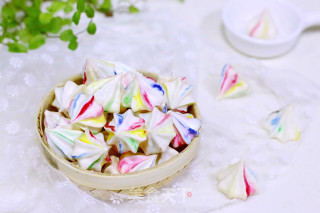
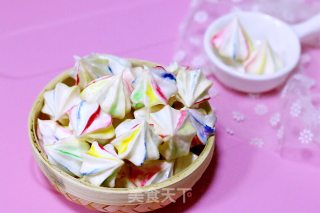
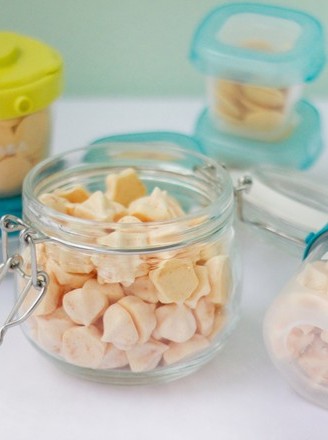
Colorful Meringue
1.
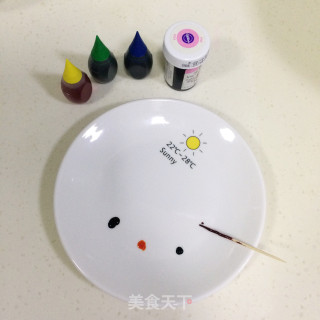
Put 1 to 2 drops of each pigment in a small dish.
2.
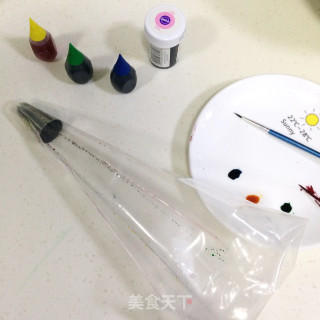
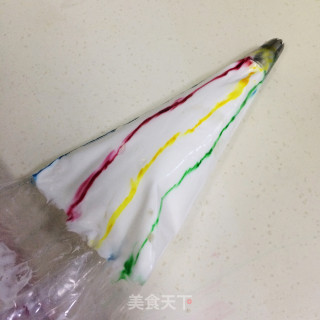
Put the piping mouth into the piping bag, and then use the stroke pen to dip the pigment and brush on the inner wall of the piping bag. After each pigment is brushed, it must be cleaned before continuing with the next pigment to avoid color mixing.
3.
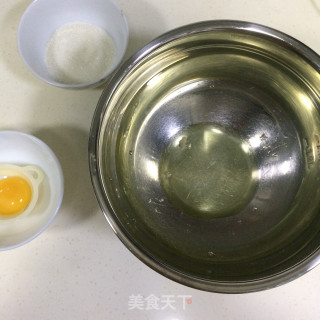
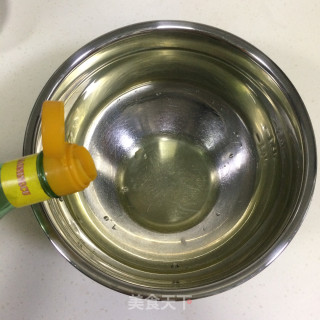
Separate the egg yolk and protein, take the egg white part and place it in a water-free and oil-free egg beater.
4.
Add 4~5 drops of white vinegar or lemon juice.
5.
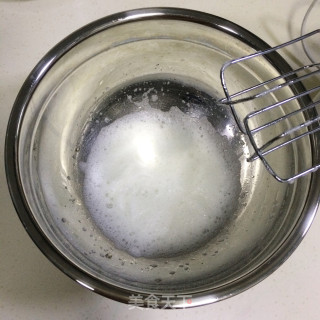
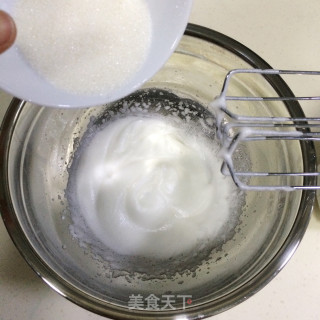
Use an electric whisk to beat the egg whites. When the egg whites appear coarse and white foam, you can slowly add fine sugar gradually.
6.
It can also be divided into three evenly by adding granulated sugar to beat.
7.
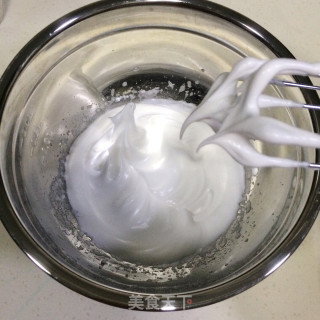
Whip until the protein is shiny and silky. Lift the egg beater to have a small inverted hook. Dip some egg whites and rub it between your fingers. There is no granular sugar.
8.
Put the whipped egg whites into the piping bag.
9.
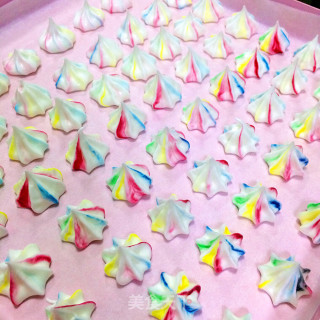
Spread greased paper on the baking tray, and squeeze out the egg white patterns with the decorating nozzle perpendicular to the baking tray.
10.
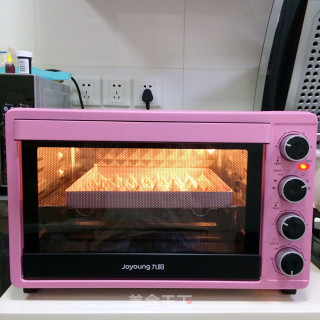
Put it into the middle layer of the preheated oven and bake at 100 degrees for about 40-50 minutes. Turn on the hot air circulation function to help dry.
11.
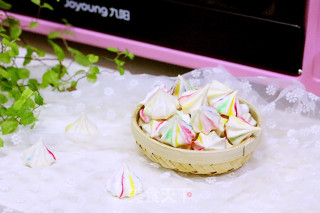
The baked meringue can be removed from the greased paper after about 1-3 minutes. It is usually very easy to take out. If it sticks to the bottom, it means it is not cooked, so put it in the oven and continue to bake it over time.
12.
After baking, let it cool off the oven, and keep it tightly sealed immediately. If you leave it for a while, it will become damp and stick to your hands!
13.
It is actually very simple to make. The key is to master the method and pay attention to the details.
14.
Come and try it with your favorite friends, this is also a good way to consume protein.
Tips:
1. The sugar cannot be reduced, otherwise the correct texture cannot be baked.
2. The egg white bowl must be water-free and oil-free.
3. Be sure to use fine sugar.
4. The baked meringue can be easily picked up from the baking paper.
5. The temperature and time of the baking must be adjusted according to the respective oven conditions. Staring at the end of the baking process, so that the color will not look bad when the color is dark. Of course, if you like the browning point, extend the time and pay attention to observation.

