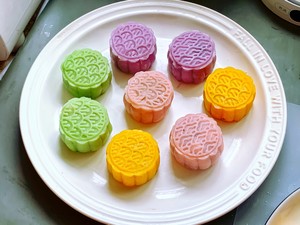
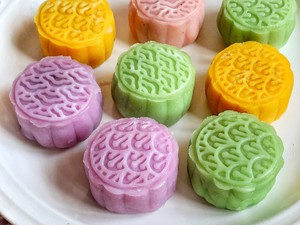
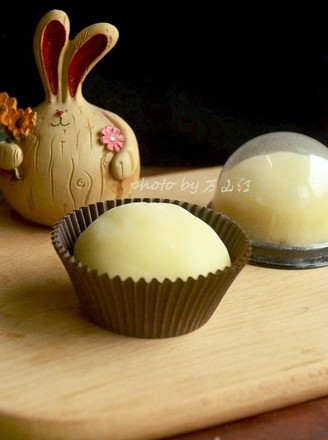
Non-steaming, Sweet and Glutinous Oreo Snowy Mooncakes, Delicious
1.
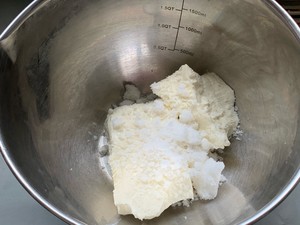
First prepare the ingredients you need, first make the Oreo cheese filling, put softened cream cheese in the bowl, and add soft sugar.
2.
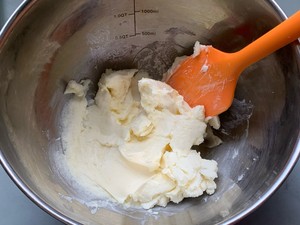
Stir evenly with a spatula.
3.
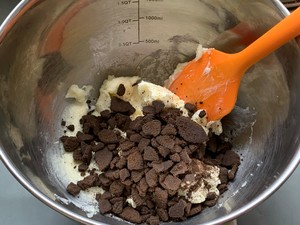
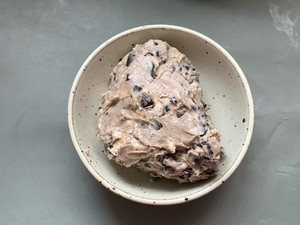
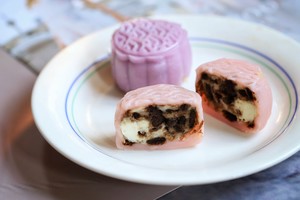
Then add crushed Oreo cookies.
4.
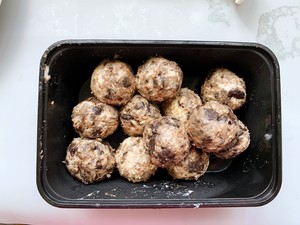
Stir it into a dough and seal it well, put it in the refrigerator for 1 hour before using.
5.
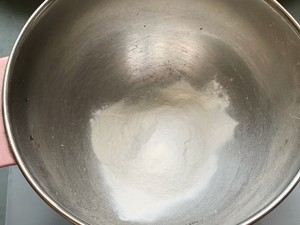
Then to make the snow skin, pour 50 grams of snow skin moon cake premix powder into the bowl.
6.
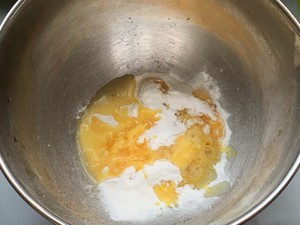
Add 50 grams of boiling water in portions.
7.
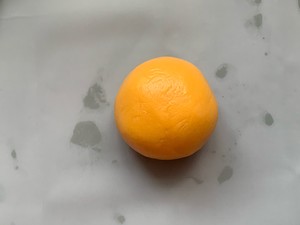
Pour boiling water while stirring with chopsticks to form a dough, and then knead it into a smooth dough with your hands.
8.
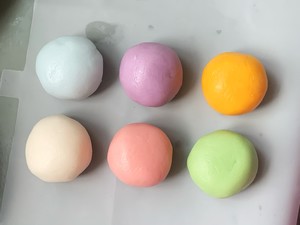
After kneading the six colors of dough, let it cool and set aside.
9.
Take out the refrigerated Oreo cheese filling and divide it into 25 grams each, making a total of 12 pieces.
10.
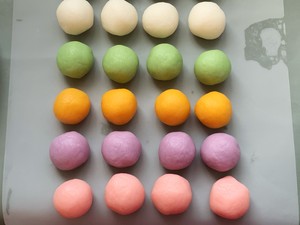
Divide the chilled ice dough into 25-gram small doses and knead them into rounds. A total of 24 small doughs are divided.
11.
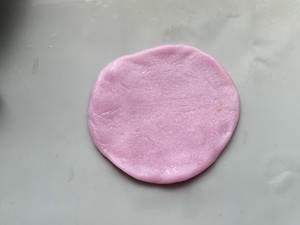
Take a small dough, press it flat, and roll it into a round cake.
12.
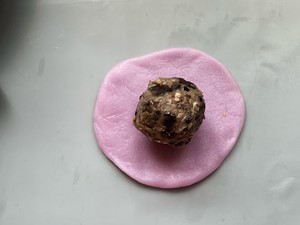
Put Oreo cheese filling in the middle of the crust.
13.
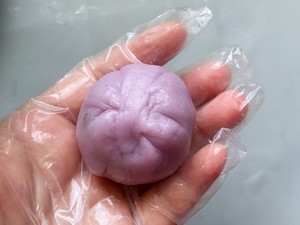
Close the mouth tightly and round.
14.
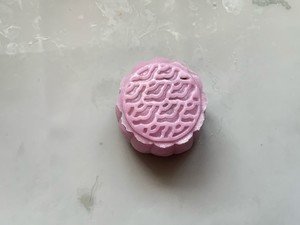
Wrap a little cooked cake powder on the surface and put it into a moon cake mold to make a pattern.
15.
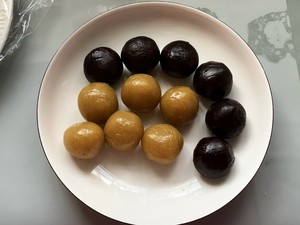
Take out the red bean paste filling and lotus paste filling prepared in advance, divide them into 25 grams, 6 for each of the two flavors.
16.
Wrap the remaining 12 pastry skins into the bean paste filling and lotus paste filling, put them into the moon cake mold to press out the pattern, and make the bean paste snow skin moon cake and lotus paste snow skin moon cake.
17.
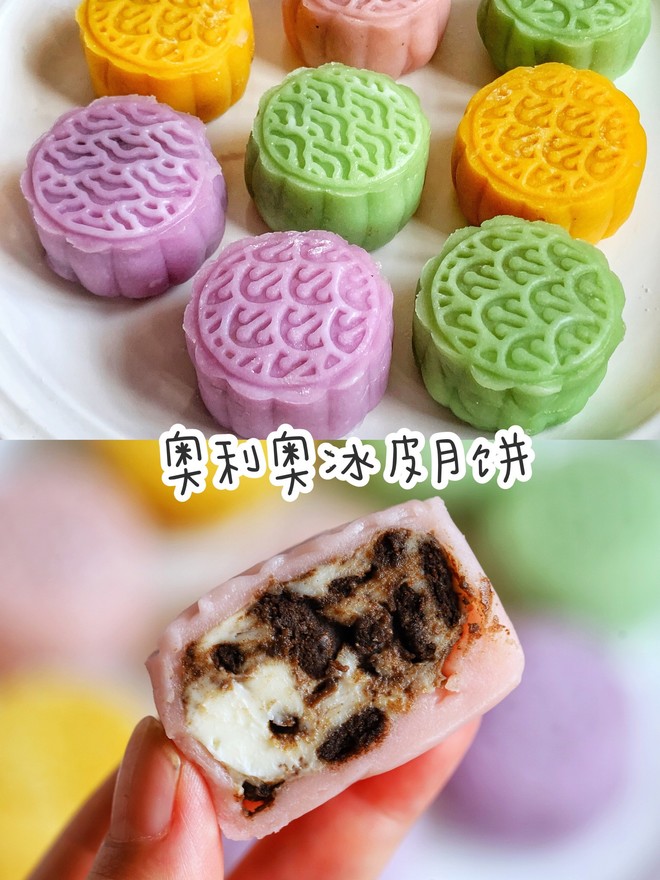
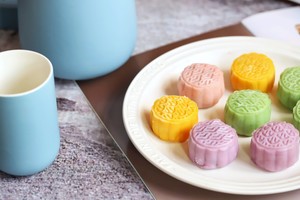
The high-value colored snowy mooncakes are ready.
18.
Oreo cheese snowy mooncakes are really delicious.
19.
Dingdong, it's tea time, I'm going to start.
Tips:
1. Cover the freshly kneaded snow skin dough with plastic wrap when it is cooled to prevent the skin from drying out.
2. The finished snowy mooncakes should be sealed and frozen for storage, and eat them as soon as possible.
3. The ratio of skin to filling is 1:1.

