Romantic Valentine's Day Love Cookies
1.
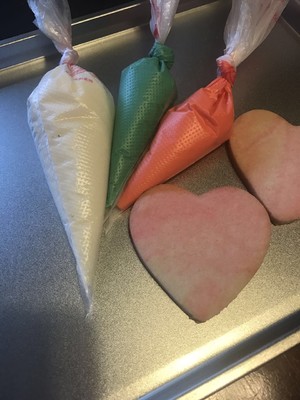
Prepare white, green and light red icing (see tips for fluidity). Take a little bit of light red frosting and dye it with pigment. This part is very small. One spoonful is enough. You don't need to put a piping bag, put it in a bowl, and cover it with plastic wrap or a damp towel for later use. The bottom of the biscuits is made of red marble. You don’t need to learn from me, just use ordinary biscuits.
2.
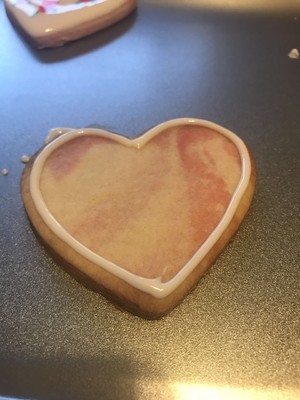
Cut a small opening at the front of the bag (see tips), and outline the outline with white frosting. If your frosting is very thin, it is not recommended to get too close to the edge, otherwise it will drip down, and then fill the middle.
3.
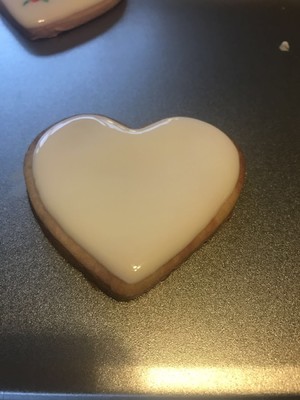
This is the case after filling. Pay attention to leaving a narrow side next to it to save the frosting from dripping. If your frosting is fluid, don't worry about this.
4.
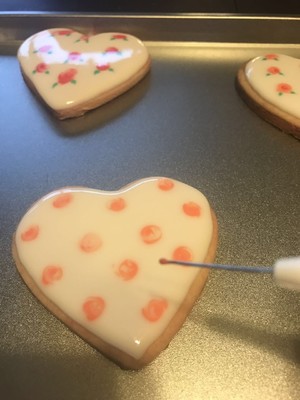
Cut a small opening at the tip of the red icing bag, while the white icing is not dry, squeeze out some red dots on the surface. Extrusion method 1: Three rows in parallel longitudinally.
5.
Squeeze 2: Now click a few circles around, and then click a few in the middle. Pay attention to keeping the spacing, too dense and not good-looking.
6.
Use a toothpick, or a needle or a pointed tool for icing, to draw a circle on the red dot just highlighted. Draw circles as much as possible to blend the surrounding white icing to the middle of the red, but don't spread the red too much outside. After you look at the painting, the red dots have become bigger, and there are many white lines inside. If you only draw a circle inside the red dot, what you get is a larger red dot, NONO.
7.
Use the tip of a needle or toothpick to take a little big red frosting and draw a few circles on the inside of the flower.
8.
After painting, I saw that the outline of the flower was already there. Green leaves below.
9.
Cut a small cut at the tip of the green icing, double click under the flower, and draw a line from the center to the opposite direction of the flower with a toothpick, and the leaves will be "pulled" out.
10.
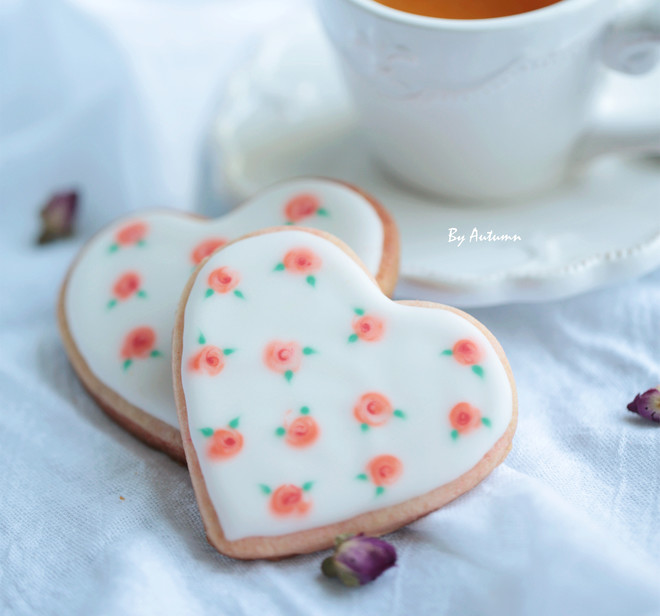
You're done, you can take pictures after the frosting is completely dry.


Tips:
1. The decoration of this biscuit is made on the basis that the icing is not dry. After all the steps are completed, the surface of the icing is still smooth, which requires the icing to have good fluidity. The way to judge the fluidity of your frosting is to scoop a spoonful of frosting with a spoon, and then turn the spoon over to let it fall back freely. The lines formed by the frosting in the bowl almost disappear in about 8 seconds. When adding water to dilute, add slowly, don't add too much. If you add more, you can add sugar to save it, but that will change the ratio of sugar to protein powder, so try to avoid it.
2. When cutting the piping bag, you must first cut a very small mouth, and then cut it bigger if it is not big enough, don't cut it once it is too big. Friends who are not too troublesome can use a piping bag. For white icing, use No. 3 piping mouth, red use No. 2 and green use No. 1. Of course this also depends on how big your biscuits are. The length of my cookies is half the length of iphone6.

