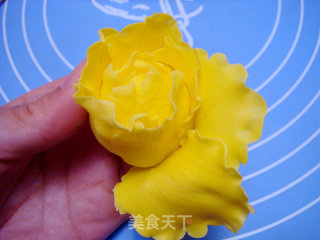
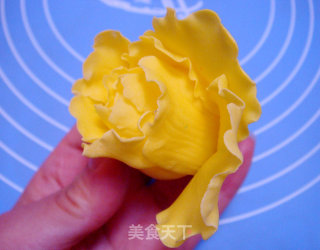
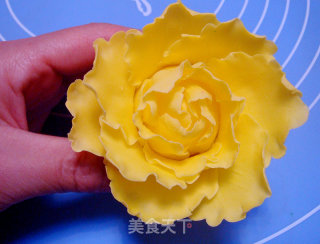
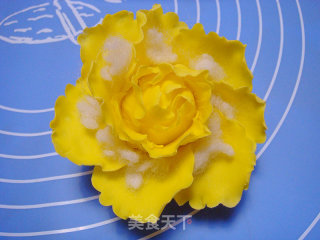
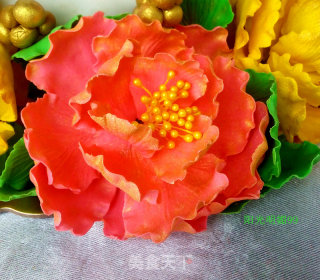
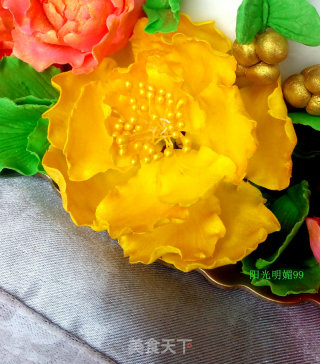
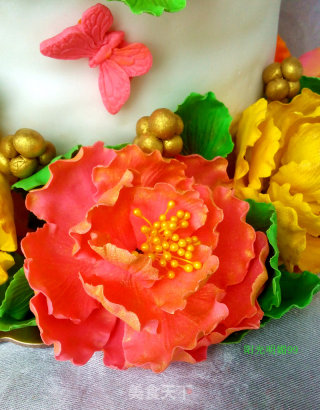
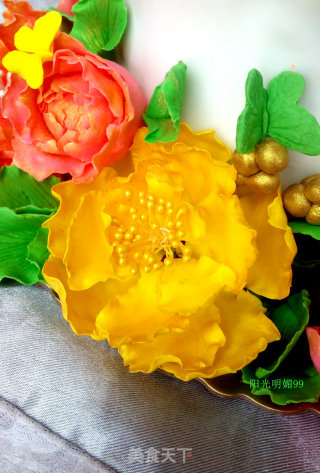
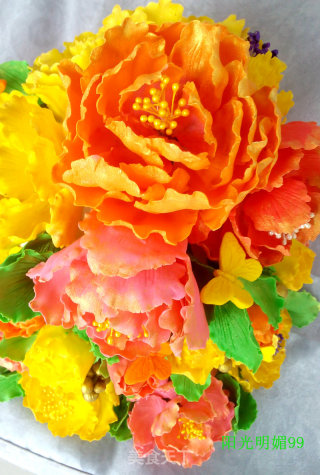
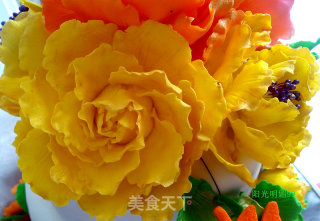
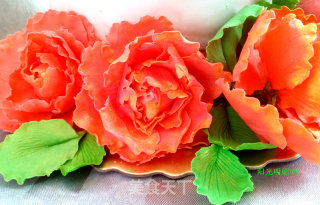
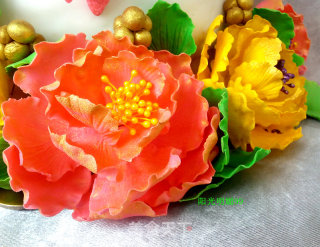
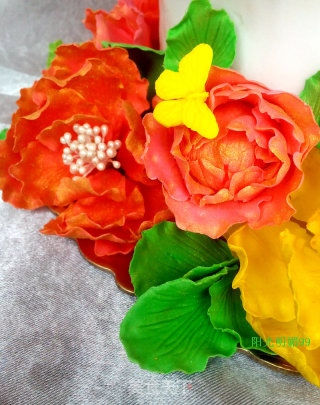
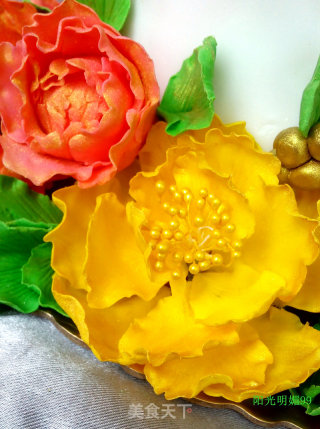
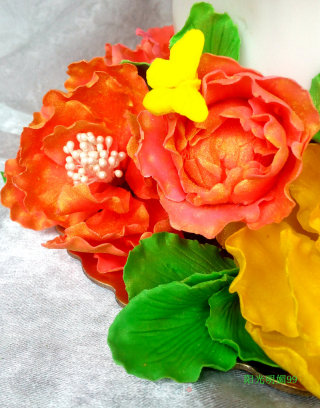
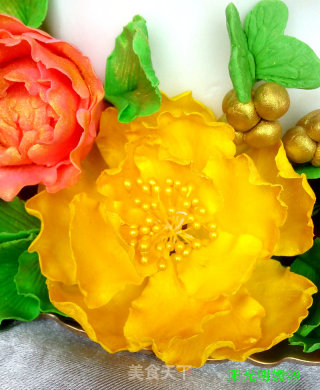
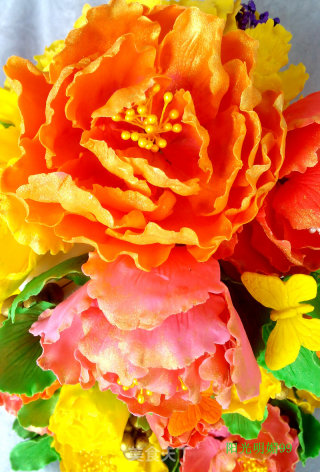
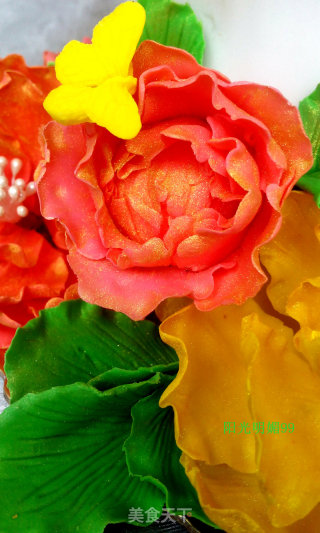
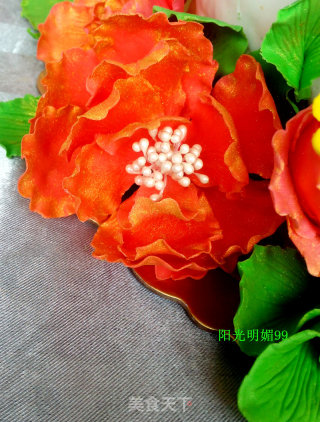
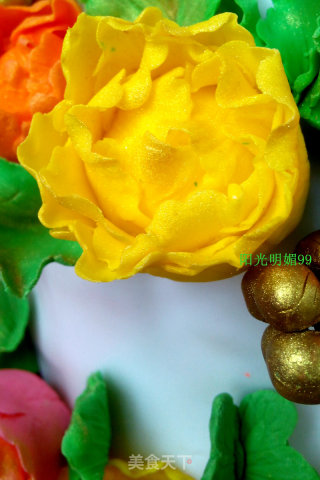
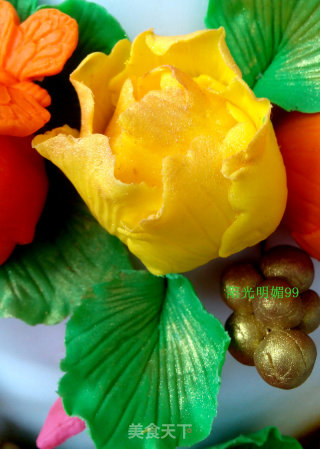
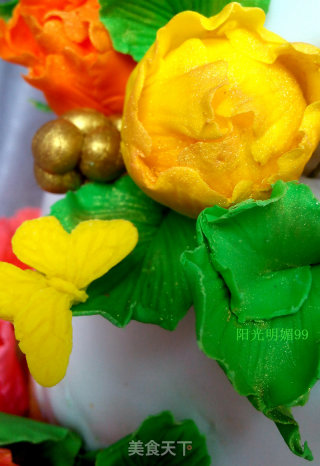
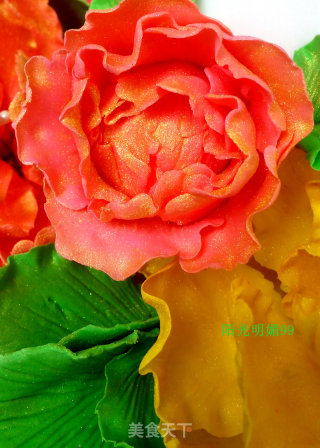
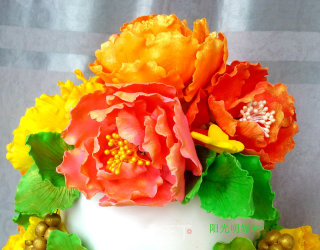
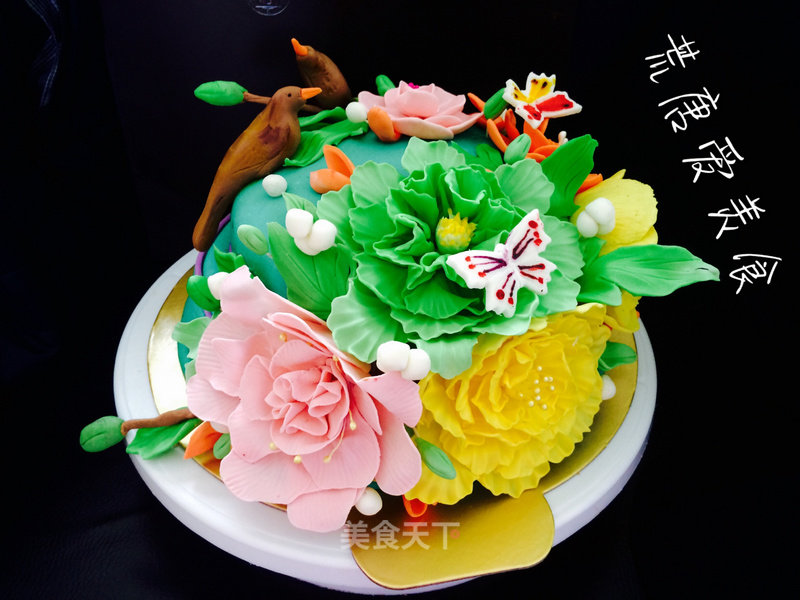
Guose Tianxiang Fondant Cake
1.
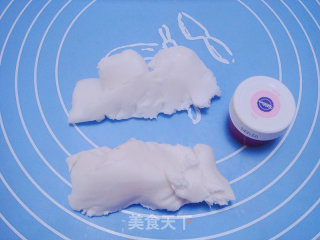
Dough making: Fondant paste and dry peas are mixed in a ratio of 1:1, and knead evenly by pulling.
2.
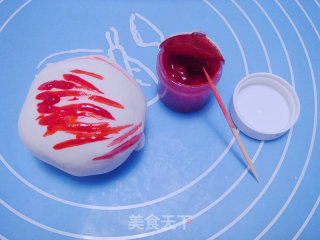
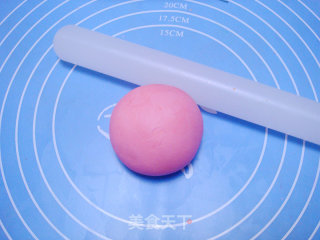
Add the food coloring you like, pick a little with a bamboo stick, and adjust to the color you are satisfied with. During the mixing process, touch some white oil on your hands to prevent sticking. (You can use lard or olive oil instead of white oil)
3.
Take a small part of the mixed dough to make, and put the rest in a fresh-keeping bag and seal it to prevent it from drying out.
4.
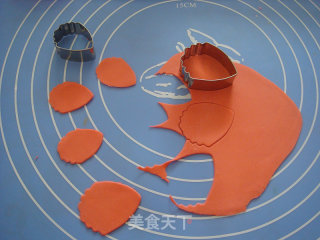
Petal making: Roll out the dough into a thin sheet with a thickness of 2 mm, and use a petal mold to carve out large, medium and small leaves. After carving, put it in a fresh-keeping bag and seal it. Make a piece and take one piece to avoid air drying. You can also press it under the silicone cushion and press it a little closer to the side for easy access.
5.
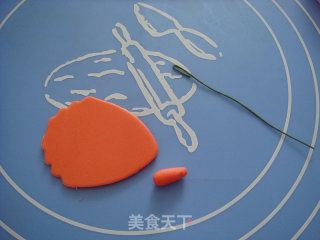
Fold one end of the small iron wire in half, and rub another small dough. (This is to make the petals firmer, and the fondant flower is also good for decoration in a vase, so let's make it stronger)
6.
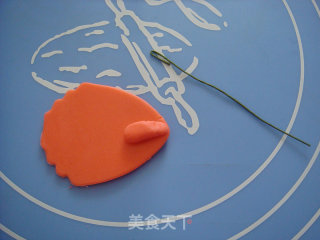
Spread a little water on the noodles with a bamboo stick and stick to the leaves. (If the petals are rolled too thick, the three-dimensional effect will be lost, too thin and easy to break, it will be much better if you strengthen the bottom end)
7.
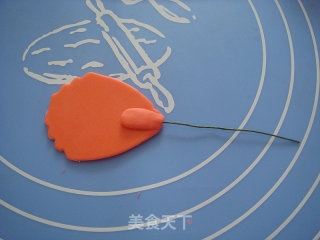
Tuck the wire in. Pierce it to the position between the noodles and the leaves, being careful not to pierce it.
8.
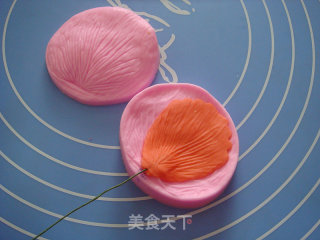
Put it in the pattern mold and press out the pattern. Do not place too much force on the wire to avoid crushing.
9.
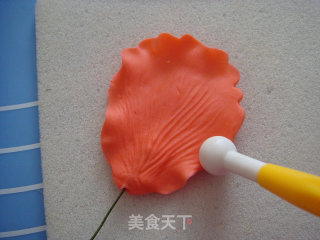
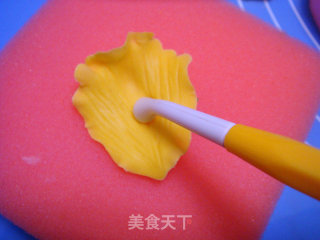
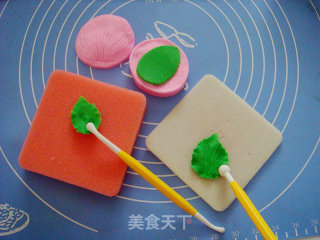
Put it on a thin sponge mat and use a round head tool to grind the edge of the leaf. Half of the round head is on the sponge mat and half on the leaf. The leaf edge becomes thinner after repeated three times, and natural wrinkles appear.
10.
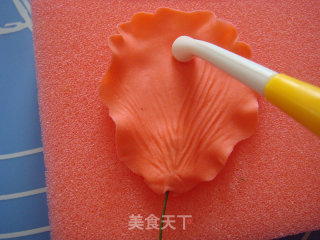
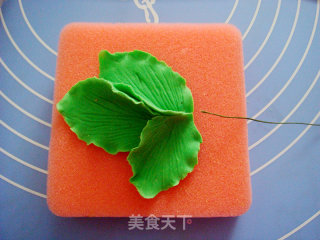
Then put it on the thick sponge pad, and use the curved round tool to stroke the left, middle and right of the leaves from top to bottom. The leaves will automatically curl up and become more vivid.
11.
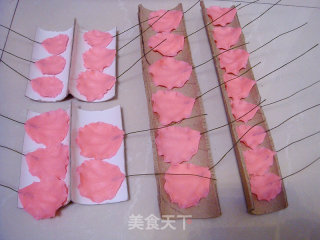
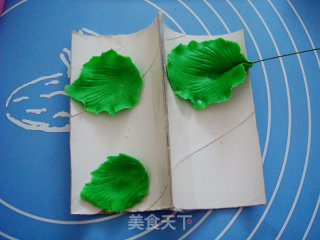
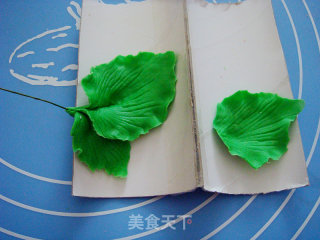
Put the prepared leaves on the flower drying rack to shape and dry. (I used discarded paper tube cores for flower drying racks, cut them in half, and made flower drying racks, which is also good for reuse of waste)
12.
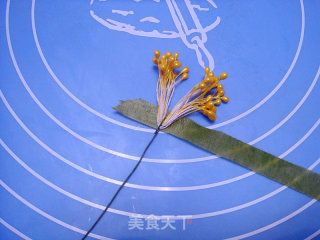
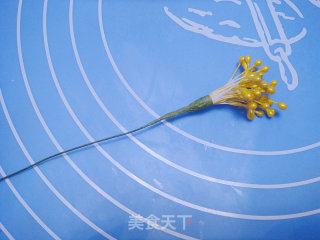
Flower stamen production: Take about 20 stamens and fold them in half, and twist them with a thin iron wire in the middle.
13.
Wrap the paper tape around and stick it. The paper tape is sticky and sticks easily.
14.
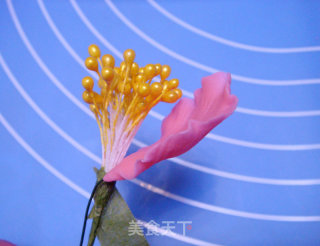
Assemble flowers to make: Take a small leaf, wrap it around the side of the flower, and wrap it with paper tape. (Be sure to wait until the petals are dry before assembling, otherwise it will break easily)
15.
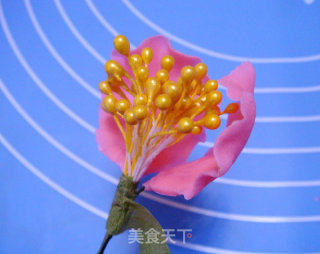
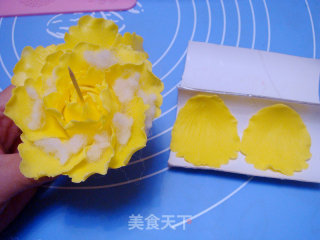
Then put on the second piece, glue it in a circle, and then put the third piece. Glue it in order from small to large.
16.
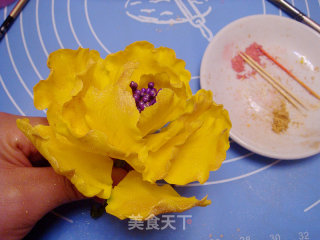
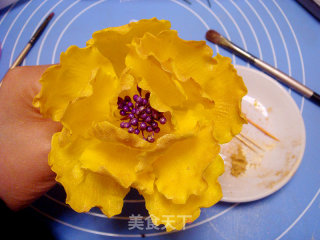
Adjust the pattern of the finished yellow peony.
17.
Use a small brush to glue a little edible gold powder, and trace the edges of the petals one by one with gold. The peony is ready.
18.
Bud making: Make the petals in the same way.
19.
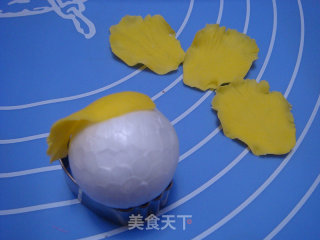
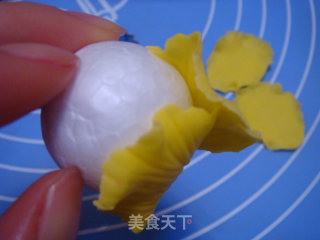
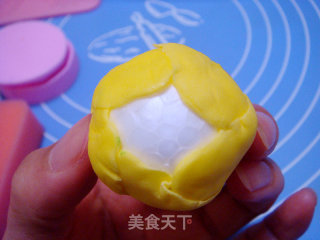
Take the foam prosthetic flower ball and paste the smallest petal on it.
20.
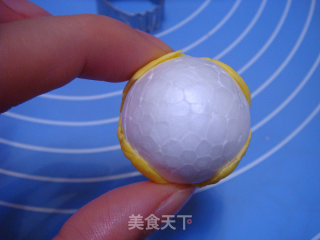
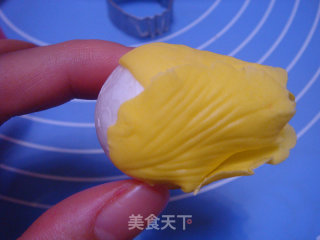
Place the second petal on the half of the bottom of the first, and paste it. Glue four petals in sequence.
21.
Bottom of flower bud.
22.
Side of flower bud.
23.
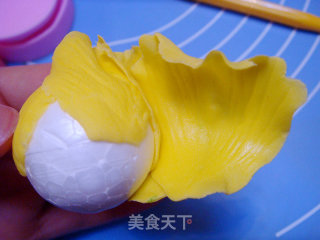
And so on to do the second layer.
24.
The bottom of the second layer of buds.
25.
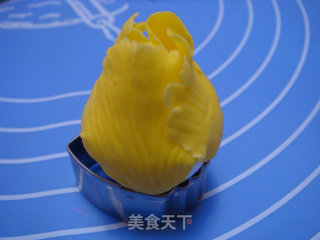
Press each petal under the upper one and surround it so that the foam ball is not leaked, and the bud is ready.
26.
The production of bud heart peony: On the basis of the bud, the same method is used to continue to paste the larger petals.
27.
The third layer of buds is glued.
28.
Make petals one size bigger.
29.
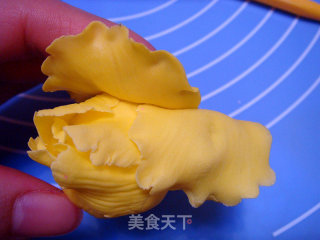
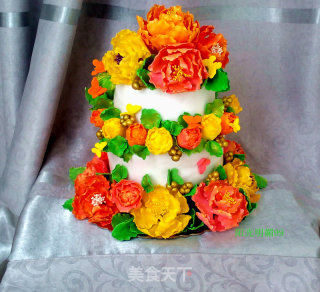
Continue to paste around, (I made a layer of petals, after the pasting, I will grind the flower piece to make the next layer of petals, so as not to dry the petals with the edges)
30.
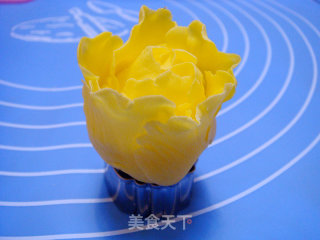
Paste the layers of the petals according to the shape of the flower. This is a flower with four layers glued.
31.
The finished flowers are stuffed with paper towels or pearl cotton at the bottom of the petals, and each petal is separated to arrange the shape and shape.
32.
When sticking the petals, tie the foam ball with a bamboo stick, taking care not to stick the petals, so that it is convenient to control the flowers and organize the flower shape. The bud heart peony is ready. After all the flowers are ready, hang them upside down and place them in a dry place to dry. Use a long iron wire to pass through the foam ball and hang upside down the petals.
33.
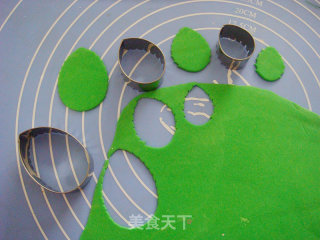
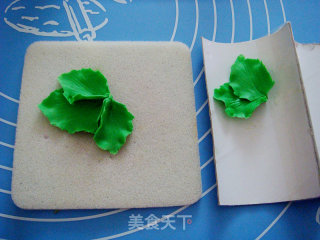
Leaf production: Roll out the green dough into thin slices, and carve out large, medium and small leaves with a mold.
34.
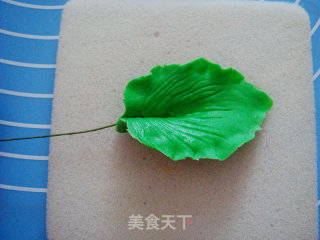
The same as the petal method, after carving the leaves, embossing and grinding the lace.
35.
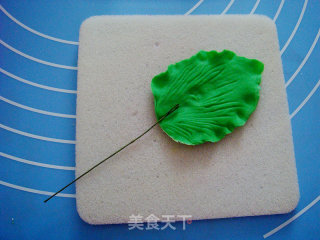
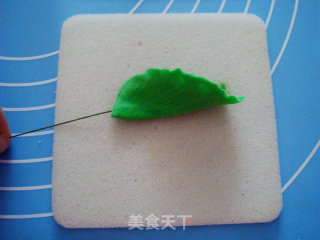
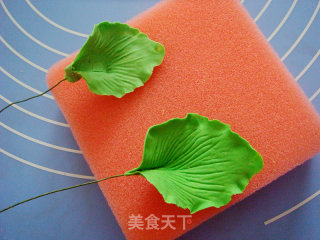
The wire is placed in the middle of the lower half of the leaf.
36.
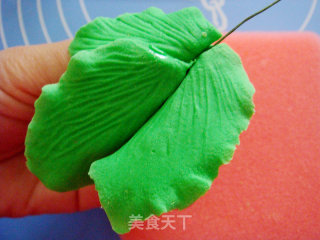
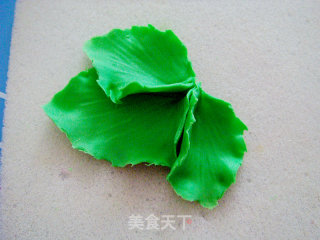
Fold the leaf in half, pinch it to stick, just stick a little bit and wrap the wire. This approach makes the leaves look more vivid and vivid.
37.
Unfold the leaves slightly.
38.
Put it on the flower stand and set it to dry.
39.
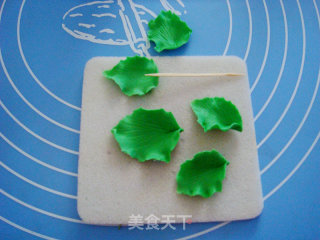
Fold the small leaves in half (the position pointed by the stick).
40.
Paste directly next to the leaf with wire.
41.
Another method is to paste the three leaves together and tie them in with a wire.
42.
Be careful not to pierce it, and pierce it to the thickest part in the middle based on the feel of your hand.
43.
Pasted small leaves.
44.
Put it on the flower stand and shape it.
45.
Shaped leaves. The various leaf parts are ready.
46.
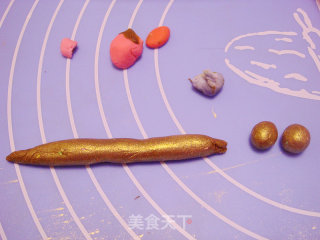
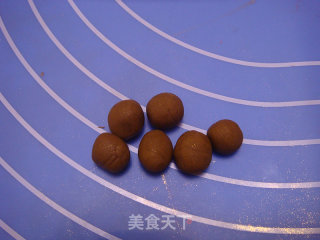
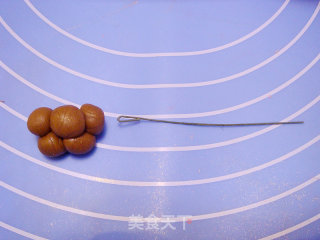
Beading production: the remaining edges and corners are twisted into long strips and divided into small balls of uniform size.
47.
Each ball is rounded.
48.
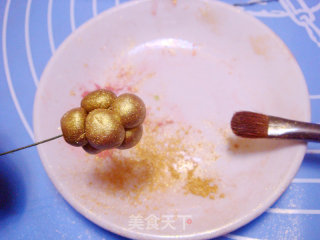
Groups of six, wipe a little water to stick them together, and string them together with iron wire.
49.
Use a small brush to stick a little gold powder on the ball. Beads are ready.
50.
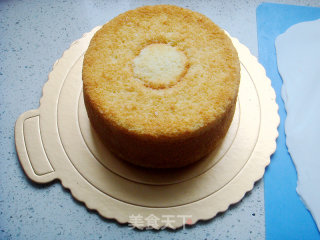
Cake making: The cake body is made of sponge cake. (I used the cake recipe in the last recipe). There is no six-inch cake mold at home. I used a six-inch hollow cake and filled it with a cupcake in the middle. (After making all the flowers, make the cake part, and finally assemble)
51.
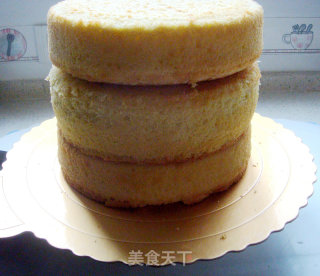
Three 8-inch sponge cakes, make the cakes a day in advance, and make them firmer and firmer.
52.
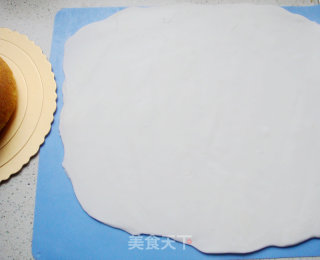
Roll the fondant paste into a sheet, not too thin, it is easy to break.
53.
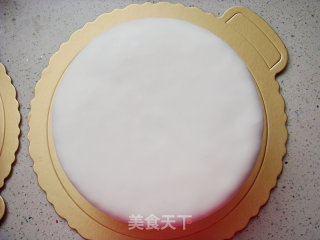
Brush the cake body with honey water, cover with the rolled fondant slices, cut off the edges and arrange them smoothly, and the cake body is ready.
54.
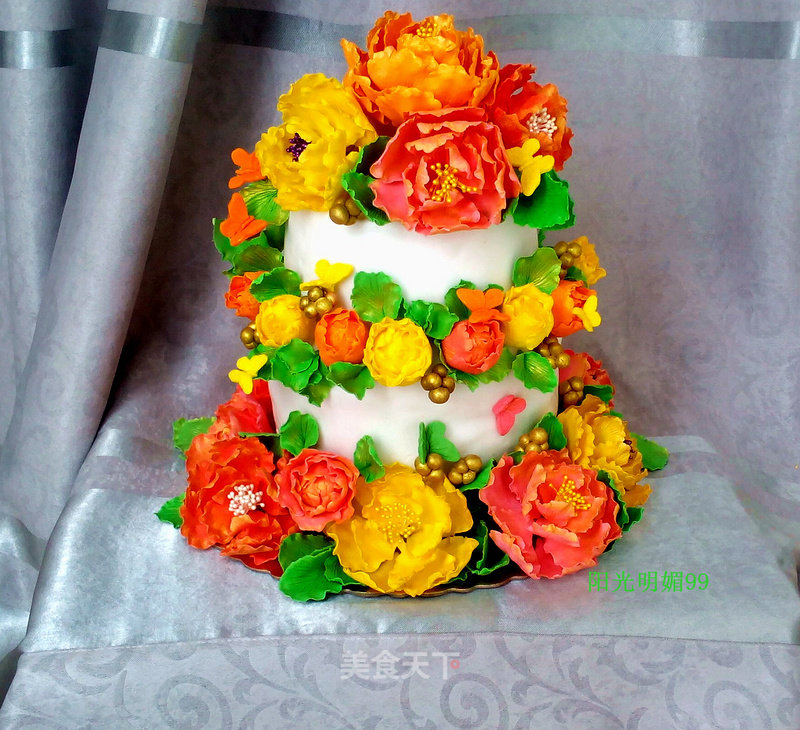
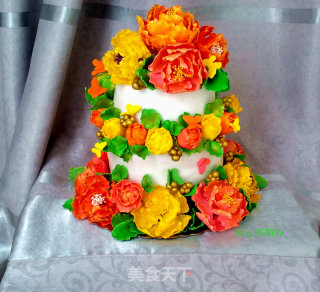
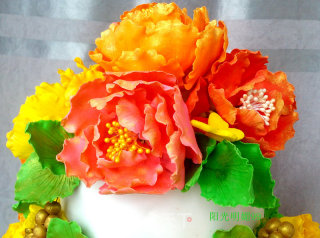
Finished picture. The country is beautiful~~~
55.
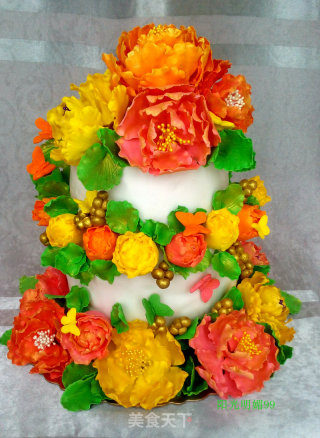
Finished picture. Place it as you like~~~
56.
Finished picture. The first layer of flowers, flowers blooming rich and honorable~~~
57.
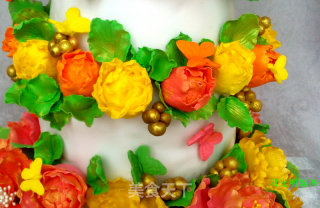
Finished picture. The second layer of flowers, budding~~~
58.
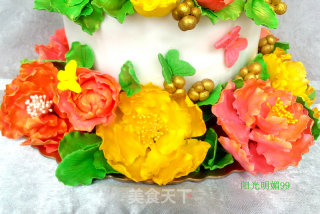
The finished picture, the third layer of flowers, blooming like a brocade~~~
59.
Finished picture. Flower clusters~~~
60.
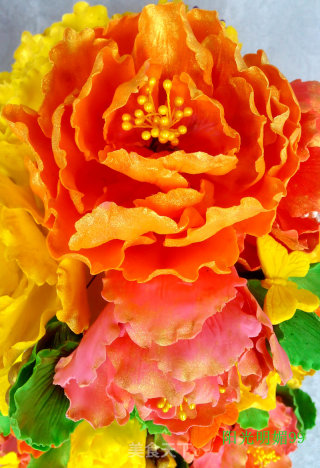
Finished picture. Flowers blooming and rich~~~
61.
Finished picture. Graceful and luxurious~~~
62.
Finished picture. Colorful~~~
63.
Finished picture. Do decorations with small butterflies.
64.
Finished picture. Colorful~~~
65.
Finished picture. Bud Heart Peony ~~~
66.
Finished picture. A hundred flowers bloom~~~
67.
Finished picture. Graceful and luxurious~~~
68.
Finished picture. Vivid~~~
69.
Finished picture. Flower clusters~~~
70.
Finished picture. Flowers blooming and rich~~~
71.
Finished picture. Between Butterfly Dance and Flowers~~~
72.
Finished picture. Rich and lucky~~~
73.
Finished picture. Butterflies are flying~~~
74.
Finished picture. Flower clusters~~~
75.
Finished picture. The small buds are in buds~~~
76.
Finished picture. The small buds are in buds~~~
77.
Finished picture. The small buds are in buds~~~
78.
Finished picture. The small buds are in buds~~~
79.
Finished picture. Rich and lucky~~~
80.
Finished picture. The country is beautiful~~~

Tips:
I watched two days of video tutorials on making flowers before I started to get started. Since the first time I made fondant, there were a lot of problems during the production. After waiting for a series of questions, after repeated pondering and overcoming difficulties, I finally got some tips of my own, all of which are written in the steps for reference. Production tools: thin iron wire, a set of peony flower molds, a set of leaf molds, two grinding tools, stamens, foam balls, simple molds can make lifelike peony flowers. Fondant flowers can be stored permanently in a dry place. Make the fondant cake and buy the mold after setting the theme, so as not to buy too many molds and come back to useless and cause waste. Some of the steps pictures were taken at night when the flowers were being made. The light was slightly dim. It took three hours to make a flower. It took a few days to finally complete. Although it takes a long time, it’s worth seeing the beautiful finished product~~~~

