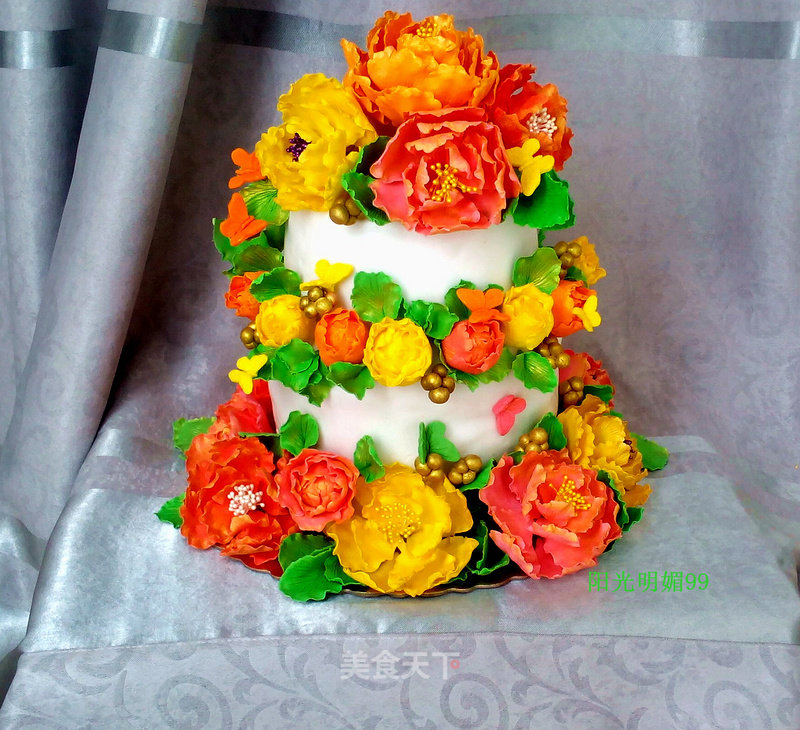
Leisure Holiday Fondant Cake
1.
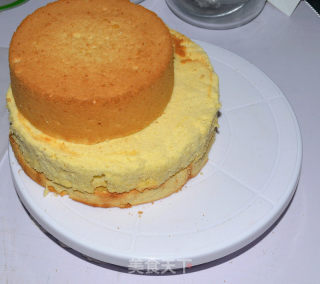
First of all, we put the prepared cake in the shape you want to make. I chose the side-aligned type to facilitate the placement of the lowermost decorations.
2.
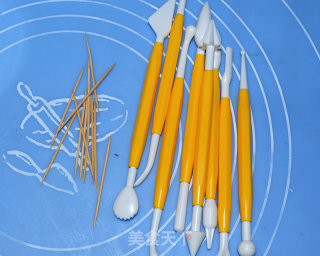
Prepare the fondant stick tools, some toothpicks, sticking pigments and auxiliary to make fondant.
3.
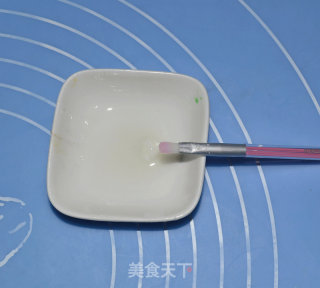
Take a small piece of white fondant paste and place it in a dish, add an appropriate amount of water, dissolve it, make it sticky, and prepare a small brush.
4.
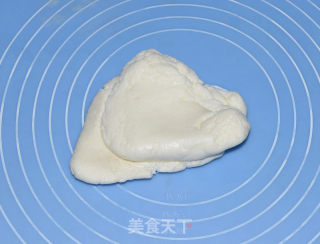
After taking out a piece of fondant paste, knead it to soften it first, and apply white oil on your hands and the silicone pad to prevent sticking. Take out the small pieces for later use, and seal them in time if they are not in use.
5.
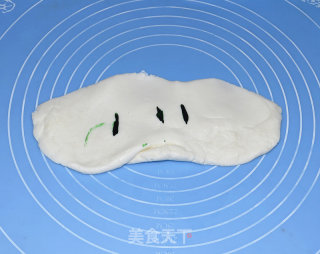
To color the fondant paste, stretch or roll the softly kneaded fondant paste into a strip, use a toothpick to paste the pigment and apply it on the fondant paste, pull and fold it with both hands, until the mixture is uniform, the coloring behind is the same, not repeating .
6.
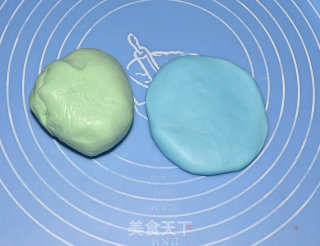
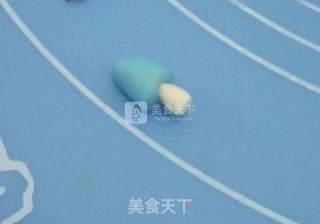
I first called up the colors of the river and grass, using this as an example.
7.
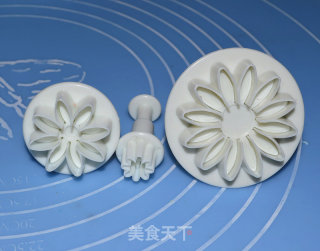
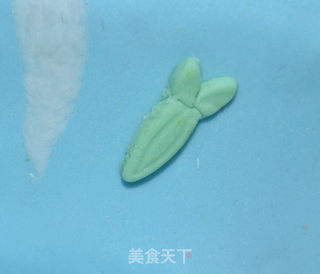
Here I would like to talk about the tips for making small fish. You can find this kind of chrysanthemum fondant mold, one big and one small. Roll out the fondant cream, press one large and one small flower respectively.
8.
Take one petal of a big flower and two connected petals of a small flower, and apply melted fondant water to stick them together. Just like that, the simple fish is ready. If there is no mold, hand pinching is also possible.
9.
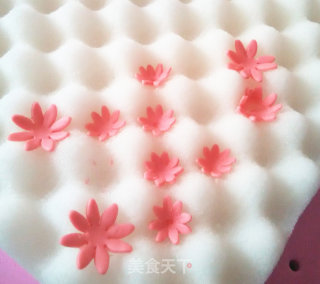
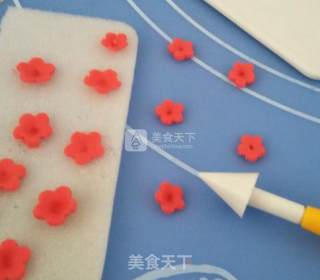
Regarding the production of florets, after pressing, they can be placed on a shaping sponge for shaping.
10.
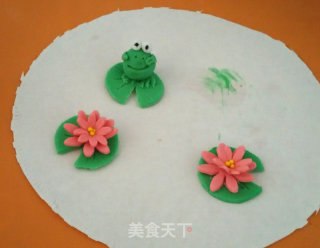
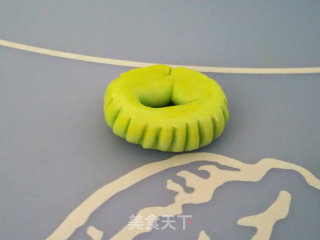
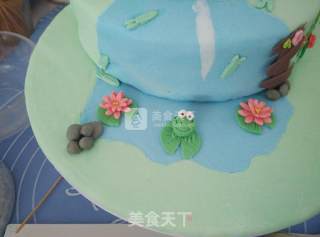
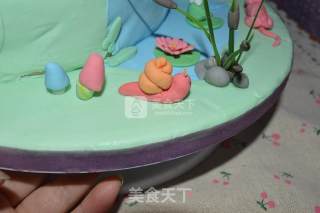
The lotus leaf is very simple. Take the disc, take a small mouth, and press a little bit with a toothpick to make it. The little frog can do it step by step according to the picture. The key is to be careful and patient. The lotus is made with two small flowers of different sizes interlaced and glued together, and the center of the flower is just a little bit in the middle.
11.
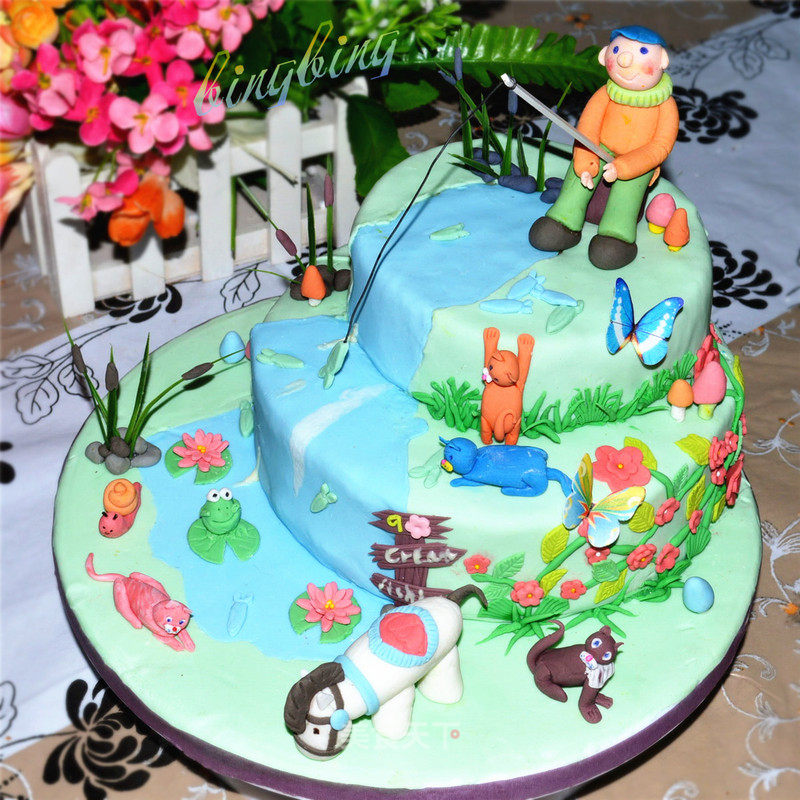
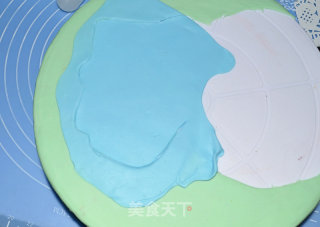
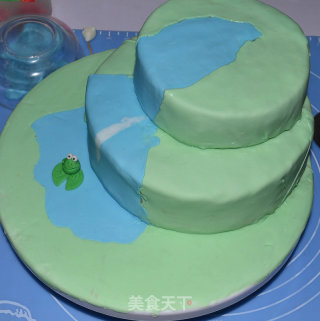
After talking about small decorations for a long time, let's wrap the cake, because I made 3 layers and added a river, so I can't wrap it one layer at a time like the common law. After laying the grass, make a river look and then spread the blue dough!
12.
Layer by layer, wrap it all up. When you roll the blue fondant, you can add a little white to make the water flow more real.
13.
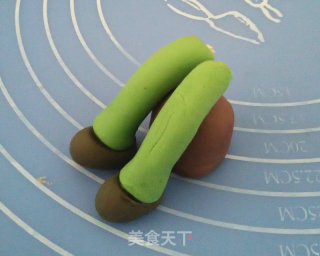
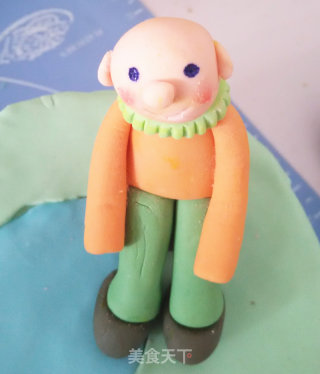
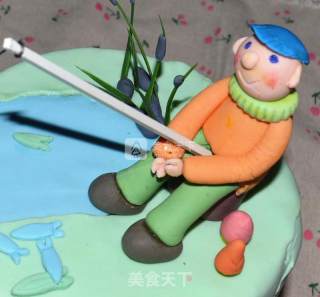
Next, you can do cartoon modeling. In fact, there are not so many requirements to do that first here. As long as you do it one by one, I will be a fishing villain first. Locate the center of gravity and make two long cylindrical bends, that is, two legs, with wooden stakes and shoes. The wooden stake is a brown cylinder. The shoes are made of brown-black oval shape, cut diagonally, and coated with sugar water to stick to the dark green end.
14.
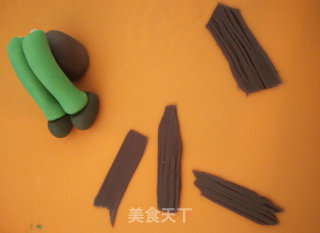
The wooden piles have turned out the brown color. You can make all the small brown things by the way. Here is another wooden pile. Roll out into sugar slices, cut into rectangles, and then use toothpicks to press stripes on them.
15.
Make a bib, rub the long strip, surround it, press it, and then use a toothpick to press out the lines and make patterns.
16.
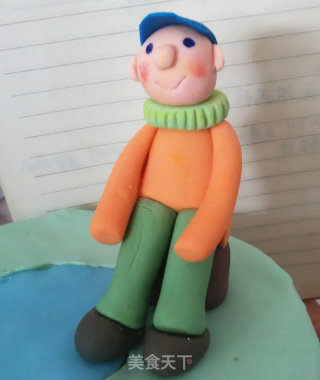
The body and head are made one by one, and they are glued together with the help of a scarf. Use chopsticks to paint the eyes. The little nose is a pink flesh-colored ball, the mouth is pressed out with a toothpick, and the ears are glued. Use a small brush to stick some toner on his face.
17.
Roll out the blue fondant, cut out a suitable shape, make a hat, and press out the pattern with a toothpick on the front. A simple puppet is ready, then make a hand for him in a while, just plug in the fishing rod.
18.
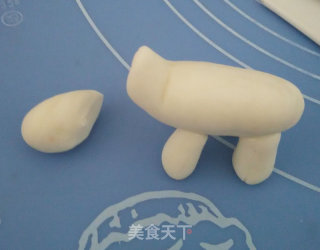
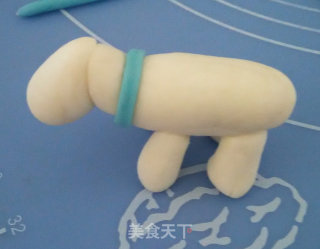
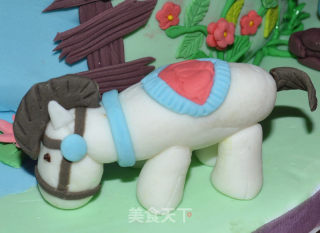
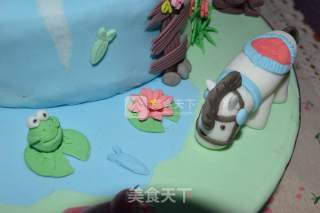
Let's be a horse again. This time I chose white, made four legs, a body, rubbed a long cylinder, folded the front, and made an oval head.
19.
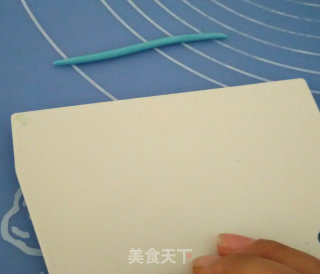
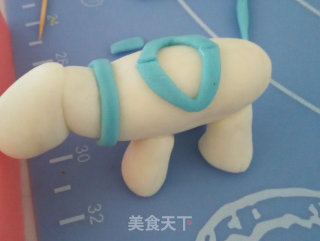
To make saddles and other accessories, rub the strips and squash them together. It is a very simple step. Here, if you rub the strips with uniform thickness, you can use a scraper to gently press on the strips, and use the scraper to evenly force the front and back. The strips that are rubbed out are more even.
20.
Glue the horse's head with melted fondant, enclose the blue strip, and cut off the excess.
21.
Continue to make the saddle on the horse. As shown in the figure, after rubbing the long strip, fold it and then squash it.
22.
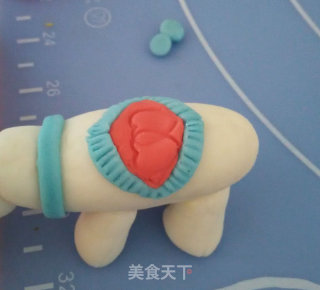
Make a red fondant paste in the middle of the saddle and press the pattern you like.
23.
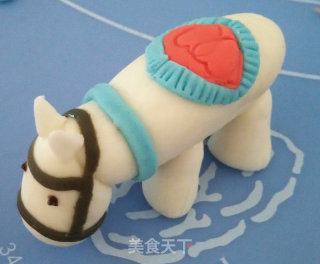
Use the brown one to make the rope for the horse's head, using the same method as the blue one. Make two small white triangles for the ears.
24.
Make two small blue balls, squash them, and glue them on both sides of the horse's head for decoration. Use brown to make horsehair and tail. Embossing and bending can make the image of the pony more vivid.
25.
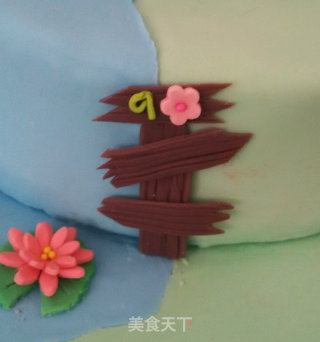
Trim the edges of the wooden pile cards made before and decorate them on the cake. I put a little flower on it again
26.
Decorate the finished frog and lotus fish. Just brush some sugar water and stick it on.
27.
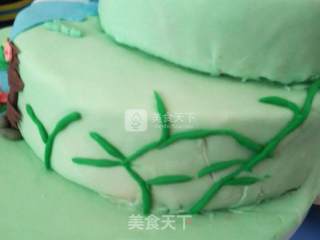
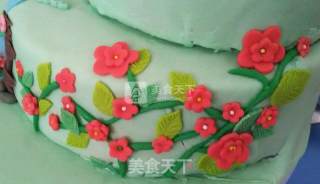
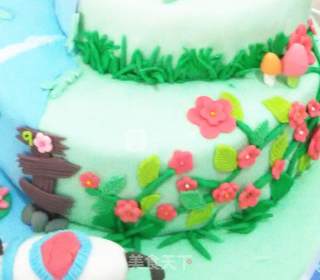
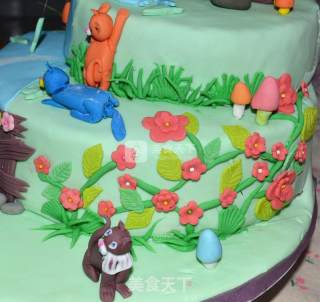
Decorate some green vine branches on the right side of the stake. You can do it freely, not too straight, and the curved point is more vivid.
28.
I made a little pure red flower again and pressed it on the sponge mat. A small pit appeared in the middle, decorated with sugar beads or small fondant balls as stamens.
29.
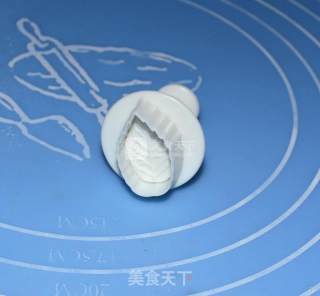
Then use this mold to press out some green leaves. I used two colors. If the smallest mold is still too big, after pressing it, you can trim it into a small one.
30.
Flowers and leaves are randomly decorated on the cake vines. Just look good,
31.
Rub the small green strips of different lengths and decorate them on the layered position of the cake. The roots of the vines should also be decorated.
32.
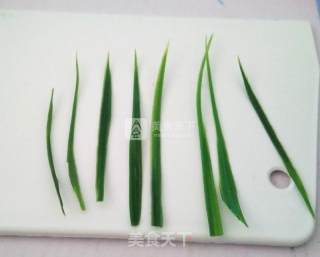
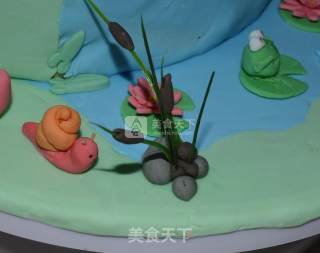
Use plastic flower branches to trim out a slender shape to make aquatic plants, grasses, etc.
33.
Stack some small dark-colored balls, make a stone, insert the plastic branches, and use fondant to make an oval on the top of the paper.
34.
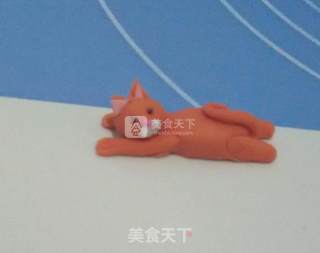
Continue to make other cartoon styles, kitty, this is a kitty climbing upwards, the method is similar to that of a villain and a pony. There are not many steps to talk about. The smaller the thing, the more carefully you must do it!
35.
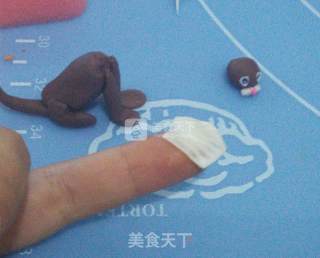
For this kitten, I added a white fondant to his front to make the white hair in front of him. The effect is also good.
36.
Small mushrooms and small snails are very simple. Make small parts separately and stick them together.
37.
After making it, stick it in the right place on the cake.
38.
The villain inserts a long strip for him here to make a fishing rod. Remember to press a small fish for him below.
39.
The kitten uses melted fondant to stick it in place.
40.
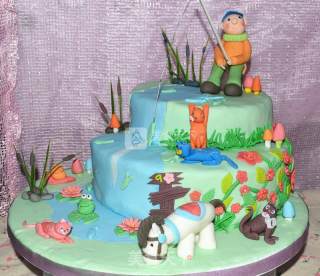
The little white horse is placed on the bottom floor, because there is the most space available here, so it is very suitable to be placed by the river.
41.
It was almost there, and finally found that the wooden sign was empty,
42.
A few English letters are written on the street signs, and small butterflies are decorated.
43.
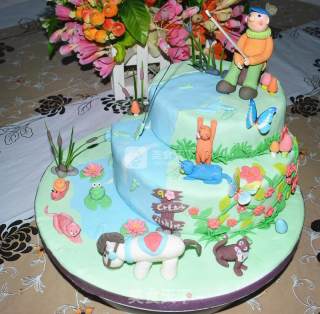
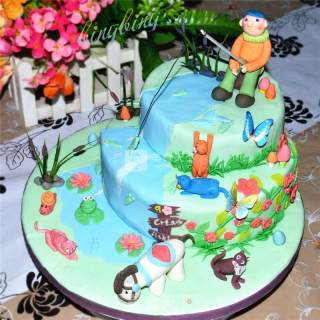
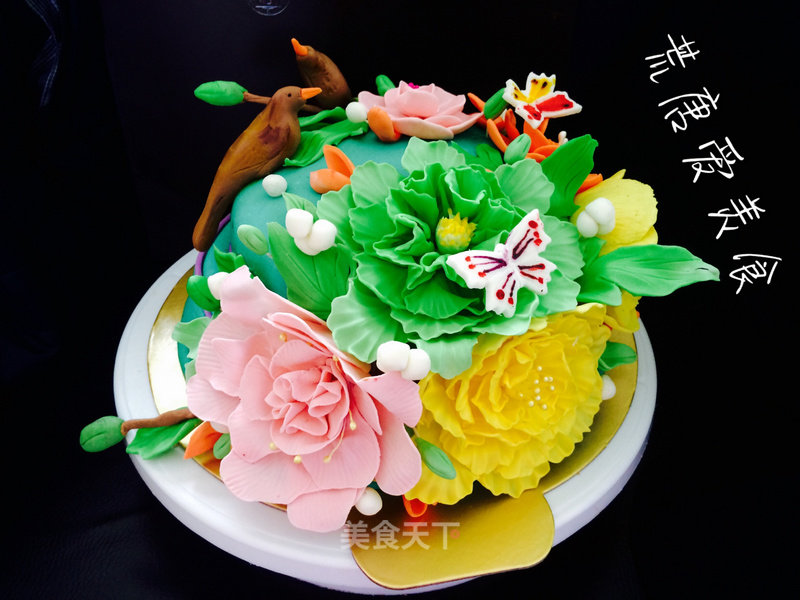
Okay, the finished picture, enjoy it.
Tips:
Small shapes are mostly composed of some basic circles, ovals, long strips, etc., take it step by step, and finally use the melted fondant water to smear them together. Don’t apply too much, just brush with a small brush. That's it. Just be patient and do it carefully, it's very simple. If you are worried about the instability of the fondant, you can apply a layer of butter cream or icing sugar on the cake. I didn't apply it.

