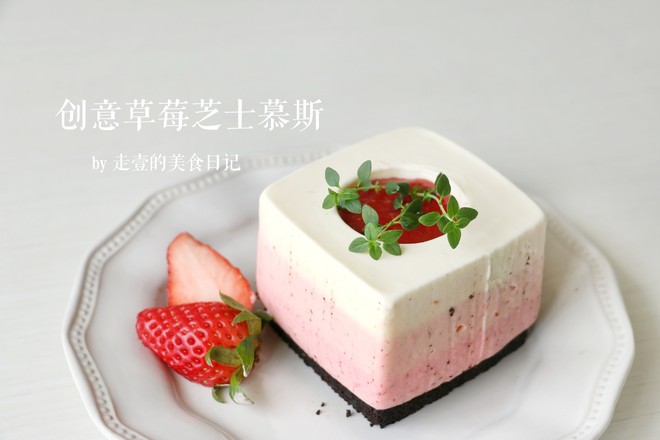
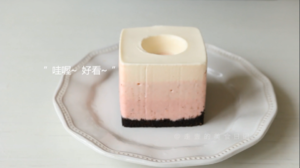
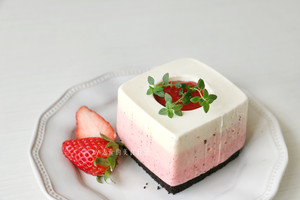
No Mold Required! | Creative Strawberry Cheese Mousse~
1.
Do it after watching the video, the success rate will be higher! ~
2.
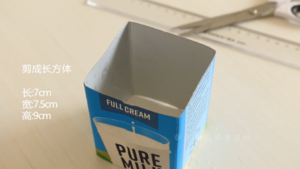
Step 1: DIY carton mold
3.
Cut the milk box to the required size. The parameters of the box I cut are:
Length: 7cm
Width: 7.5cm
Height: 9cm
If you have other sizes, use the volume ratio to convert the formula dosage~
4.
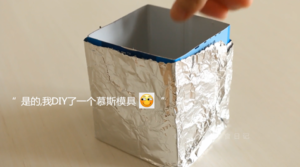
Wrap the bottom with tin foil, and stick the periphery with tape.
5.
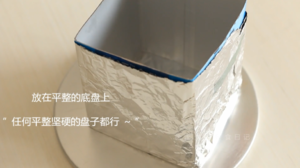
Place it on a flat and hard site for easy access. A DIY mold is ready.
6.
Step 2: Make strawberry jam
7.
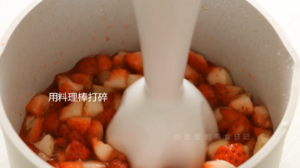
Wash the strawberries, dice them, add fine sugar and lemon juice, mix well and break them with a stirring rod.
8.
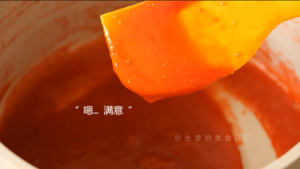
Boil on low heat until viscous, seal and refrigerate for later use.
9.
Step 3: Make mousse layer
10.
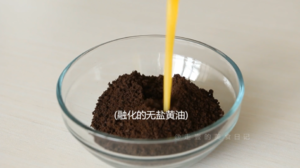
Cracked biscuits + melted butter, mix well
11.
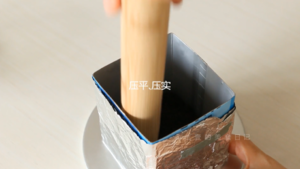
Spread on the bottom of the mold, and freeze it in the refrigerator for 20 minutes after compaction.
12.
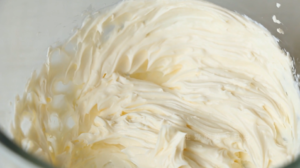
Softened cream cheese + lemon juice, beat until fine.
13.
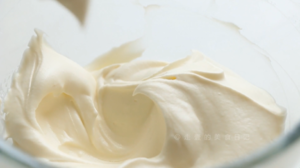
Whipped cream + fine sugar, just hit the texture, pour it into the cream cheese, and mix well.
14.
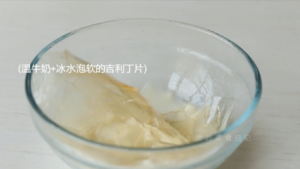
Add the soaked gelatin flakes to the warm milk and stir well.
15.
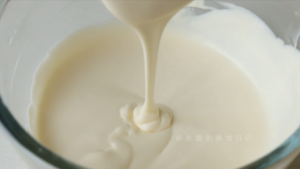
Pour into the cheese paste and mix well to form the mousse liquid (about 230g finished product).
16.
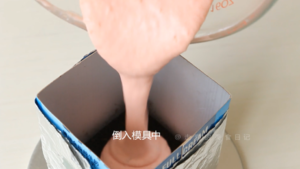
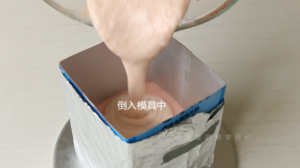
Take out the first portion of mousse liquid (take 78g), add 40g strawberry jam, mix well, pour it into a mold, and freeze in the refrigerator for 20 minutes;
17.
Then take out the second portion of mousse liquid (78g), add 20g strawberry jam, mix well, pour it into a mold, and freeze it in the refrigerator for 40 minutes;
18.
Do you think I am going to pour the third layer of mousse directly? Then I have a recipe (whispering...)~ (You can learn about the previous gradient blueberry mousse~)
19.
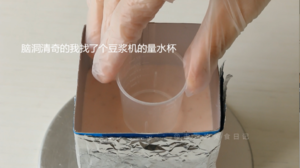
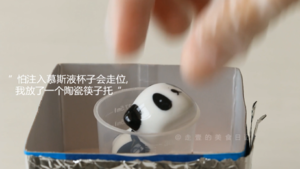
With a strange brain circuit, I found a soymilk measuring cup and placed it on the second layer of mousse.
20.
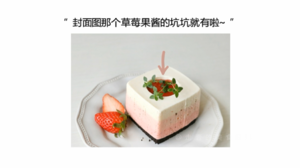
On the cover picture, there is a pit where the strawberry jam is poured~ Isn't it wonderful~~~
21.
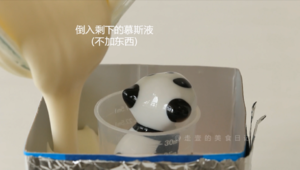
I was afraid that I would inject the mousse liquid and it would move. I also put a ceramic chopstick holder. The little panda is so cute~~
22.
After that, pour the remaining mousse liquid (without anything) directly into the mold, fill up around the measuring cup, arrange it with chopsticks, and refrigerate it for at least 4 hours.
23.
Step 3: Demoulding + top decoration
24.
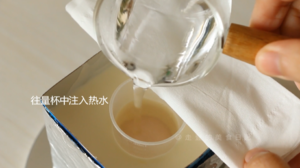
Take out the solidified mousse, remove the chopstick holder, and pour hot water into the measuring cup (put a paper towel to prevent it from leaking onto the mousse). After the surrounding mousse is slightly melted, immediately take out the measuring cup, which can be used to decorate the small hole There is it~
25.
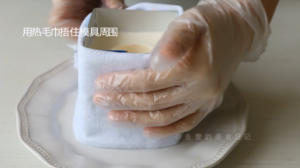
Remove the tin foil and cover the mold with a hot towel, then you can easily demould it~
26.
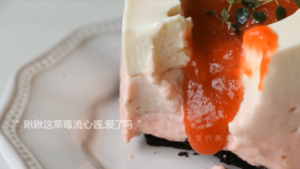
Squeeze an appropriate amount of strawberry jam into the small hole on the top, and decorate with vanilla, a creative cheese mousse with a big brain is ready~~
27.
Hahaha, how many points do you give for this wave of turning waste into treasure? ~~
28.
Take a look at this flow, do you love it~~ You guys try it quickly~ Don't use molds, let the milk box turn waste into treasure~

