Simple, Fun and Delicious [milk-flavored Biscuits]
by Warm blue 0429
Favorite
Difficulty
Easy
Time
30m
Serving
2
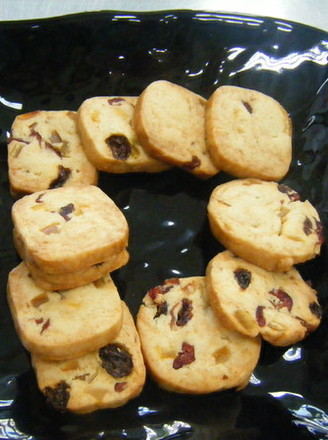
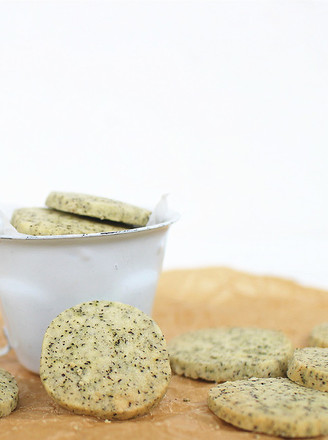
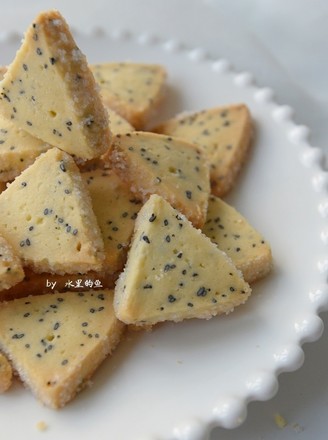
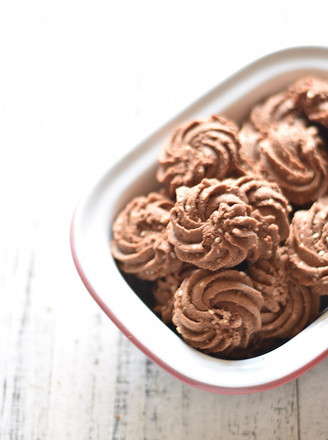
Biscuits have always been a kind of food that kids like very much (not only kids like it), so today I recommend a very simple biscuit to everyone.
This biscuit is mainly milky flavor, and the taste is very crisp. This kind of crispness is different from the crispness of cookies, but it is slightly hard and crisp, which is similar to the taste of baby molars.
Because there is no need to whip butter, it is relatively simple and quick to make. And during the baking process, the biscuit body will not crack or excessively expand. I personally think that it should be a good choice to use it as a base for icing or fondant biscuits.
Another point is that the dough of this biscuit has a good hand feel, high operability, easy shaping, and the final baking color is also very beautiful.
The recipe comes from "Rainy Night Nina", which is said to be the most popular cookie on Japanese cookpad. Thanks for sharing good recipes!
(The amount is for reference only, the following amount can bake more than 40 small biscuits, I used the Christmas mold)"

![Simple, Fun and Delicious [milk-flavored Biscuits] Simple, Fun and Delicious [milk-flavored Biscuits]](https://img.simplechinesefood.com/50/508fe61e2ddcd172f7613844963c3cdd.jpg)
![Simple, Fun and Delicious [milk-flavored Biscuits] recipe Simple, Fun and Delicious [milk-flavored Biscuits] recipe](https://img.simplechinesefood.com/96/9653b96236e1f7a0ff4ade0a46fd486e.jpg)
![Simple, Fun and Delicious [milk-flavored Biscuits] recipe Simple, Fun and Delicious [milk-flavored Biscuits] recipe](https://img.simplechinesefood.com/13/13c26cd9aad09153b5934348752ba120.jpg)
![Simple, Fun and Delicious [milk-flavored Biscuits] recipe Simple, Fun and Delicious [milk-flavored Biscuits] recipe](https://img.simplechinesefood.com/7a/7ac34c010cb26f55b5176f48de487e0e.jpg)
![Simple, Fun and Delicious [milk-flavored Biscuits] recipe Simple, Fun and Delicious [milk-flavored Biscuits] recipe](https://img.simplechinesefood.com/29/29208d6529a092f25035f9a6b7088888.jpg)
![Simple, Fun and Delicious [milk-flavored Biscuits] recipe Simple, Fun and Delicious [milk-flavored Biscuits] recipe](https://img.simplechinesefood.com/1b/1b309f79d16b388c7aa9abe2f6e70657.jpg)
![Simple, Fun and Delicious [milk-flavored Biscuits] recipe Simple, Fun and Delicious [milk-flavored Biscuits] recipe](https://img.simplechinesefood.com/69/6925fc6c7017d9cace2e181a2268fdbd.jpg)
![Simple, Fun and Delicious [milk-flavored Biscuits] recipe Simple, Fun and Delicious [milk-flavored Biscuits] recipe](https://img.simplechinesefood.com/f0/f06d45e65c75e2f745cc9a809b9cb39f.jpg)
![Simple, Fun and Delicious [milk-flavored Biscuits] recipe Simple, Fun and Delicious [milk-flavored Biscuits] recipe](https://img.simplechinesefood.com/01/0152766112fe43d34900c992b654aa5b.jpg)
![Simple, Fun and Delicious [milk-flavored Biscuits] recipe Simple, Fun and Delicious [milk-flavored Biscuits] recipe](https://img.simplechinesefood.com/53/538a91a60a8aae0b5628ffca5042904a.jpg)
![Simple, Fun and Delicious [milk-flavored Biscuits] recipe Simple, Fun and Delicious [milk-flavored Biscuits] recipe](https://img.simplechinesefood.com/6a/6a3db5733b36994e6972c27c3f9a3b68.jpg)
![Simple, Fun and Delicious [milk-flavored Biscuits] recipe Simple, Fun and Delicious [milk-flavored Biscuits] recipe](https://img.simplechinesefood.com/eb/ebad28175ccb605667b3862333eeb027.jpg)
![Simple, Fun and Delicious [milk-flavored Biscuits] recipe Simple, Fun and Delicious [milk-flavored Biscuits] recipe](https://img.simplechinesefood.com/09/0947ac3dc969c0a005705f9a6ca42b81.jpg)
