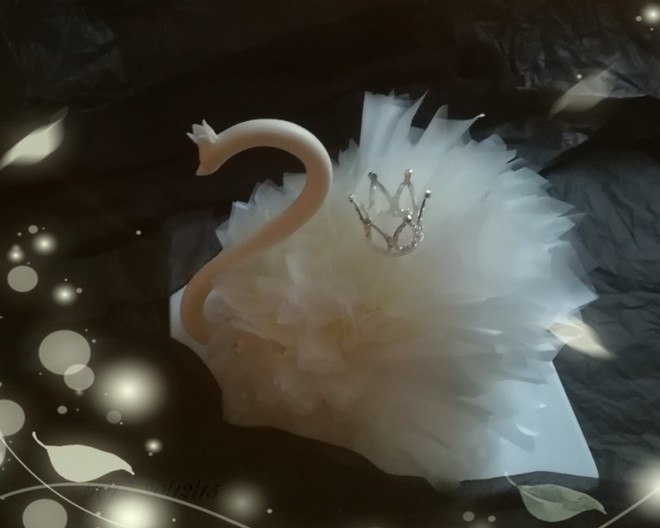
Super Fairy and Super Beautiful-swan Cake
1.
☺️☺️ Recent weather in Shanghai. The weather is very cold, and there are pros and cons.
2.
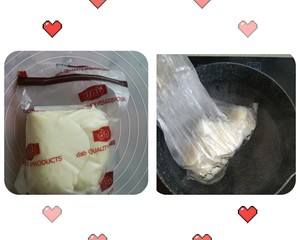
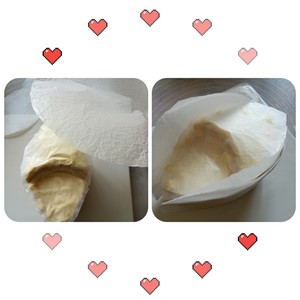
☺️☺️ The dry pez is cut into small pieces. Now the dry pez will be harder in cold weather, so put the dry pez into a fresh-keeping bag, put in the hot water of about 70 degrees, soak for a few minutes, the dry pez is a bit hot, take it out .
☺️☺️ Matters needing attention: Dry Pace can't touch water, so set several fresh-keeping bags and pay attention to waterproofing.
3.
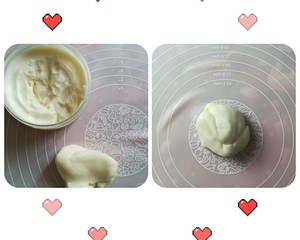
☺️☺️ Take out a little hot dry pisces, add a little bit of fondant with white oil, knead soft and knead evenly.
☺️☺️ The effect of white oil is to prevent cracking and sticky hands, and increase the gloss of the plug-in. (No need to put too much.)
4.
☺️☺️ Because the current weather is too cold, if the dry pez is a very short and very small piece, the long strip is easy to break.
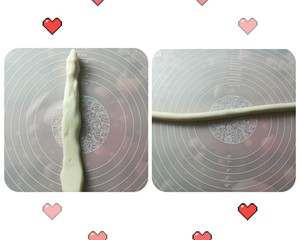
☺️☺️So we first alternately grasp the length, grasp the dry pisces (let the dry peas tightly blend together, this step is very important), and then rub the long strips.
☺️☺️ Note: If the dry pez is too hard, put it in the pot and heat it again (for a short time)-pay attention to waterproof!
5.
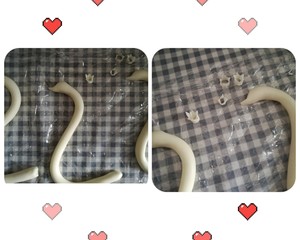
☺️☺️ It is recommended that you make 2 more necks with different lengths and different postures for use. (What if your swan neck accidentally fell to the ground! Or give the puppy 🐶 and go away? 😂😂)
☺️☺️ Make the little crown also. (After the little crown is dry, use fondant glue or white chocolate to stick it on the neck of the swan.)
☺️☺️ Rub a little white oil with your hands and apply the white oil on the neck to prevent cracking!
☺️☺️ The length of my swan's neck is 30 cm-33 cm, and the neck diameter is 0.9 cm-1 cm.
6.
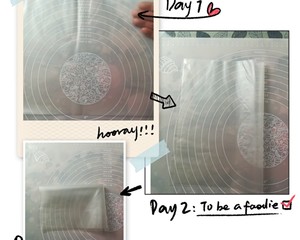
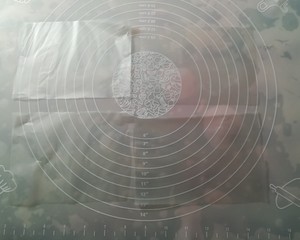
☺️☺️The swan has two feathers, one is large. The big feather is a whole piece of glutinous rice paper folded and then folded.
7.
☺️☺️ After folding, use scissors to cut into four pieces, each of which is about 16 cm long and 11 cm wide.
8.
☺️☺️ Find the center point of each piece of paper.
9.
☺️☺️ Pick it up, this is what our big feather looks like.
☺️☺️ Note: There is a difficulty in this tutorial, that is, this feather. If you let go, your hand will loosen.
10.
☺️☺️ We need to use white chocolate sauce to help shape the feathers.
☺️☺️Notes: Don’t let go of your hands before the white chocolate sauce has solidified! Don't pinch the chocolate with your hands. (The chocolate will be loose after a pinch, and it will not have the effect of setting the shape.)
11.
☺️☺️ This is a small feather. The small feather has to be folded several times and then cut.
The small feathers are 8 cm long and 6 cm wide. Do the same as Big Feather.
12.
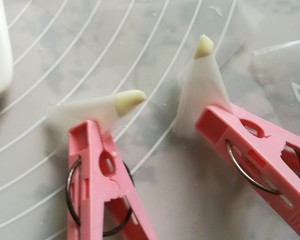
☺️☺️ Small feathers can be clamped with clamps and wait for it to be fixed. Prepare a few more clips, the speed of making feathers will be very fast.
13.
☺️☺️ About the melting of chocolate. Chocolate can be used as a binder, or it can be melted repeatedly, but there is a prerequisite that the chocolate cannot meet water, even if there is only a little water, it will turn the sand. And the water temperature of the melted chocolate should not be too high, between 50 degrees and 60 degrees. (The melting time is about half an hour.)
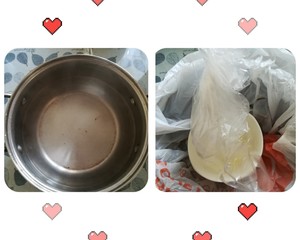
☺️☺️ I put 2 fresh-keeping bags in the bowl, and then put the chocolate, so that I am not afraid of water, and I don’t have to worry about the bowl being washed clean.
☺️☺️ Note: All bowls, spoons, fresh-keeping bags and tools that come into contact with chocolate should not have a drop of water!

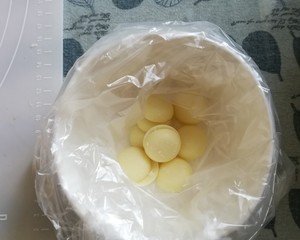
14.
☺️☺️ Because we make feathers, we need white chocolate to stay in a molten state for a long time, so I found a big pot. Put warm water in it. Put a large plastic bag on it, because water vapor dripping into the chocolate will also easily turn the chocolate into sand. (Plastic bags can isolate water vapor, what we need is temperature, no water vapor!)
☺️☺️Note: If the water is cold, take out the plastic bag and bowl, and reheat the water!
15.
☺️☺️It is recommended that you can make a part of the feathers first, which saves time. Make about 20 large feathers first, and 30 small feathers first.
16.
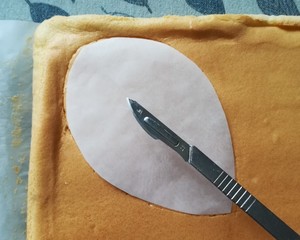
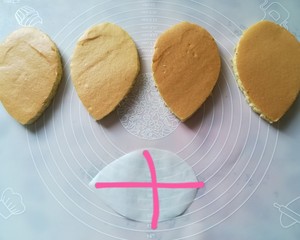
☺️☺️The swan neck is dry and ready to bake cakes. Draw a drop shape on oil paper yourself. Cut out one corner of the four corners of the golden plate.
17.
☺️☺️ Cake slice, divided into four water droplets. The drop shape is 14 cm long and 9 cm wide.
18.
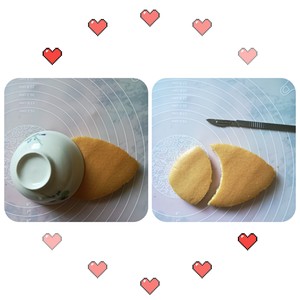
☺️☺️ Find a bowl and cut into the picture. This is the top slice of the cake.
19.
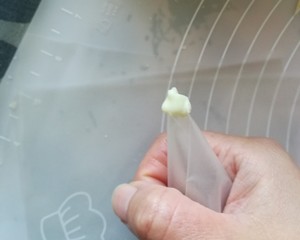
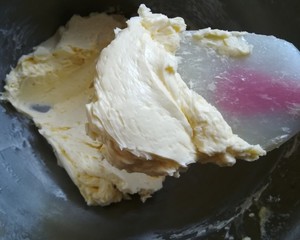
☺️☺️Cream cream is squeezed in a piping bag.
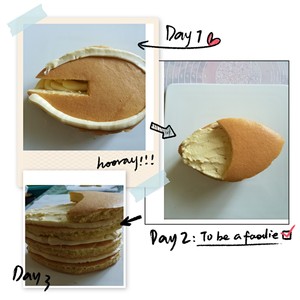
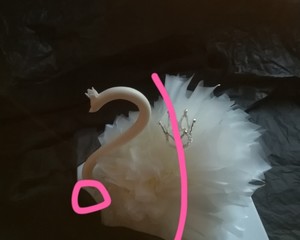
☺️☺️ Look clearly at the second piece of cake, (counting from bottom to top) a part of it is to be cut off, and that part is used to put the swan neck. (You must leave a place for your neck!) Don't put cream on the space reserved for your neck.
20.
☺️☺️ Some things to note about cream: cream is easy to beat badly in winter.
21.
☺️☺️ Cream frosting can refer to the tutorial. If the cream does not beat well and the warm water is not enough for one sitting, then sit again with warm water.
22.
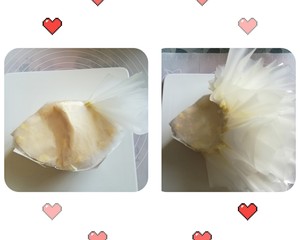
☺️☺️ Wrap the cake body with wafer paper, cut off the excess wafer paper.
23.
☺️☺️Glue the big feathers with chocolate first. Small feathers are glued to the first half.
☺️☺️Notes: It takes time for chocolate to solidify, so be patient and let go after a while. The lower the room temperature, the faster the solidification rate. So cold weather also has the benefits of cold weather! 😂😂
24.
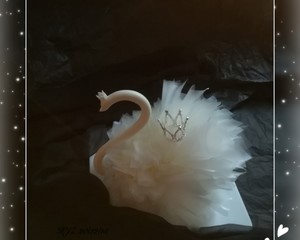
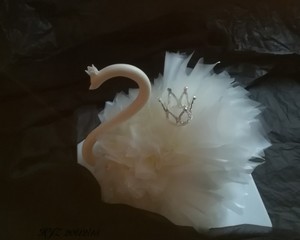
☺️☺️ Large feathers in the second half, small feathers in the first half. Stick a little chocolate sauce on the neck and stuff it in. For the space on the neck, you can use dry pez to make a string of pearl necklaces, or decorate it with silver or gold foil.
25.
☺️☺️ This tutorial is estimated to break the record of my tutorial steps. Many steps😁😁

