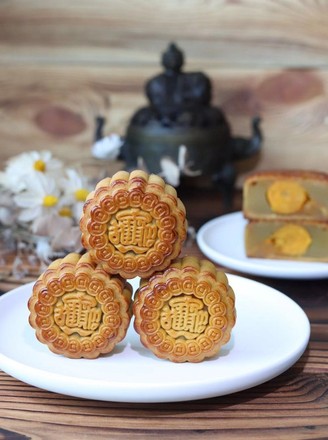
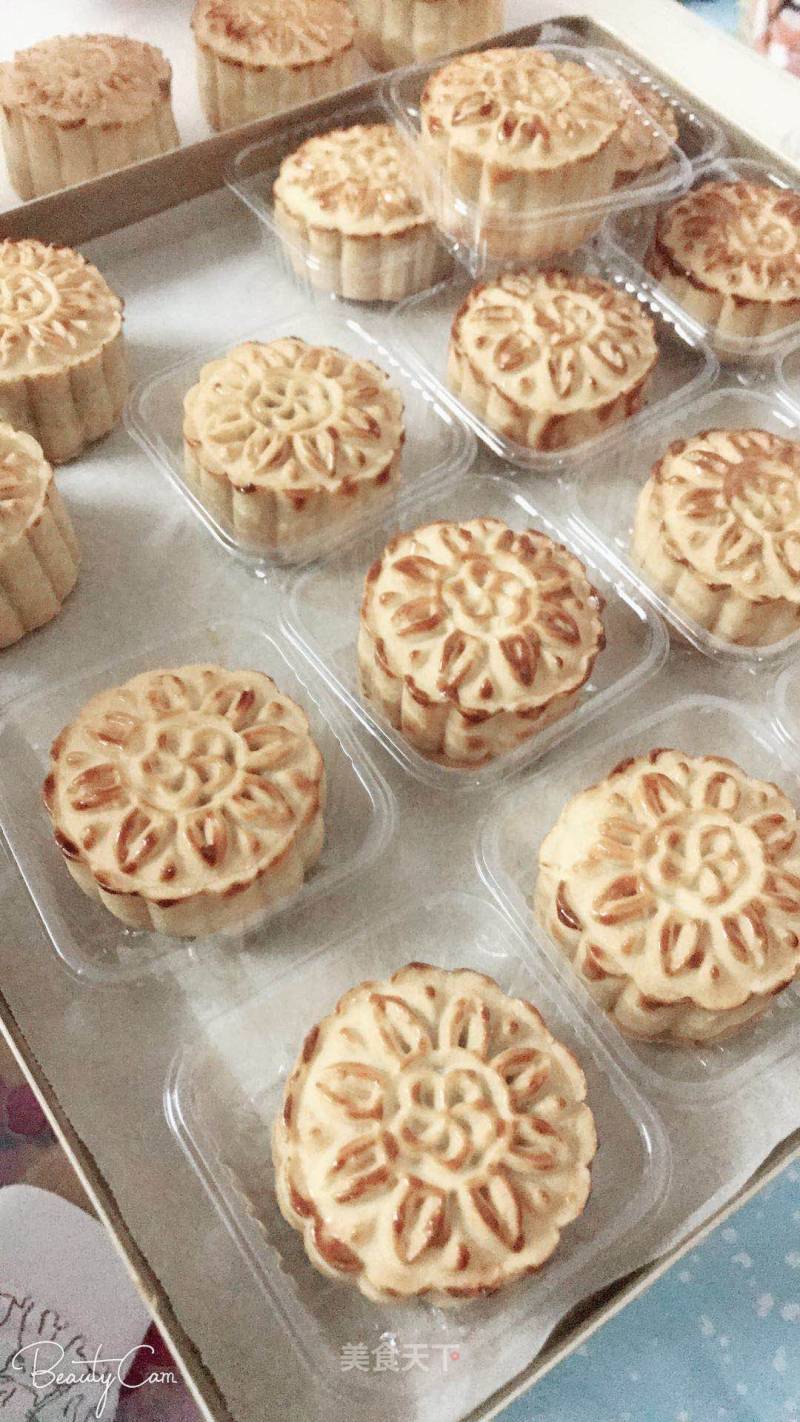
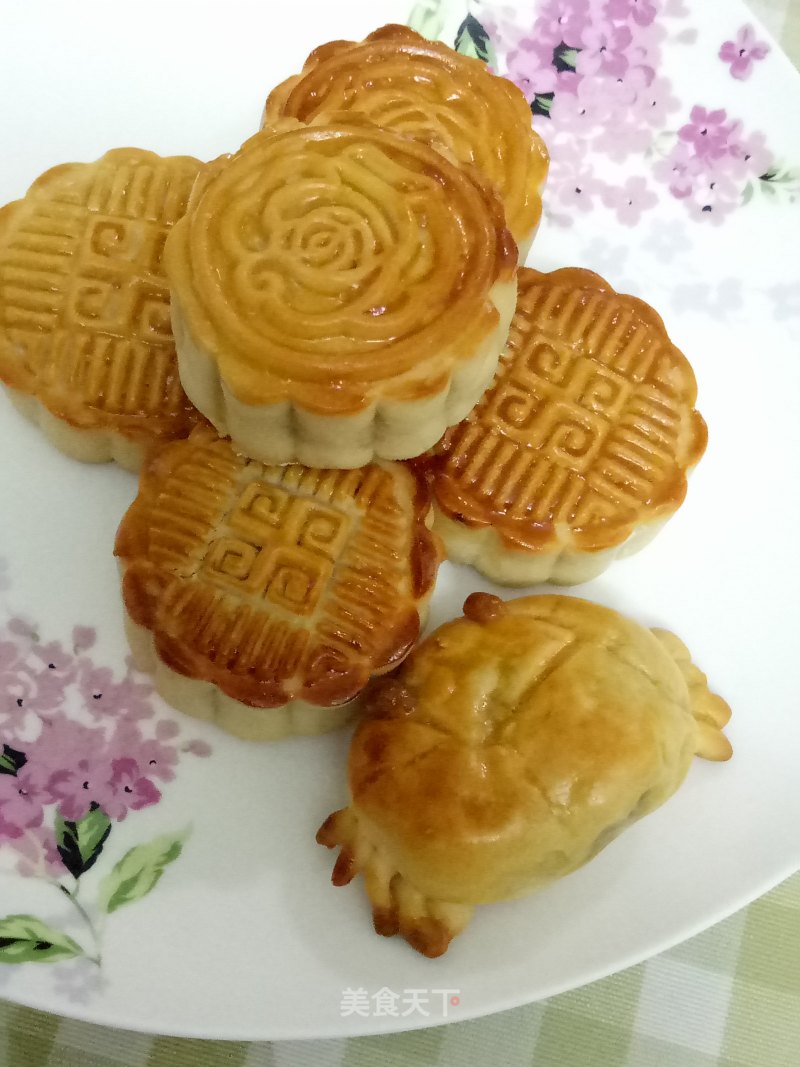
Cantonese-style Moon Cakes-moon Cakes with Lotus Seed Paste and Egg Yolk
1.
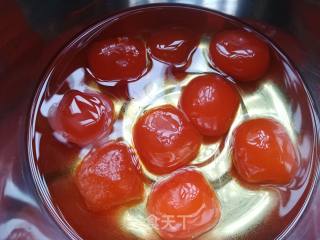
The salted egg yolk is soaked in corn oil for 1 hour and needs to be covered with plastic wrap.
2.
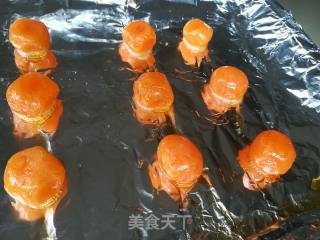
Preheat the oven in advance and fire up and down to 160°C. Cover the baking tray with tin foil, put the soaked salted egg yolk in the baking tray, put it in the oven, heat up and down at 160℃, middle level, bake for 6-8 minutes, keep staring at it, the salted egg yolk turns white, and the bottom is slightly oily. Get out of the oven right away, don't bake it too cooked, let it cool for later use.
3.
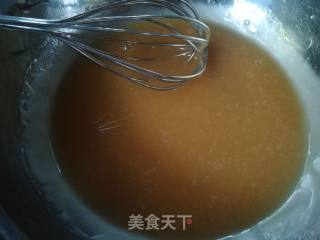
Weigh the mooncake syrup, soap and peanut oil into a container, mix them evenly with a manual whisk, scrape off the sides of the container with a spatula, and mix for a few more turns.
4.
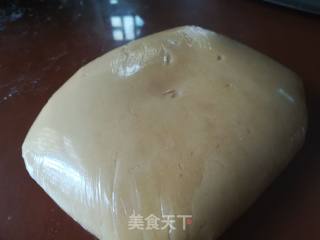
Add the all-purpose flour to the syrup that has just been mixed, and use a silicone spatula to help mix it evenly. Then put on gloves and knead the flour until there is no dry powder (fold up and down and press). Do not knead excessively. Finally, wrap in plastic wrap and relax at room temperature. 2 Hours (must be relaxed).
5.
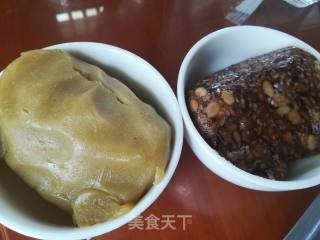
Lotus paste filling and five-ren filling.
6.
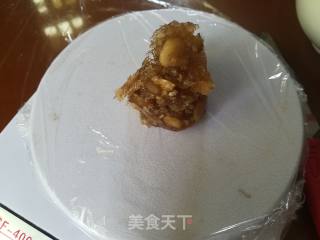
Weigh the fillings. 35g each of the five-core filling, weighed separately, and rounded.
7.
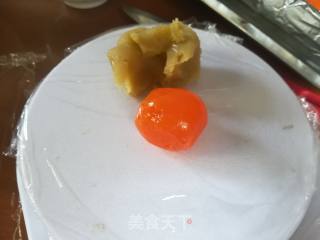
The lotus seed paste should be adjusted according to the egg yolk, which adds up to 35g.
8.
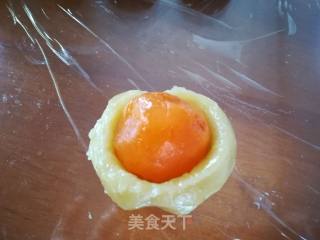
Rub the lotus seed paste into a circle, press a hole in the middle with your finger, wrap the egg yolk, and then make a circle.
9.
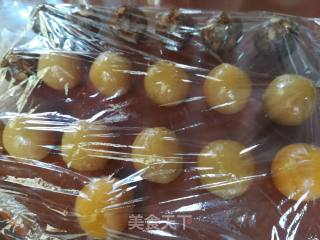
This is the weighed five-ren filling and lotus seed egg yolk filling, covered with plastic wrap for later use.
10.
Preheat the oven and heat up and down to 160°C.
11.
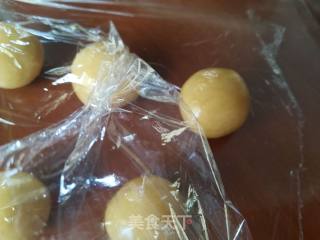
The loose crust is weighed 15g each, rounded, and only one package is taken out each time, and then covered with plastic wrap to prevent air-drying.
12.
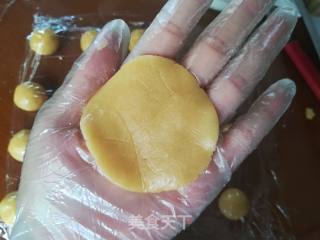
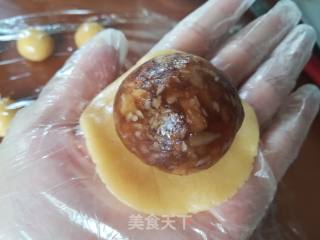
The crust is flattened and spread out.
13.
Put the filling in the middle of the crust.
14.
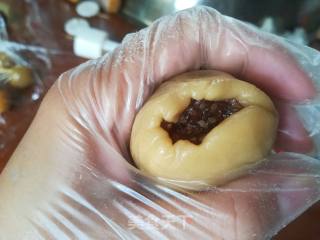
Push it up a little bit with hand assistance until it seals.
15.
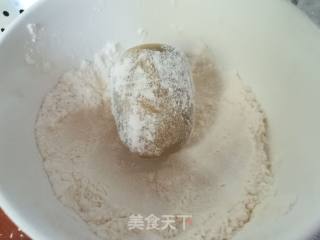
Knead the wrapped mooncake into a slightly oval shape (so that it can be easily put into the mold) and roll it in the flour to prevent sticking.
16.
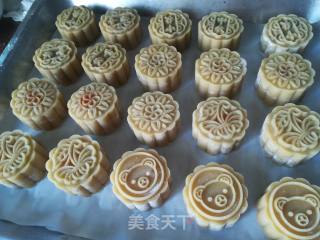
Compression molding. Cover the bakeware with greased paper. After the mooncakes are molded, they cannot be moved, otherwise they will be deformed. Therefore, pay attention to the distance when molding, and press directly on the bakeware.
17.
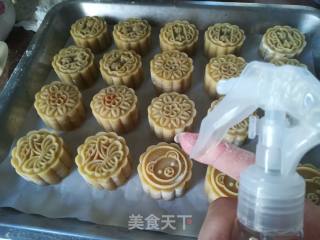
In order to prevent the moon cakes from drying out during baking, spray a little water mist with a spray bottle. Do not spray the moon cakes as shown in the picture. The nozzle should be raised at a 45-degree angle and spray the water mist evenly. Do not spray too much, just 2 or 3 times.
18.
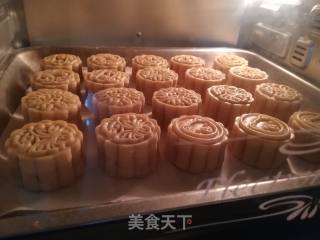
Put it into the oven (toast 3 times in total). The first baking: up and down at 160℃, middle level, 5 minutes.
19.
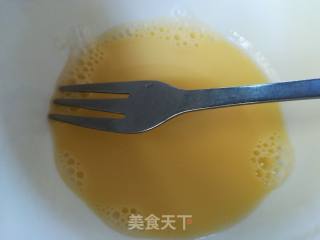
When baking for the first time, you can prepare egg yolk liquid, add 10g of water to one egg yolk, mix well and set aside.
20.
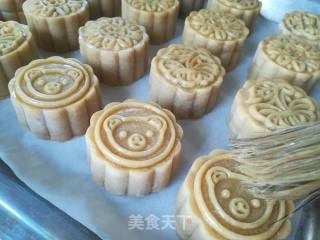
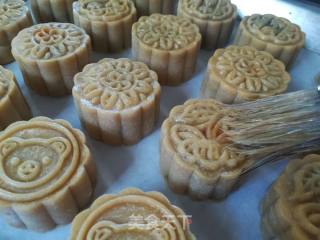
After 5 minutes, take out the moon cake and brush with egg yolk liquid, a thin layer is fine, too much will make the moon cake texture unclear.
21.
After brushing the egg liquid, continue to send it into the oven. The second baking: upper and lower heat 160 ℃, middle layer, 10 minutes. After 10 minutes, take out the second egg wash.
22.
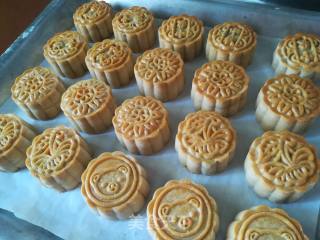
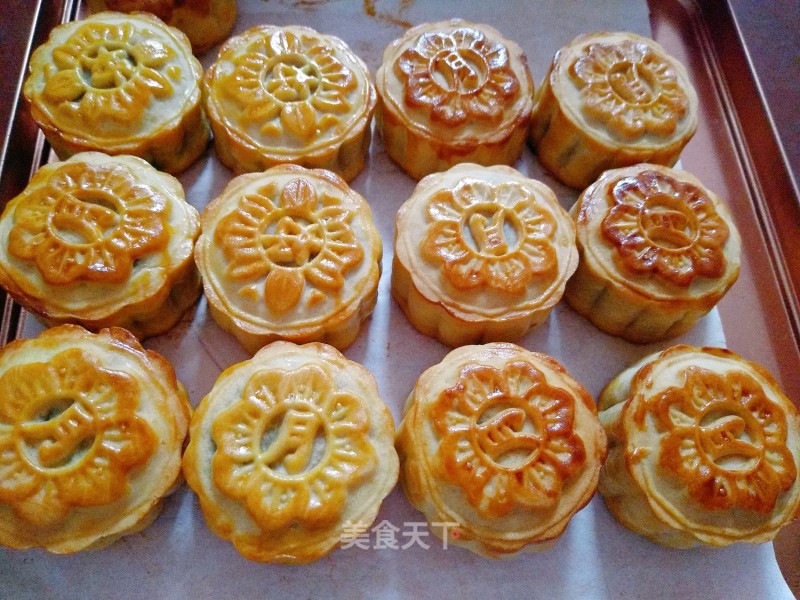
Put it into the oven again. The third baking: upper and lower heat 160 ℃, middle layer, 5-10 minutes. Everyone has a different temperament in the oven, and the golden yellow surface of the mooncake can be baked.
23.
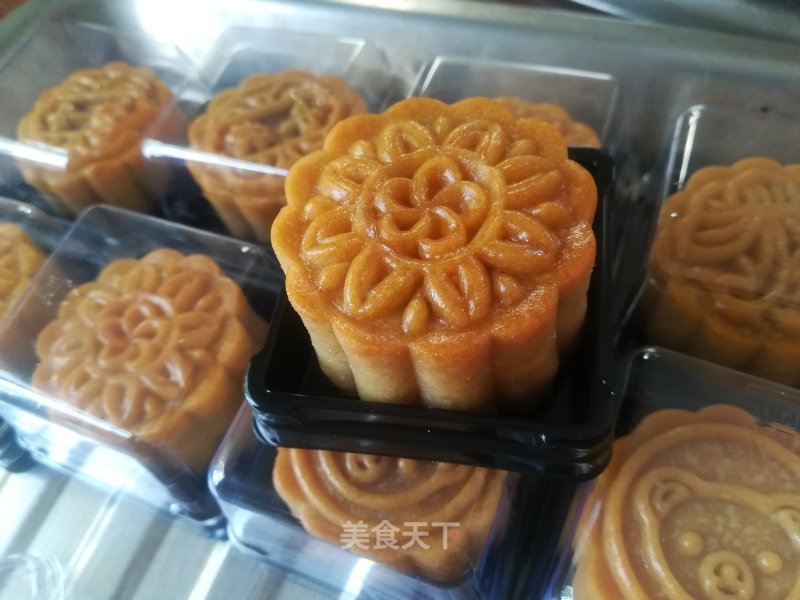
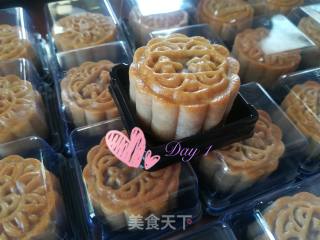
After the baked moon cakes are completely cooled, put them in a sealed packaging bag and return to the oil for 2-3 days before eating. The mooncakes are delicious after returning to the oil.
24.
This is freshly baked, and the color of the side and surface of the mooncake is inconsistent.
25.
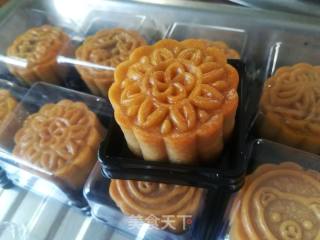
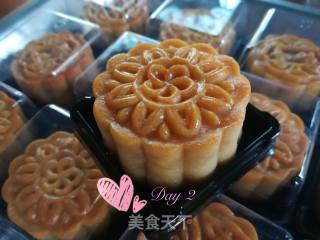
The next day, the side looked not so dry.
26.
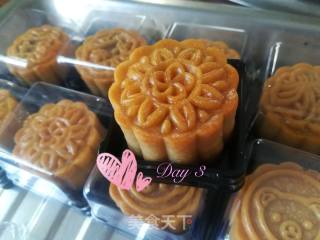
On the third day, it was shiny and shiny, and the color of the entire moon cake was basically the same.

