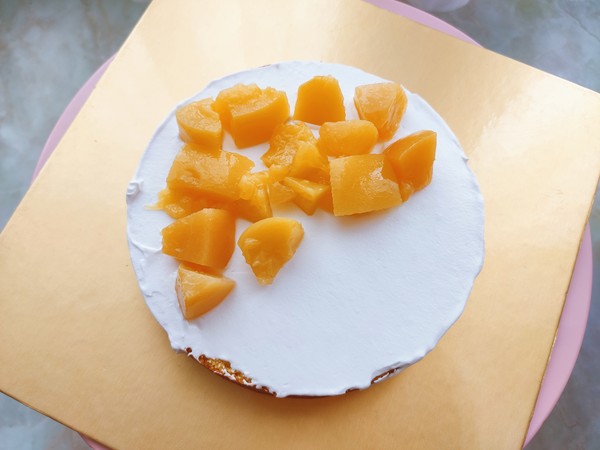
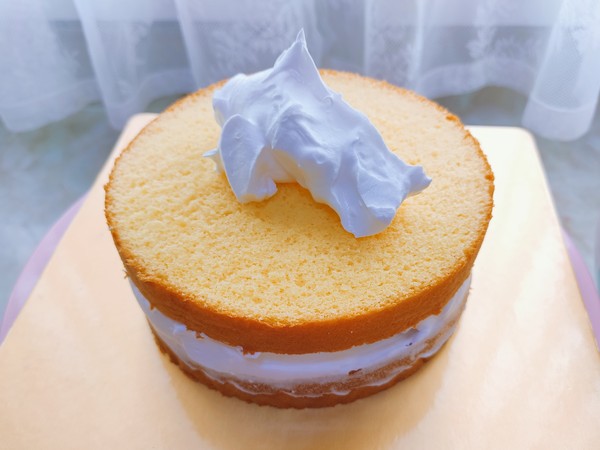
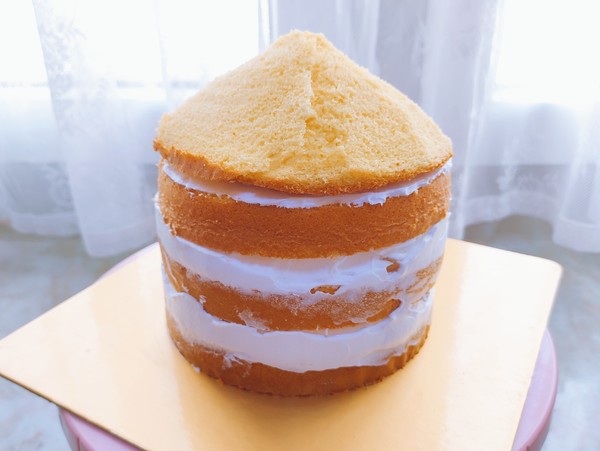
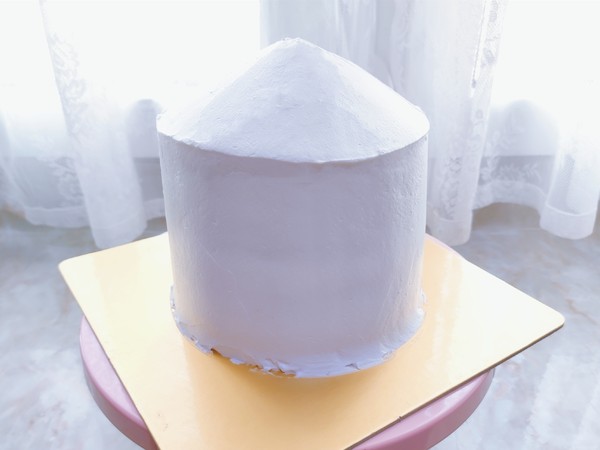
Carousel Cream Cake
by Looking for Peach Blossom Island
Favorite
Difficulty
Hard
Time
2h
Serving
5
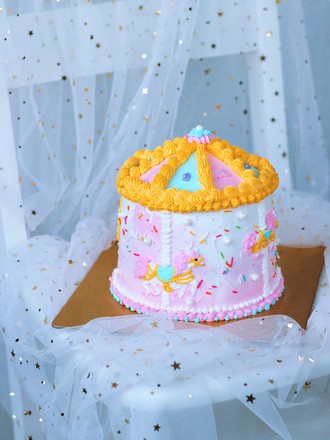
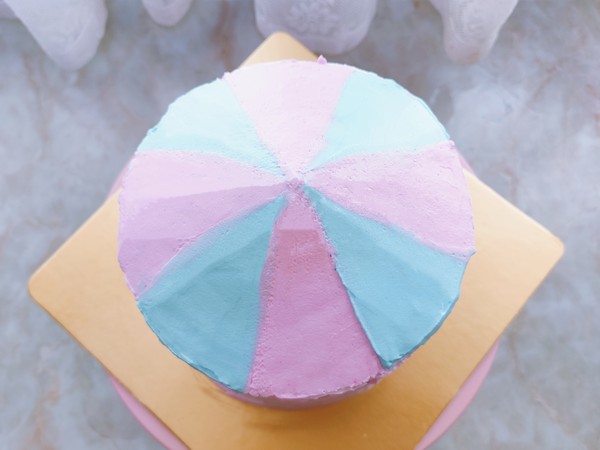
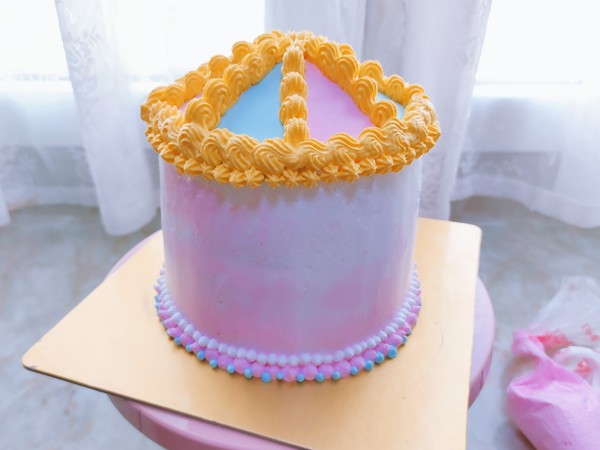
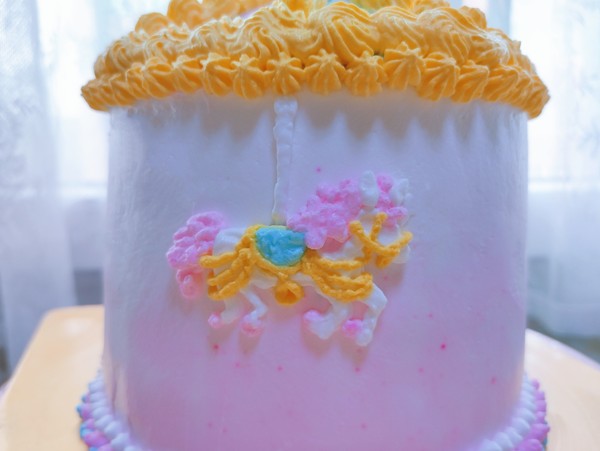
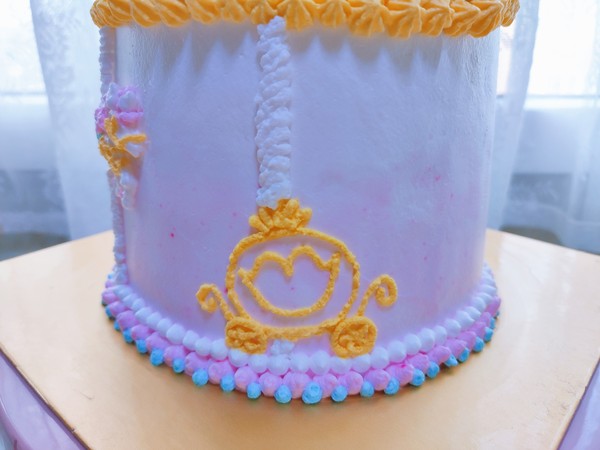
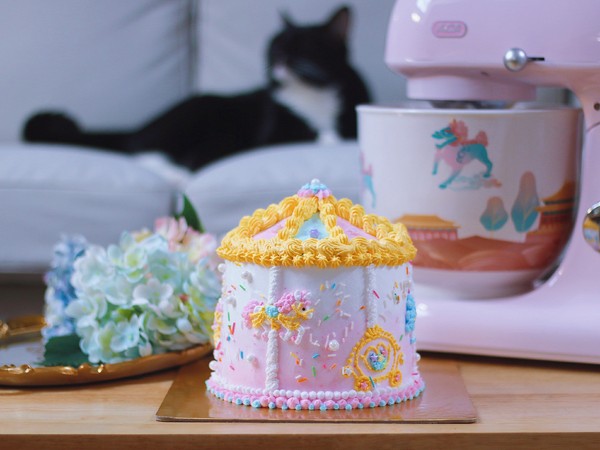
Every year for my child’s birthday, I personally make a birthday cake for her. Last week she was crazy "implying" me, this special day is coming again. Hahahaha~~ The child's careful thinking, it's so cute, mother must satisfy her. So I made this "carousel butter cake" full of girls' hearts. She was so happy that she liked it and didn't want to eat it anymore.
It’s a little more troublesome to make birthday cake yourself, but it’s not that difficult. And compared to buying off-the-shelf, even using the best materials, the cost is more cost-effective. In addition, the hygiene and safety are also more reassuring, and you can make different shapes according to your children's preferences.
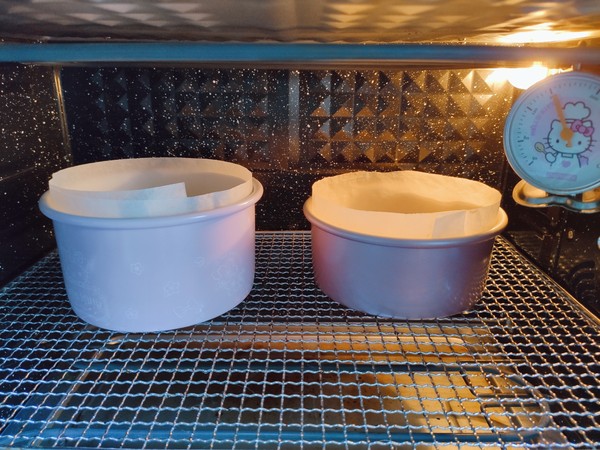
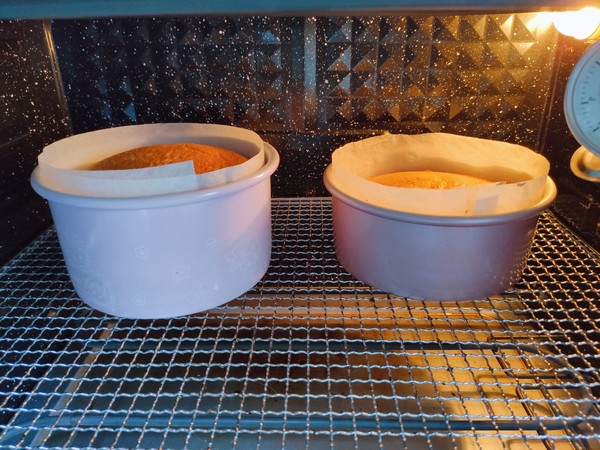
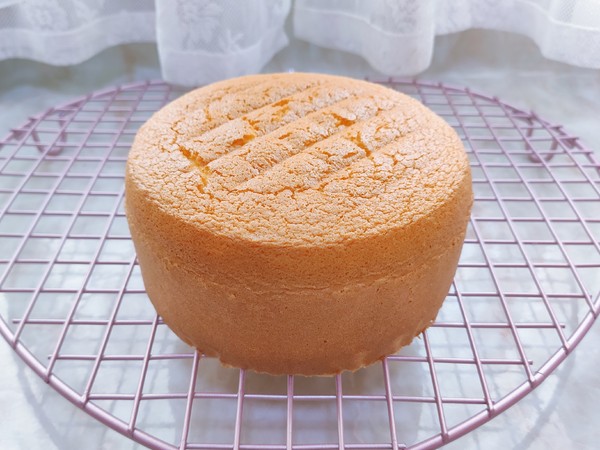
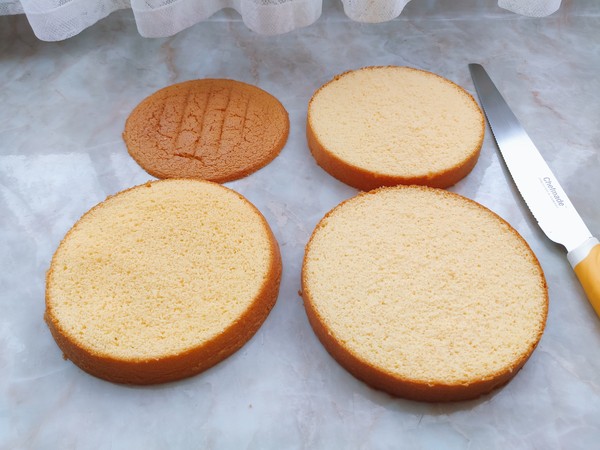
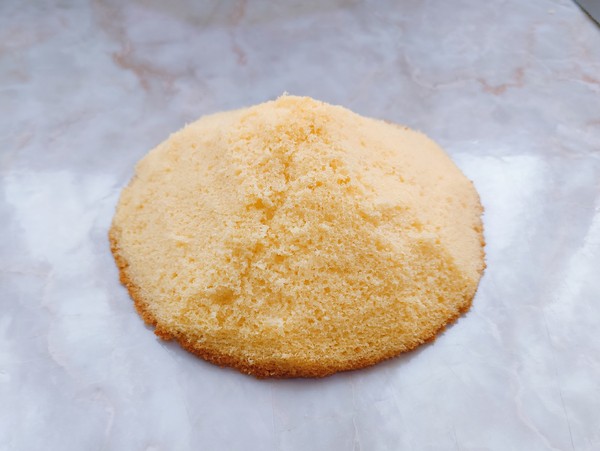
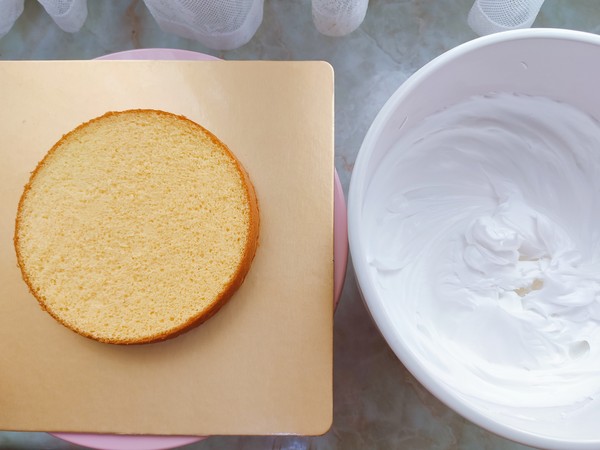
The whole shape of this merry-go-round consists of a 6-inch heightened +1 ordinary 6-inch sponge cake embryo. The finished cake is enough for 5-6 people, suitable for 1 6-inch cake not enough, and 1 8-inch cake A family who can't finish eating. The whole egg sponge cake is simpler than the chiffon cake, has a higher success rate, and has better support for the shape. Friends who are "mad" by the chiffon cake will try it. Let's take a look at how to do it next.
Materials:
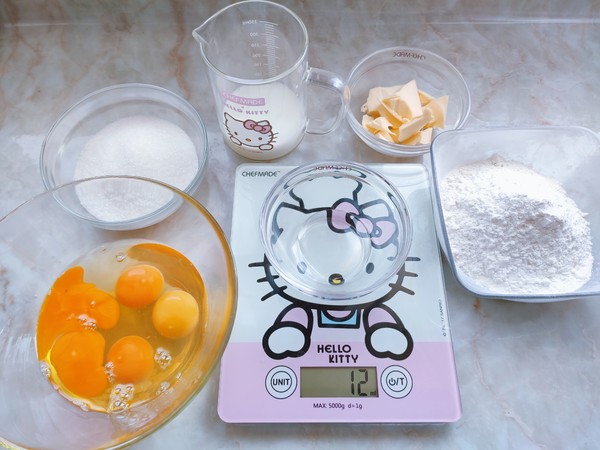
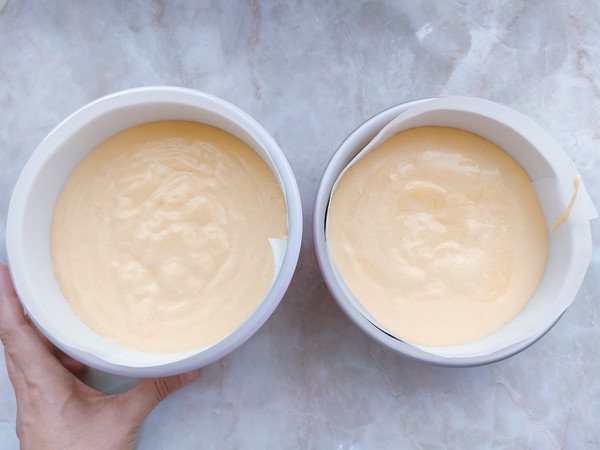
A. Whole egg sponge cake embryo: (The amount indicated below can be used to make a 6-inch round mold. If you make a 6-inch round mold with a normal height, multiply the amount of various materials by 0.8. I made 2 at the same time , 1 heightened +1 normal, 1.8 times the amount for various materials.)
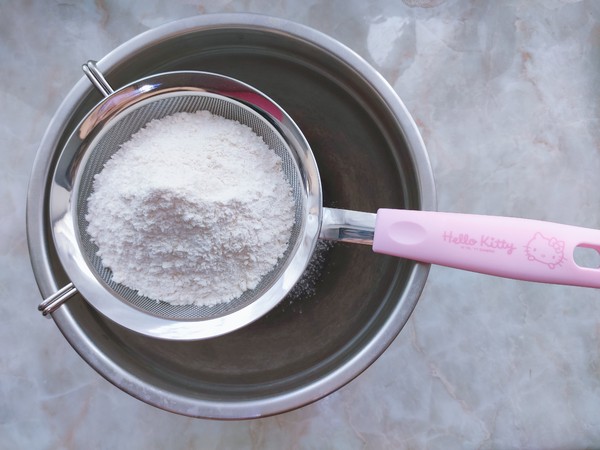
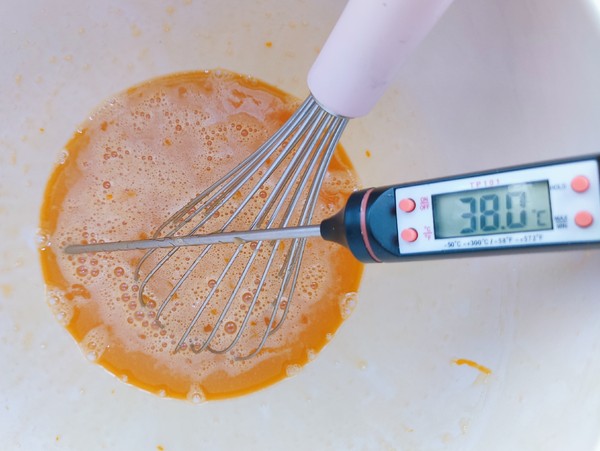
150 grams of whole egg, 110 grams of white sugar (or white sugar 80), 6 grams of water (optional), 100 grams of low powder, 40 grams of milk, and 26 grams of unsalted butter (or vegetable oil).
B. Flower decoration:
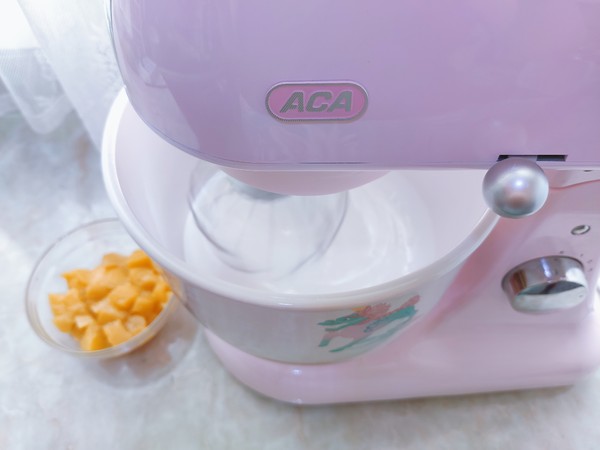
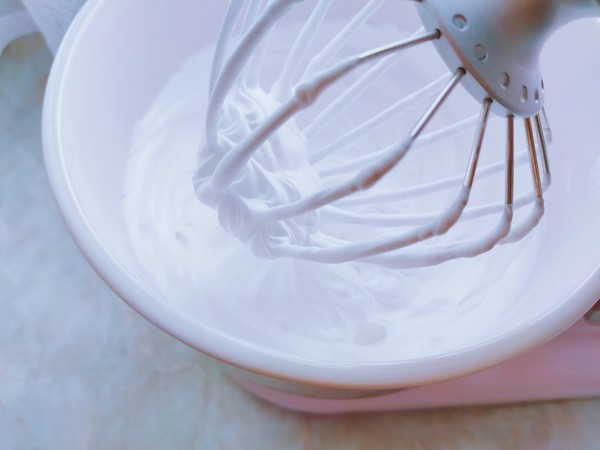
800 grams of whipped cream, 80 grams of white sugar, a little food coloring (powder, blue, and yellow), a few canned yellow peaches, appropriate amount of decorative sugar, and a little dark chocolate.

