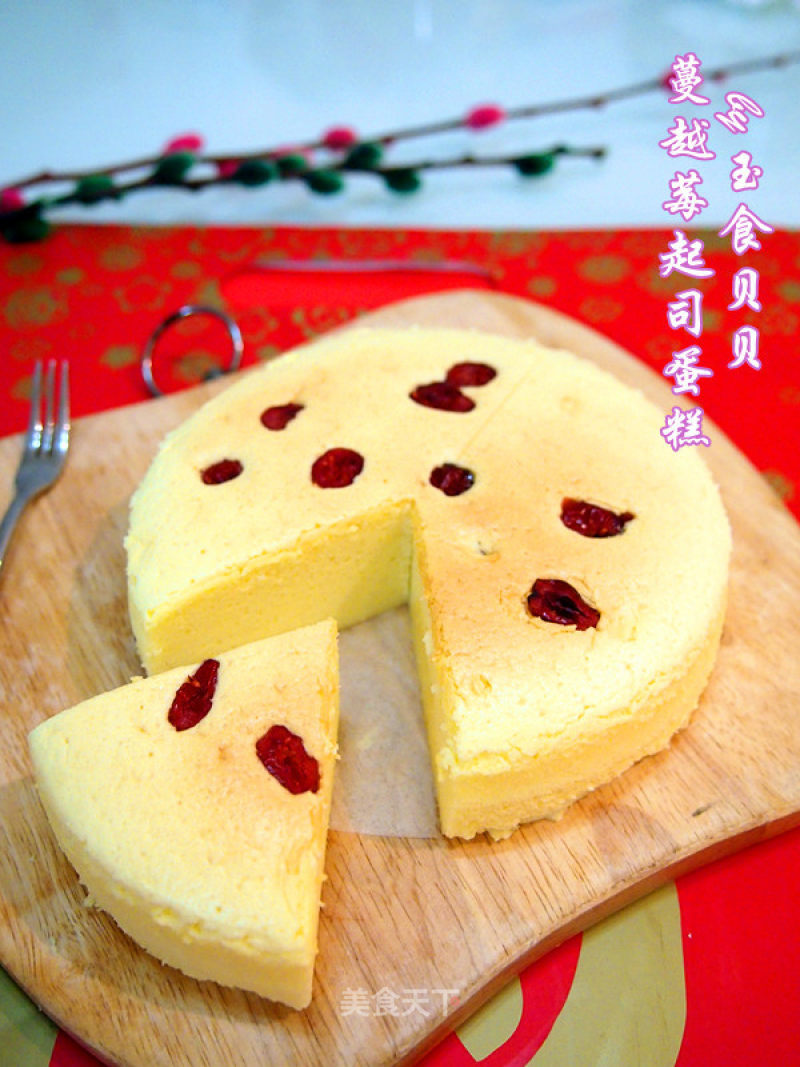
Cranberry Cheesecake
1.
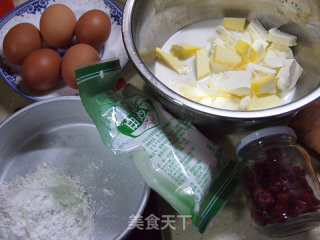
8 inches) Egg yolk paste Ingredients: 150g cream cheese, 75g milk, 45g butter, 5 egg yolks, 22.5g low powder, 15g starch, 25g dried cranberry Protein material: 4 egg whites, 75g sugar ( Mix 5 grams of starch and sugar evenly) a few drops of lemon juice or white vinegar. Baking: Preheat the oven, water bath method, middle and lower layer, baking at 160 degrees, steaming for about 60 minutes.
2.
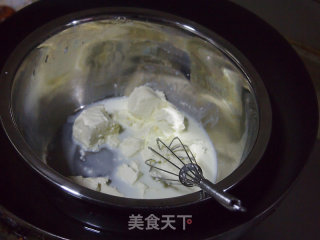
Make the cheese paste first, put the diced cream cheese and milk into a basin and heat over water. Beat until the cheese softens and the cheese paste is smooth and no particles.
3.
After the butter has softened, add it to the cheese paste and mix well.
4.
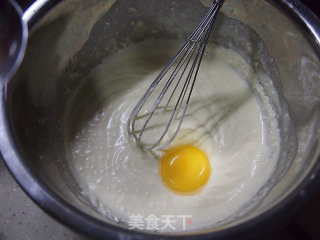
Separate the egg yolks and egg whites and add the egg yolks to the cheese paste one by one.
5.
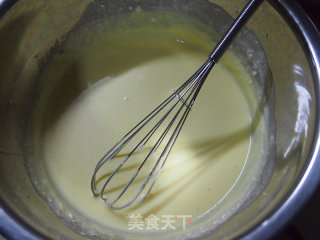
Stir in the egg yolk to absorb completely.
6.
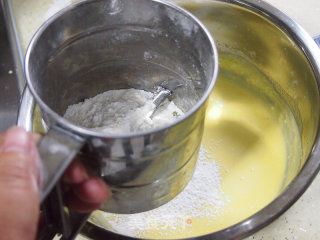
Sift in the flour.
7.
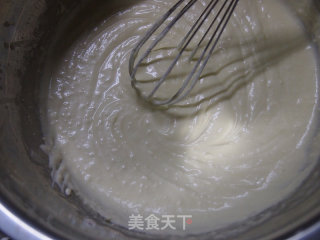
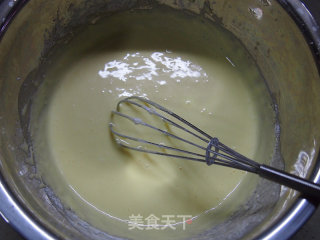
Stir evenly until it is smooth and free of particles (it is better to put it in the refrigerator for more than half an hour after it has been cooled).
8.
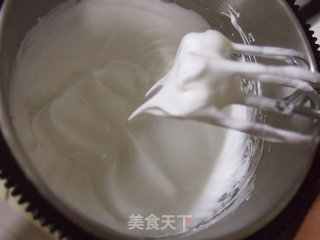
Make the meringue below: add the egg whites to the egg beater, drop a few drops of lemon juice or white vinegar, beat with an electric whisk until thick and foamy, and then add sugar in three times to beat until wet and foamy.
9.
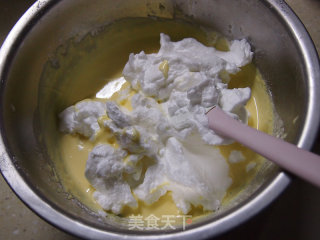
Take 1/3 egg white paste and egg yolk paste and mix well.
10.
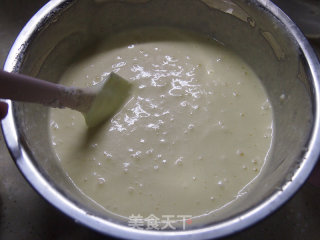
Then add the remaining protein paste and mix well with a rubber spatula.
11.
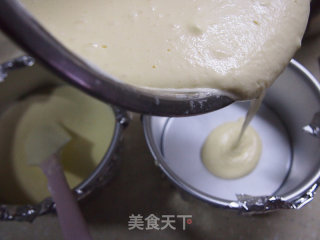
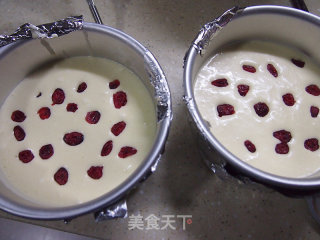
, Pour the cake batter into the mold, shake it twice to produce large bubbles, and put aluminum foil on the outer bun (add aluminum foil after the bubbles must be shaken).
12.
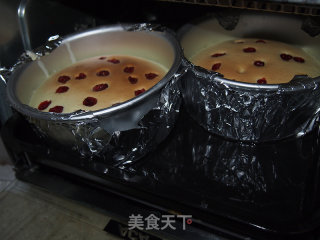
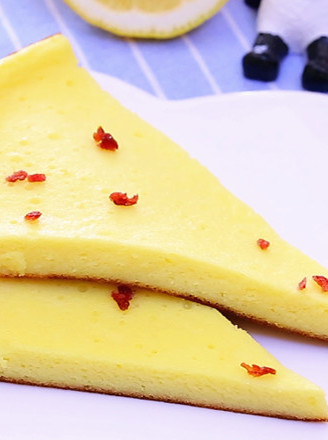
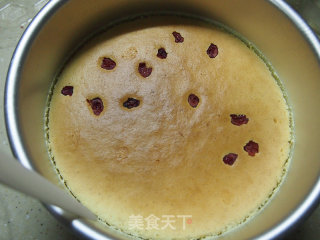
Sprinkle with crushed dried cranberries, add appropriate amount of warm water to the baking tray, and put in the cake tin (I divided it into two 6-inch bake, because I want to give one to my son’s little friend next door).
13.
After the oven is preheated, use the water bath method to bake up and down at 160 degrees and steam for about 60 minutes.
14.
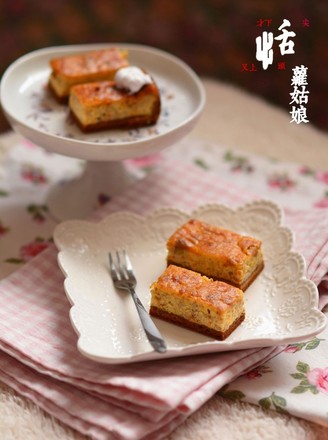
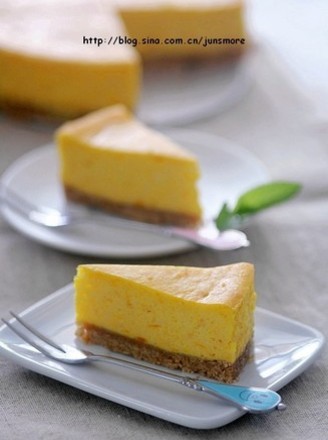
After the cake is out of the oven, don't rush to demould, let it cool on the drying net until there is a small crack on the edge of the cake body, and then demould. After it's cool, you can also refrigerate and eat it according to your preference. It tastes like ice cream!

Tips:
Tips:
1. Add the egg yolks one by one, add one cheese paste and stir until it is completely absorbed before adding the other one.
2. Put the cheese paste in the refrigerator to prevent the temperature from being too high, and the cakes baked after refrigeration will not shrink.
3. After the cake batter is added to the mold, it should be shaken out and blistered before wrapping aluminum foil. If it is wrapped before the shock, the aluminum foil may wear out small holes, and it will be immersed in water when it is baked in a water bath. After baking, it was found that water had entered the bottom of the mold, and several holes with large pinholes were seen under the light).
4. Remove the mold after cooling to prevent the cake from shrinking.
5. Cheesecake can be eaten warm, cold or refrigerated. It is delicious anyway, according to your own taste!
6. The original square is 8 inches square, you can also bake two 6 inches square.

