Homemade Bayberry Jam | Summer Limited Fast Hand Bayberry Jam
by Dalin milk
Favorite
5
Difficulty
Normal
Time
15m
Serving
2
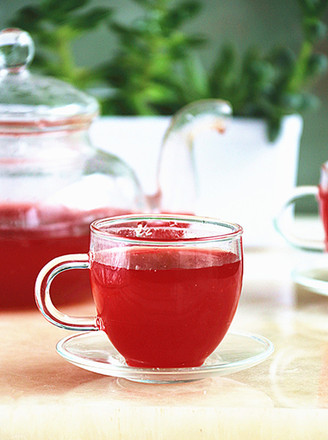
My favorite bayberry season is here!! Today, I will share with you a very popular fast hand bayberry sauce✅ bayberry sauce is very delicious for cakes or spreads😋 can also be eaten with yogurt with oatmeal, it is not too delicious! ! Let’s share the recipe with you. You can like it and follow me and make it with me.