Milk Girl Garland Bread

Milk Girl Garland Bread

by Looking for Peach Blossom Island

5.0 (1)
Favorite

Difficulty

Normal

Time

2h

Serving

2

The weather is getting hotter and energetic children will shout hungry when they come home from school every day. Fortunately, I have prepared early and make bread twice a week. It can serve as breakfast and eat a little hungry at any time without affecting the dinner. Making bread is a big project, and it takes two or three hours to make it at a time. However, using a chef's machine to knead the dough saves time and effort, and is much more convenient than kneading by hand. Moreover, you can make a lot of bread at one time without any additives. Family members can eat it with confidence.
Kneading is a very important process in bread making. Kneading noodles with a chef's machine has a great advantage over kneading by hand. First, it saves time and effort. In order to achieve the soft and silky state of the toast after baking, the dough must be kneaded to the fully expanded state (usually called the glove film state). It takes about 1 hour to knead by hand, and keep using your hands in the middle. Knead the dough, and there are certain requirements for kneading skills, otherwise it will break the gluten and affect the fluffy taste of the bread. At the same time, kneading noodles by hand is an individual task, and the wrist tendon is injured too much. If you are not strong enough, don't try it. But with this chef machine, from putting the ingredients into the mixing bucket, mixing into a dough, to initial expansion, and finally pulling out the glove membrane, it takes 20 minutes to do it all. Second, it can completely free your hands. While the machine is kneading dough, you can walk away to do other housework, which is very convenient.
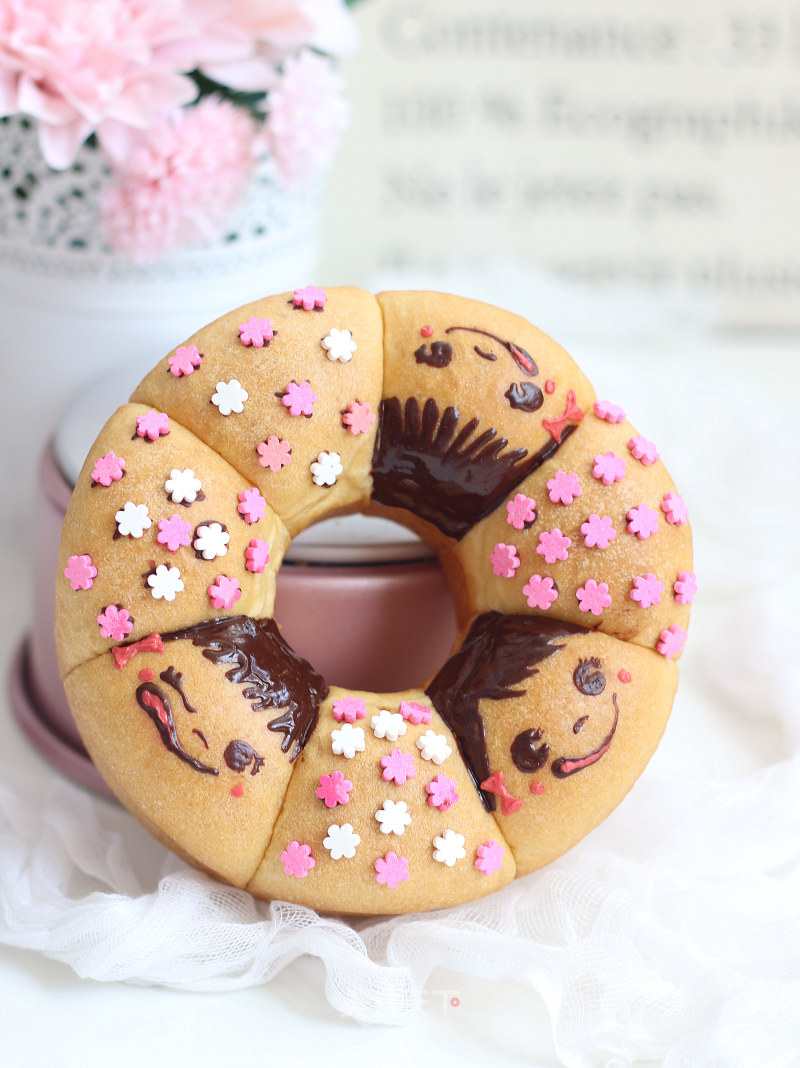
The toasted bread is broken apart and the texture is fine. The holes are fine, the texture is full of elasticity, and the taste is good. Let’s take a look at this simple and delicious "Milk Girl Wreath Bun" as an example. "

Milk Girl Garland Bread

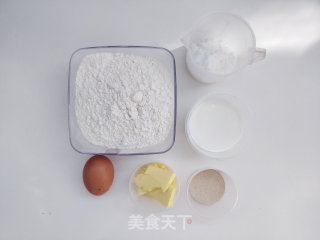
1. Prepare all kinds of ingredients, cut the butter into small pieces and soften it at room temperature.

Milk Girl Garland Bread recipe

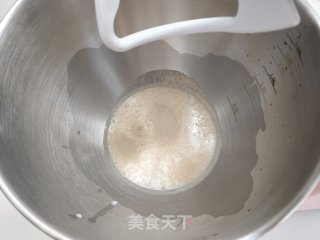
2. Pour milk and yeast powder into the mixing bucket of the chef's machine. Because the temperature is high in summer, in order to prevent the yeast powder from fermenting in advance and affecting the final product effect, ice milk is used to properly cool the dough.

Milk Girl Garland Bread recipe

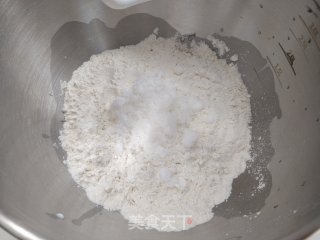
3. Pour in the sifted high-gluten flour, cover the surface of the milk, and then add sugar, salt and eggs. Use high-gluten flour to separate the yeast powder from sugar and salt to prevent the yeast powder from prematurely contacting sugar and fermenting, or prematurely contacting salt to inhibit fermentation.

Milk Girl Garland Bread recipe

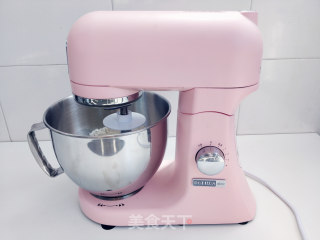
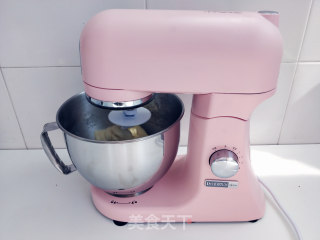
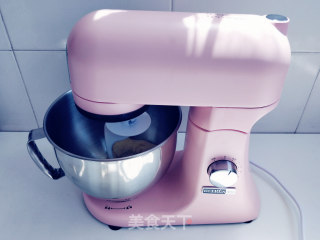
4. After installing the dough hook, put down the raised machine head, and when you hear a "click", it means that it is locked. At this time, start the cook machine, select the low-level start, and stir the ingredients evenly.

Milk Girl Garland Bread recipe

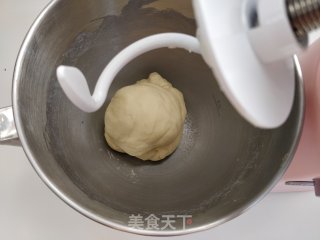
5. After about two minutes, the flour has been stirred into a dough.

Milk Girl Garland Bread recipe

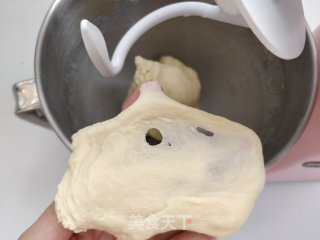
6. At this time, select gear 3, run for about five minutes and then stop. Cut a small piece of dough and stretch it out in your hands. A thicker film will appear, and holes with uneven edges are prone to appear, which indicates that the dough has reached the initial expansion stage.

Milk Girl Garland Bread recipe

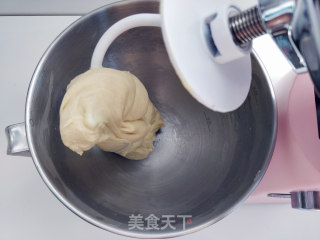
7. Add the softened butter, select the 2nd gear and continue to run for about three minutes, at this time the butter has been completely absorbed by the dough.

Milk Girl Garland Bread recipe

8. Select the high-speed 4th gear and start it for about ten minutes.

Milk Girl Garland Bread recipe

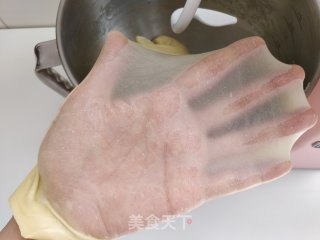
9. At this time, cut a small piece of dough and turn it with both hands to open it. It can stretch out a thin film with visible palmprints. It has a certain degree of toughness and is not easy to break when it is placed on the hand. At this time, the complete expansion stage of the dough has been reached, and the kneading stage is completed.

Milk Girl Garland Bread recipe

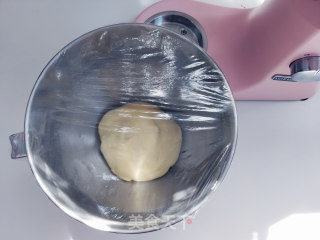
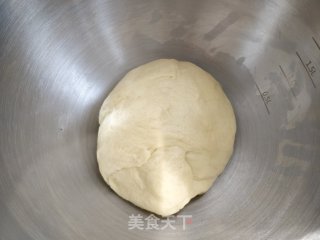
10. Round the dough, put it back in the mixing tank, cover it with plastic wrap, and ferment at room temperature to about 2 times its size (it takes about 40 minutes at room temperature to 28 degrees), or put it in the oven to ferment. If the room temperature is high, you must pay attention to the state of the dough and appropriately reduce the fermentation time to avoid excessive fermentation.

Milk Girl Garland Bread recipe

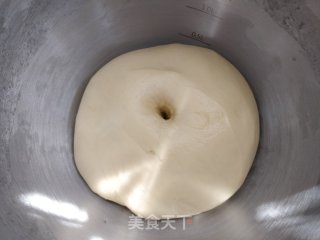
11. After the dough has risen to twice its size, use your fingers to poke a hole on the surface. The dough does not shrink. When you push and pull the dough to the side, a fine honeycomb structure will appear, indicating that the first fermentation is complete.

Milk Girl Garland Bread recipe

12. Install the mixing bucket with the dough back on the cook machine, and select the low gear to run for about 3 minutes to complete the exhaust of the dough. At this time, the dough has been expanded from the freshly fermented state, and the volume is slightly reduced.

Milk Girl Garland Bread recipe

13. Cover the exhausted dough with plastic wrap and let it stand for about ten minutes.

Milk Girl Garland Bread recipe

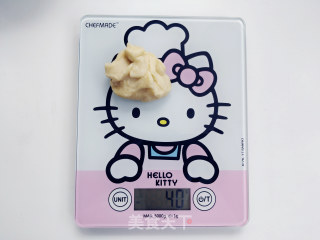
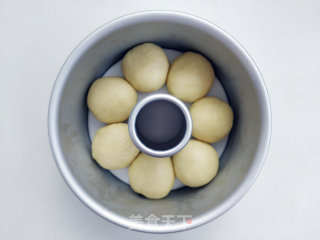
14. With the aid of a kitchen scale, divide the dough into 15 pieces with a weight of 40 grams. 15. Knead each piece of dough into a spherical shape and put it into a 6-inch hollow chimney mold (7 doughs) and a 6-inch anode mold (8 doughs).

Milk Girl Garland Bread recipe

15. With the aid of a kitchen scale, divide the dough into 15 pieces with a weight of 40 grams. 15. Knead each piece of dough into a spherical shape and put it into a 6-inch hollow chimney mold (7 doughs) and a 6-inch anode mold (8 doughs).

Milk Girl Garland Bread recipe

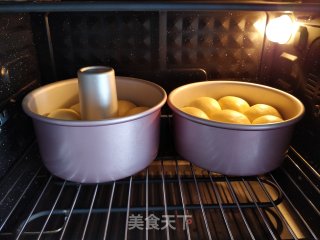
16. After the dough rises to about twice its size, set the oven to heat up and down at the same time, and bake at 165 degrees for about 30 minutes.

Milk Girl Garland Bread recipe

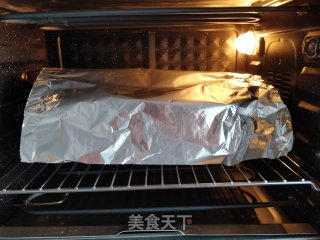
17. Ten minutes before the end of baking, tin foil can be covered on the surface to prevent the top from being over-colored.

Milk Girl Garland Bread recipe

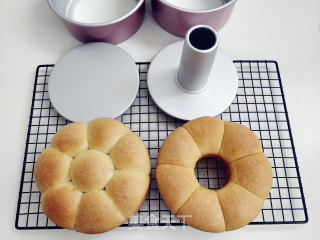
18. Take the toasted bread out of the oven, take it out of the mold while it is hot, and place it on a drying net to cool.

Milk Girl Garland Bread recipe

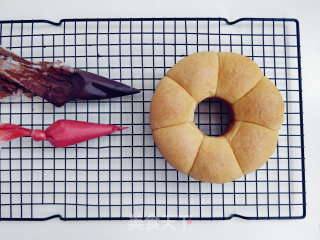
19. Mix the melted white chocolate with pigment and mix thoroughly, and put the dark chocolate into a small-opened piping bag.

Milk Girl Garland Bread recipe

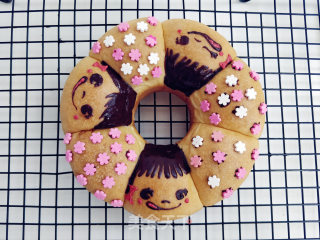
20. Use dark chocolate to outline the hair and facial features of the milk girl, red chocolate to outline the tongue and red face, and then decorate with appropriate amount of colored sugar.

Milk Girl Garland Bread recipe

Tips:

The marked amount can make two six-inch round molds.

Comments

Similar recipes

Summer Refreshing Drink-black Jelly

Black Jelly, Hot Water, Cold Water

Matcha Mochi Pork Floss Bun

Wheat Flour For Bread, Milk Powder, Matcha Powder

Coconut-flavored Soft Coconut Bread

Flour, Caster Sugar, Butter

Kyoto Three-color Toast

Medium High-gluten Flour, Medium Yeast Powder, Medium Butter

Chinchilla Bread

High-gluten Flour, Glutinous Rice Flour, Black Sesame Powder

Spongy Toast, Bread You Never Get Tired of

Daily Test Toast Powder, Low Powder, Yeast