Pistachio Brownie
by Aunt Xizhen
Favorite
Difficulty
Easy
Time
30m
Serving
3
The "22-day habit formation" method has once benefited me a lot, so I also want to share it with you.
Of course, if you really want to change yourself and give yourself a chance, 22 days is not enough, at least you have to persist for more than 100 days. Believe me, if you insist on doing one thing (a good habit of course) for more than 100 days, you will definitely feel that you are a great person. And don’t forget, I am still trying to do it every day, just like you.
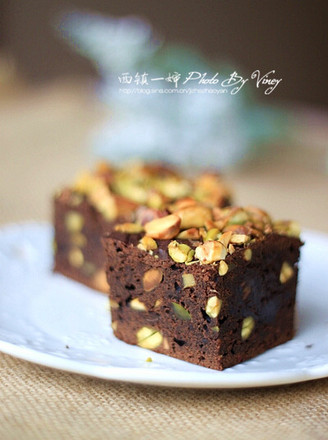
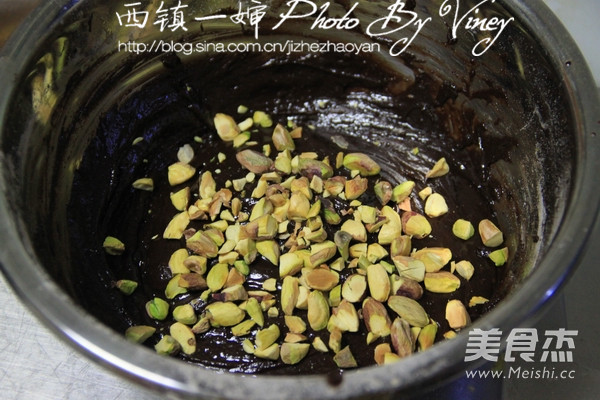
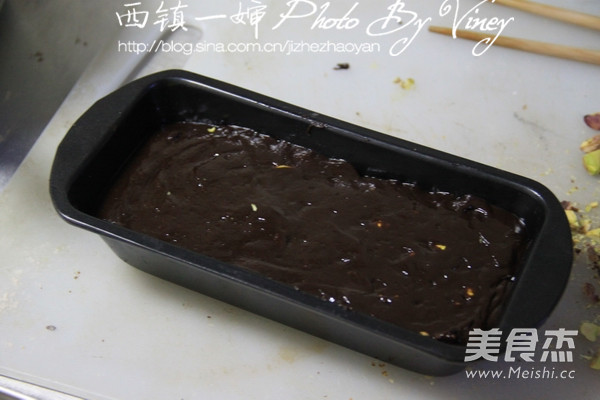
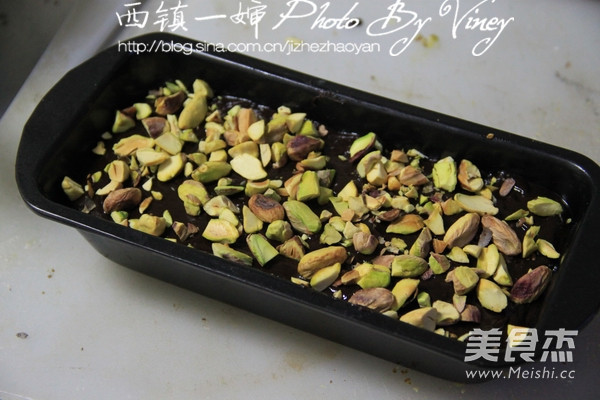
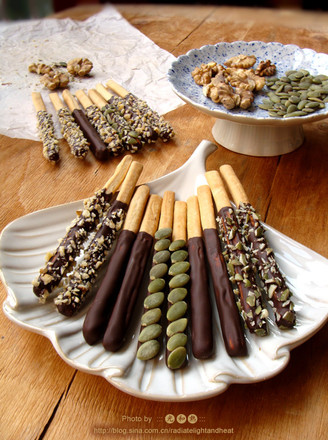
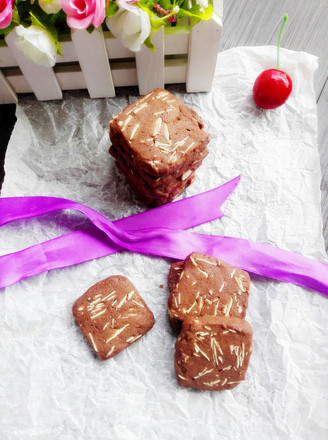
The result of my aunt's hard work today is this brownie cake made with pistachios.
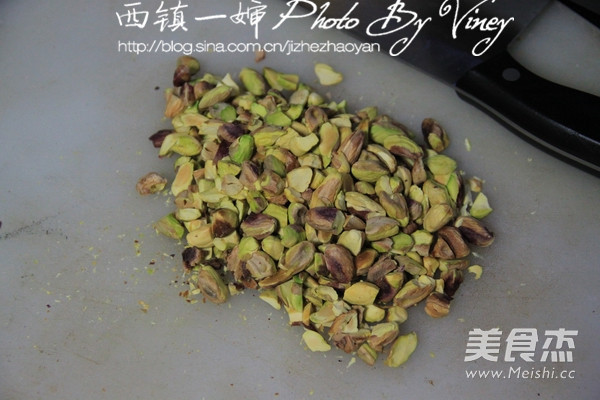
It is estimated that many people, like me, are worried about how to consume the large amount of dried fruits hoarded during the Chinese New Year.
Believe me, this rich chocolate cake will never let you down.
Weight: 12.5x6x3.3cm mold

