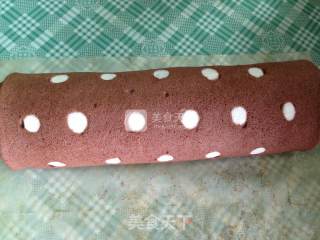
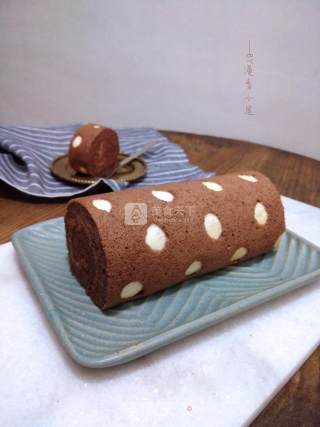
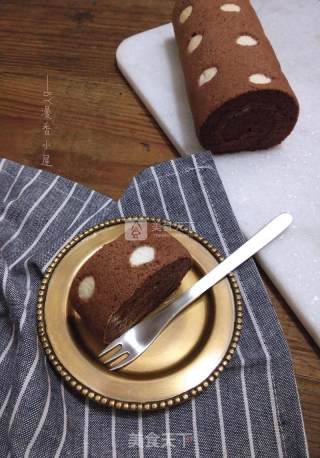
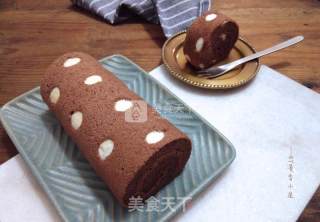
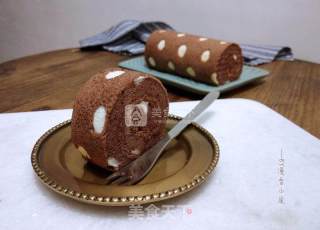
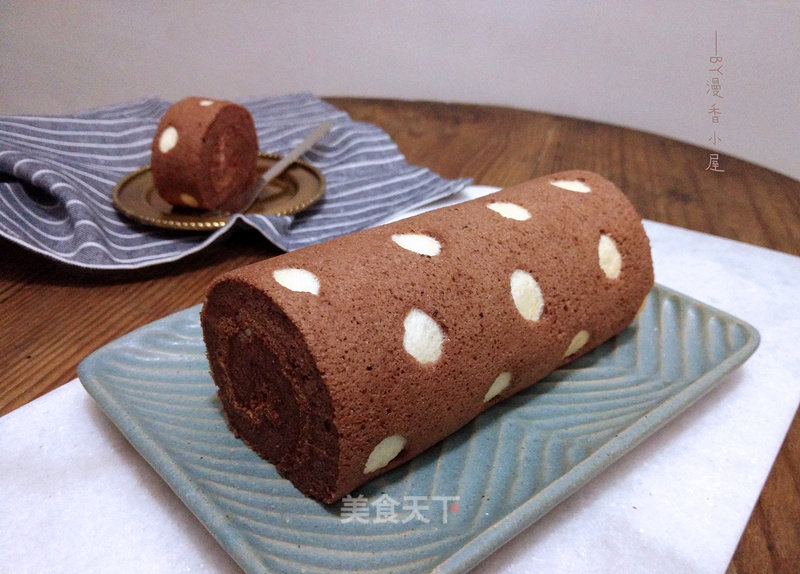
#aca烤明星大赛# Polka Dot Cocoa Cake Roll
1.
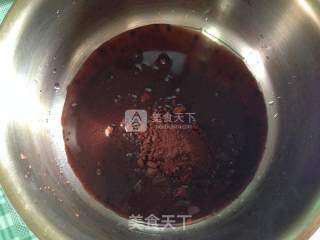
The cocoa powder is boiled with hot water and stirred.
2.
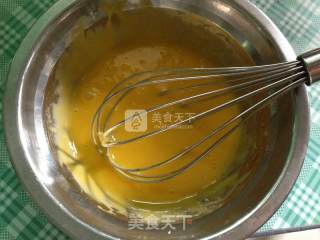
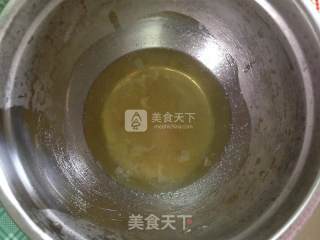
Separate egg yolk and protein, add corn oil to egg yolk and mix well with egg soak.
3.
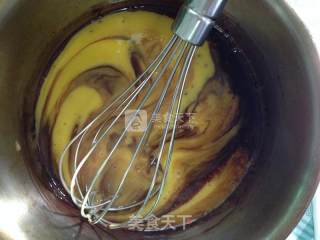
Pour the egg yolk and oil mixture into the cocoa liquor and mix well.
4.
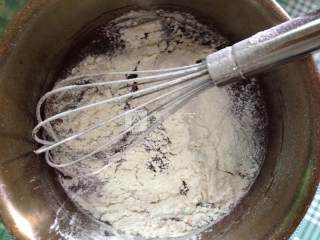
Sift in low flour, zigzag with egg custard and mix well.
5.
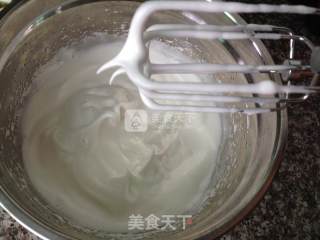
Preheat the oven to 180-190 degrees, add a few drops of lemon juice to the egg whites, and add fine sugar at a time.
6.
Use an electric whisk from low speed to high speed to low speed, and beat to about eight. (Lifting the egg-beater head is like a hook)
7.
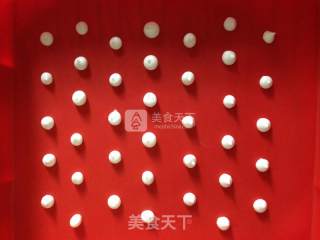
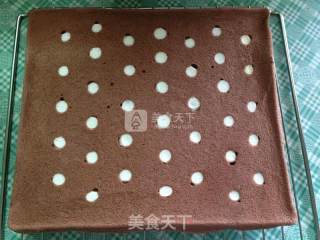
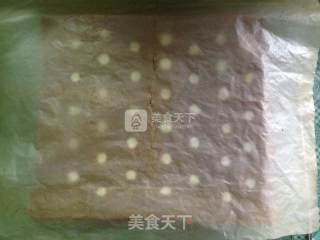
Put a small amount of protein into a piping bag with a small opening, and squeeze out rows of small wave dots on the silicone mold. Put it into the preheated oven and bake at 170°C for about 2 minutes until the surface is not sticky and take it out.
8.
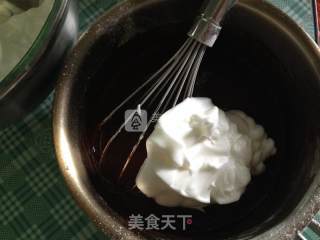
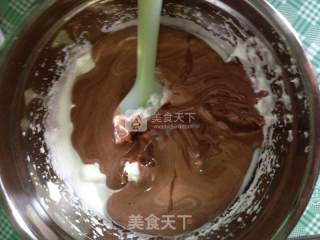
Take 1/3 of the egg whites into the cocoa batter and stir evenly.
9.
Then pour the above batter into 2/3 of the egg whites, and stir evenly with the J-shaped technique.
10.
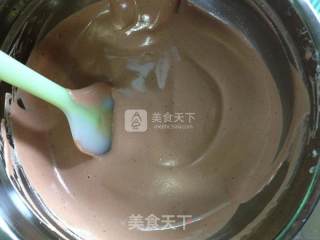
Mix the batter.
11.
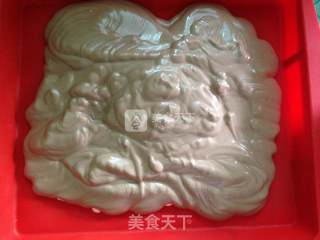
Pour the batter into the pan from the middle and high part. (This has the advantage of removing large bubbles. The first time I poured it was high, there were basically no large bubbles, and the second time it was a bit low, and then the finished product had some bubbles.)
12.
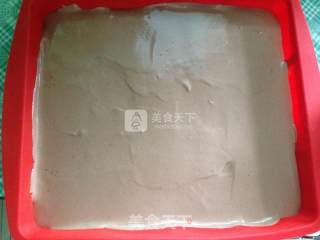
Scrape the surface with a scraper.
13.
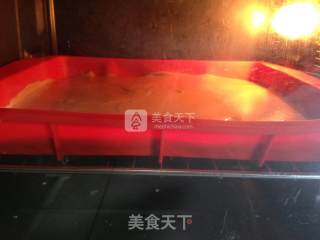
Put it into the middle of the oven at 165-170 degrees for about 18-20 minutes.
14.
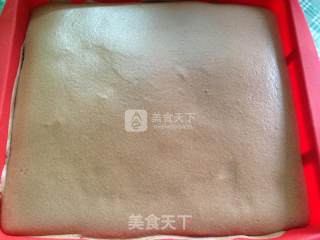
After baking, take it out of the oven. The standard for baking is that the surface is elastic and not easy to break.
15.
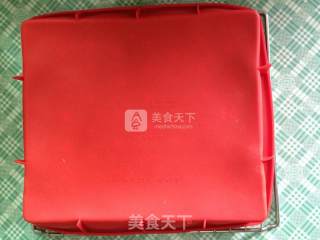
After taking it out, buckle upside down on the grill.
16.
After a few minutes, you can gently remove the silicone mold to get a towel-like surface.
17.
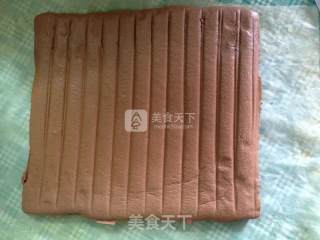
Wait for the cake to cool slightly, and cover it with a layer of oil paper or oil cloth.
18.
Turn the cake over, with oil paper underneath.
19.
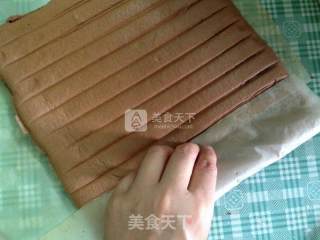
Wrap the head with greased paper to a point and then roll it up with greased paper.
20.
Set aside for a few minutes.
21.
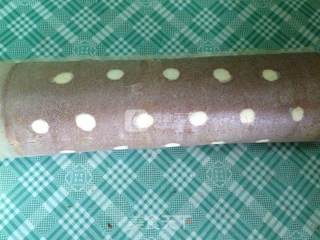
After reopening, just roll up the cake, put greased paper or tarp on the outside of the cake, and cut into pieces after a few minutes.
22.
Finished product
23.
Finished product
24.
Finished product
25.
Finished product
Tips:
This side also applies to the 28*28 square plate. . (It seems that there are many steps in the recipe, but it's still very simple, but it's a bit long-winded)

 Buy on JD
 Buy on Amazon