Braided Bread
by meggy dancing apple
Favorite
Difficulty
Normal
Time
2h
Serving
2
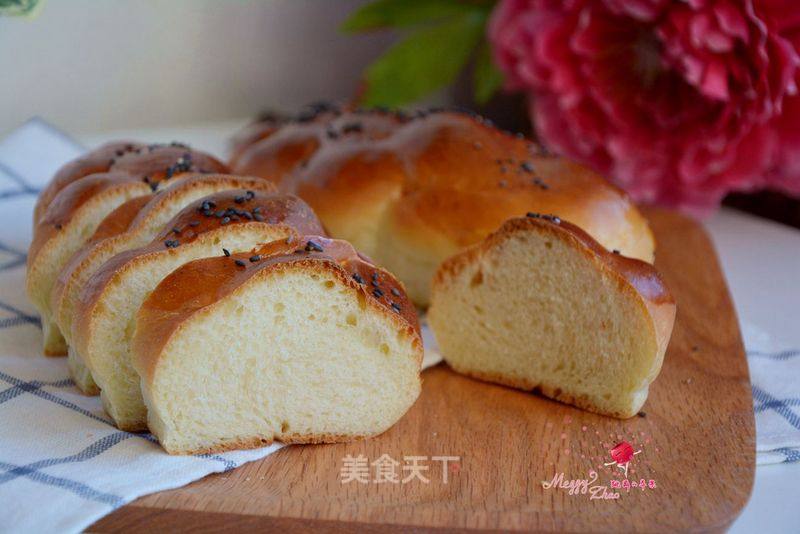
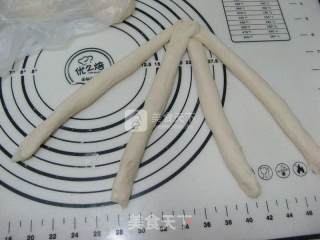
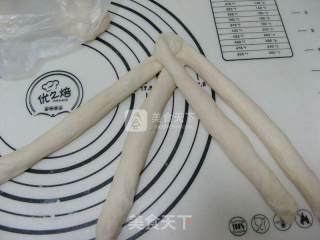
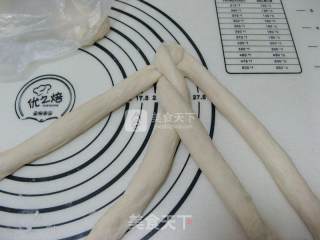
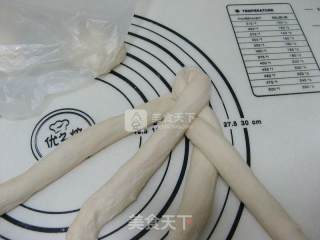
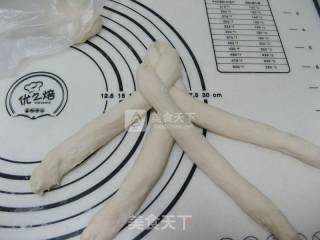
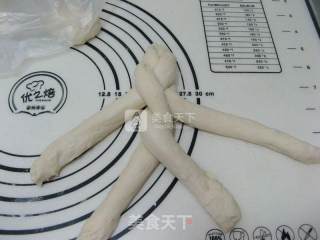
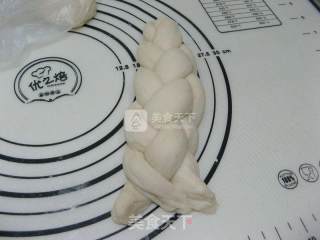
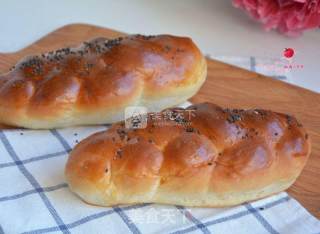
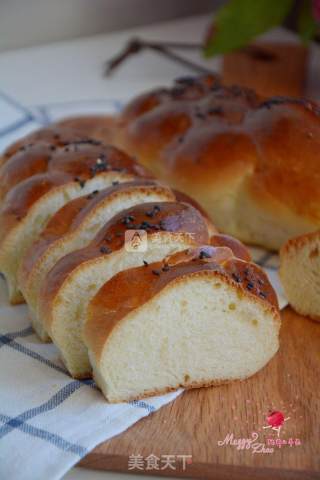
The weather was so cold and cloudy, and the sun was not visible for a few days, but this did not stop my determination and interest in making "food". Today I think of braided bread again. I haven't made four-braided bread for a long time. I don't remember how to make a four-strand braid. Fortunately, I looked through my previous recipes and found that there were a lot of previous tricks.
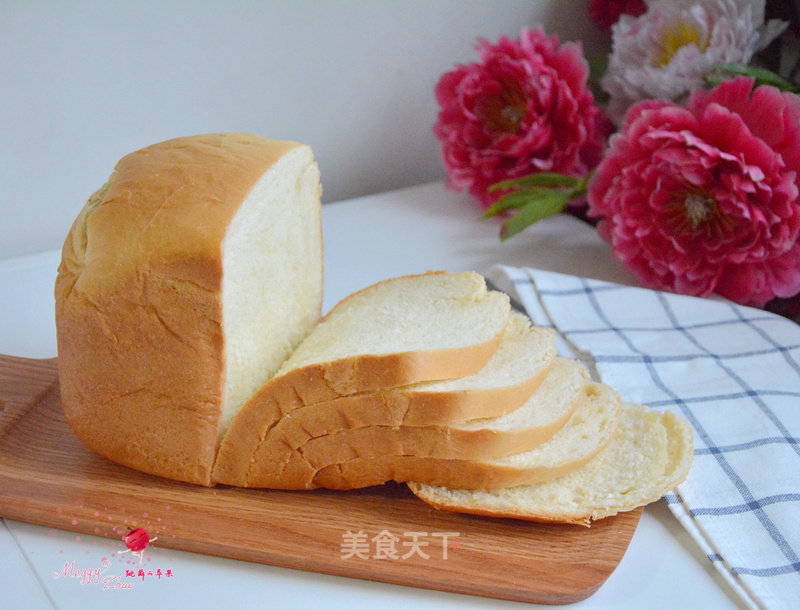
Thinking that when I just started to learn baking, I wanted to try every pattern and every taste. The more fancy and complicated the more interesting. On the contrary, after all of these were met, the unpretentious big toast returned to my hands.
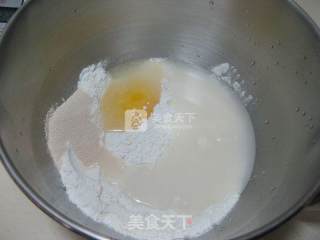
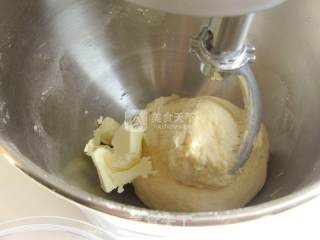
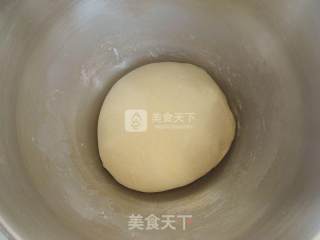
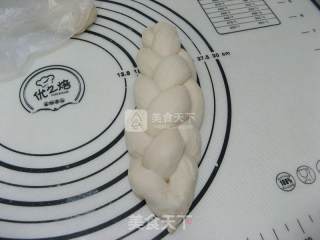
After reading the illustrations in my cookbook, I quickly grasped it. Although there is not too much language description, it is presented very clearly step by step. I think this should also be the convenience of the recipe for users. "

