Christmas Gingerbread House
by Hot mom loves kitchen Cherry
Favorite
Difficulty
Easy
Time
1h
Serving
4
Women are born romantics, no matter how old they are, there will always be some dreams of their own in a certain corner of their hearts. After having a child, a woman will present the unfulfilled dreams one by one in front of the child, watching the child cheer, just like her childhood self. When I was young, Christmas was not as widespread as it is now in China, but the colorful dreams of cartoons have always been with me.
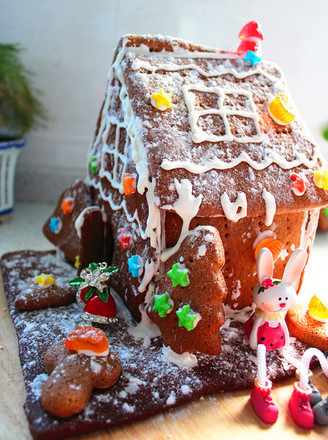
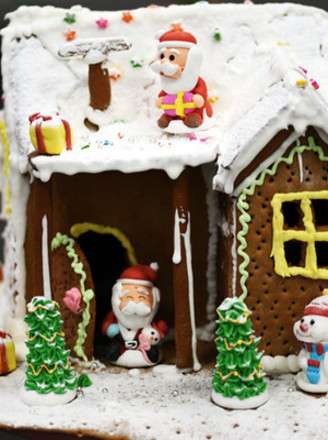
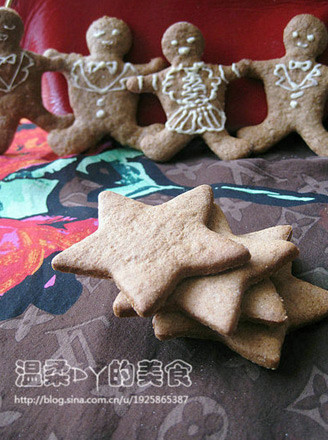
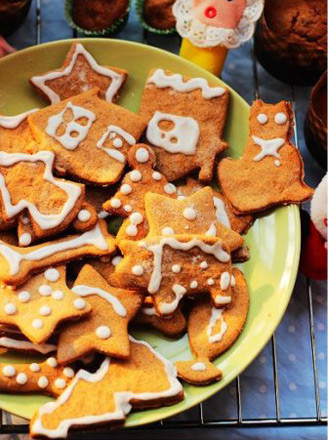
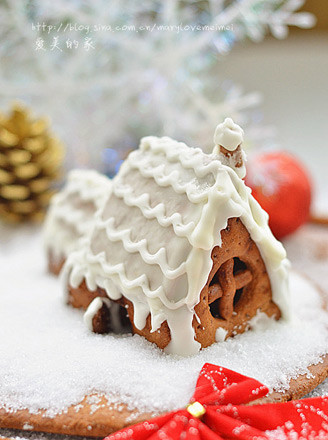
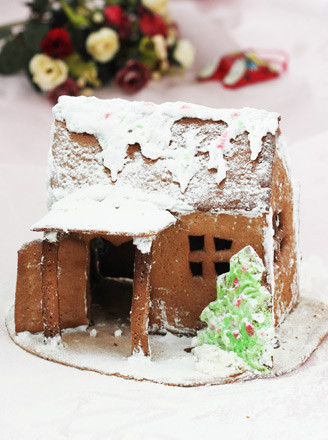
Christmas in the West always gives people the illusion of talking to the world. Christmas gingerbread house is one of the colorful cartoons. It can be used as a Christmas gift for my son and fulfill my childhood dreams. Entering December, it will soon be the Christmas that the children are looking forward to,
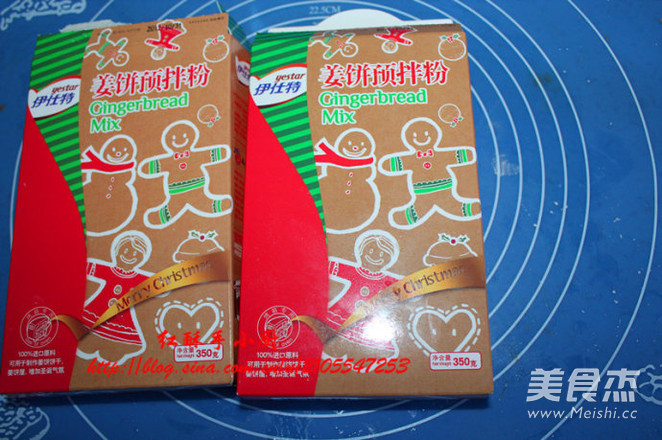
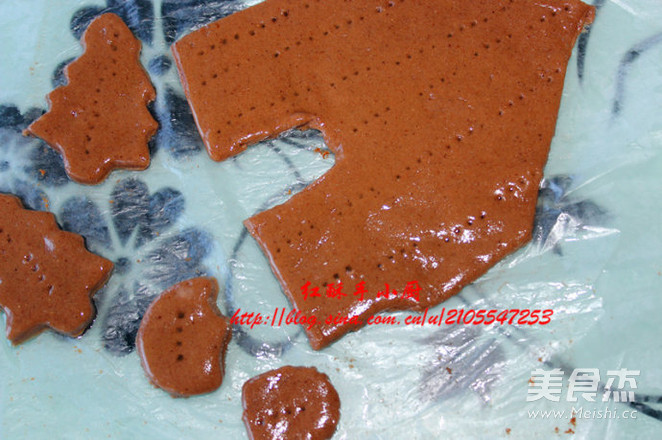
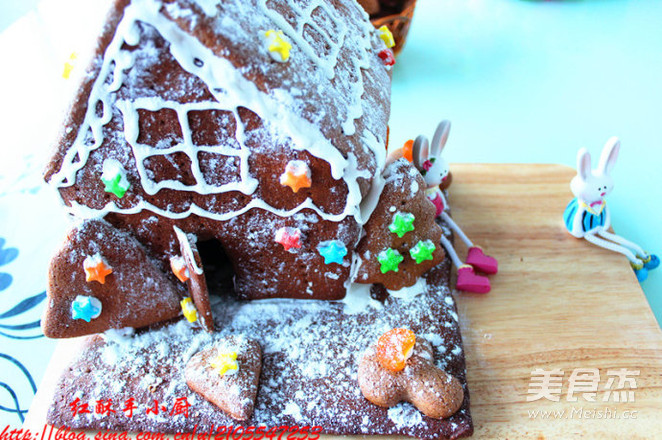
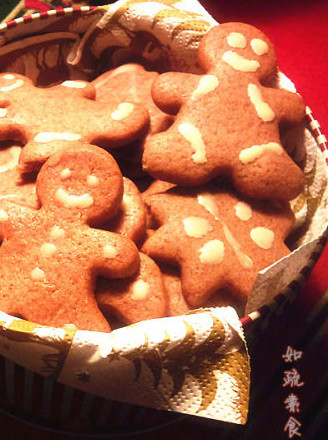
During my baking time, my husband and son took turns to steal the biscuits I baked, but they couldn’t get it. They had to knead the third box of premix and bake a small basket of biscuits in a Christmas cartoon mold. Even so, when assembling the next morning, only one of the four chimneys remained. There was no way, I had to make temporary workarounds and replace the chimneys with two red strawberry candies.
Moreover, the two bad guys took pleasure in teasing me. When they came to steal the cookies, they deliberately demonstrated in front of you, so that you could drive them out. And the son held the floor and kept shouting to the dog: "Niuniu Niuniu, give you a piece of gingerbread!" The fool Niuniu didn't understand what her son shouted, so she knew that the little master who followed it jumped up and down. However, the whole process of baking and assembling is a very enjoyable process, and the warm family atmosphere is fully manifested at this moment.
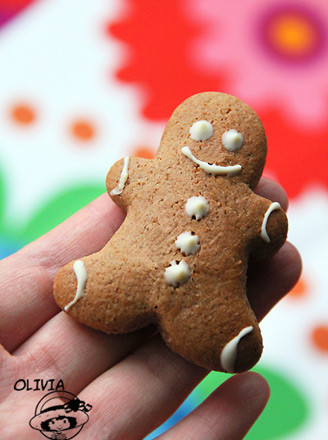
In addition to a gingerbread house, there was also a small basket of gingerbread. I gave a dozen neighbors’ girls. My son went to English class on weekends and asked him to take a dozen of them, and a dozen of them were left for the two of them to eat. . Looking at the beautiful gingerbread house, my son was very excited and asked me, mother, will this gingerbread house become moldy in two days. I said that all the noodles are made with honey. The honey itself is antiseptic. Within a month This gingerbread house is not moldy. My son said it's great, I can't bear to eat it so beautiful, it would be a pity if it gets moldy!

