Croissant Buns
by meggy dancing apple
Favorite
Difficulty
Normal
Time
2h
Serving
2
I'm a little bored eating toast loaf every day. My favorite croissant has not been eaten some days. I just bought a new extra-large baking pan. It is not a waste of energy to knead 400 grams of flour at a time and bake it.
Just do it, hit the iron while it's hot, although the weather is not cool, but when I think of the smell of bread floating around the house, I suddenly have energy.
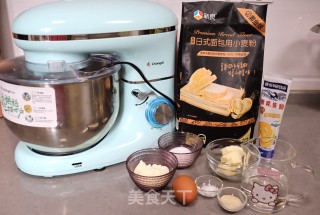
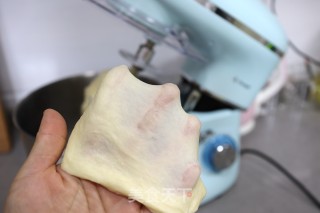
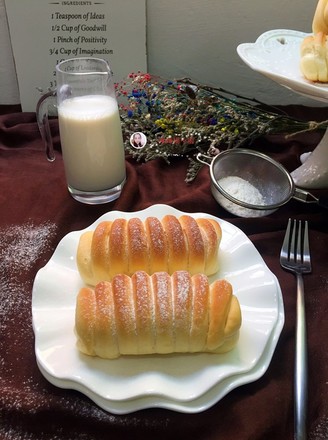
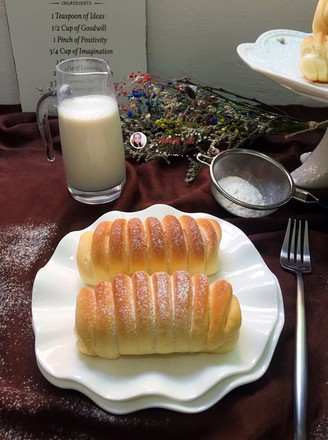
The chef's machine is not small. If you match the ingredients well and throw it into the chef's machine, the dough is smooth and moisturized. Then it depends on your craftsmanship. By the way, this croissant is just a croissant shape made from ordinary bread, not the croissant croissant in Danish crisp. The former uses very little butter, while the latter uses butter to layer and eat it while it is hot. It is crispy on the outside and tender on the inside; therefore, this also determines that the two are completely different in appearance and taste.
This croissant is for my personal use. It is the first time to make it public. The formula ratio is reasonable and the success rate is high. The baked croissant has a delicate texture, and the layers can be torn and eaten by hand. The taste and texture are better than those outside the bakery. Family and friends like to eat it. You can see it again. Just cook it in one oven and keep it in one bite. I can't stop it, I can't wait to bite two every day. "


