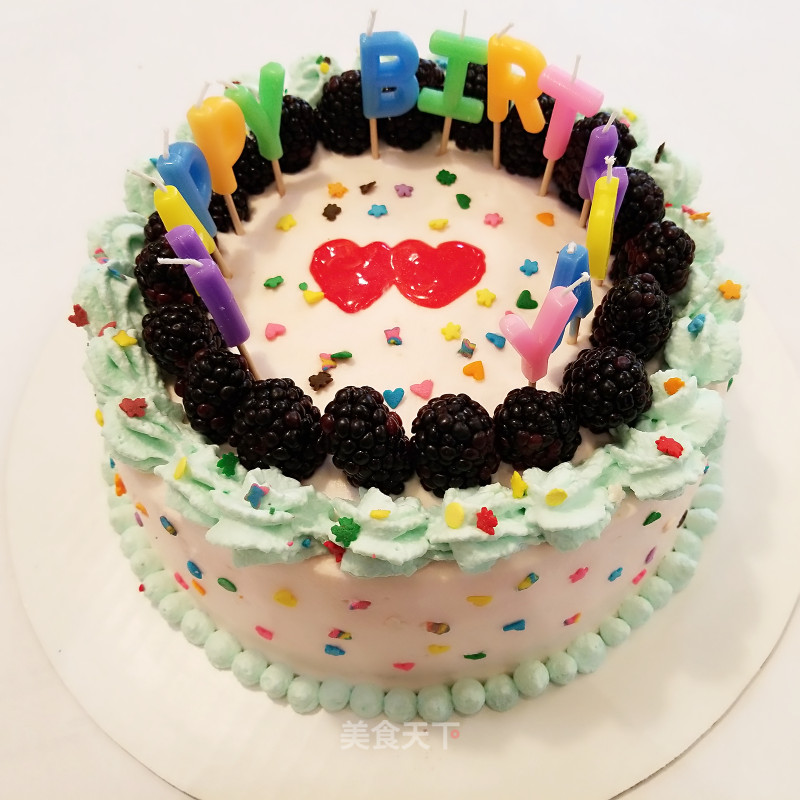
Decorated Cake: Spring
by Food·Color
Favorite
Difficulty
Easy
Time
2h
Serving
2
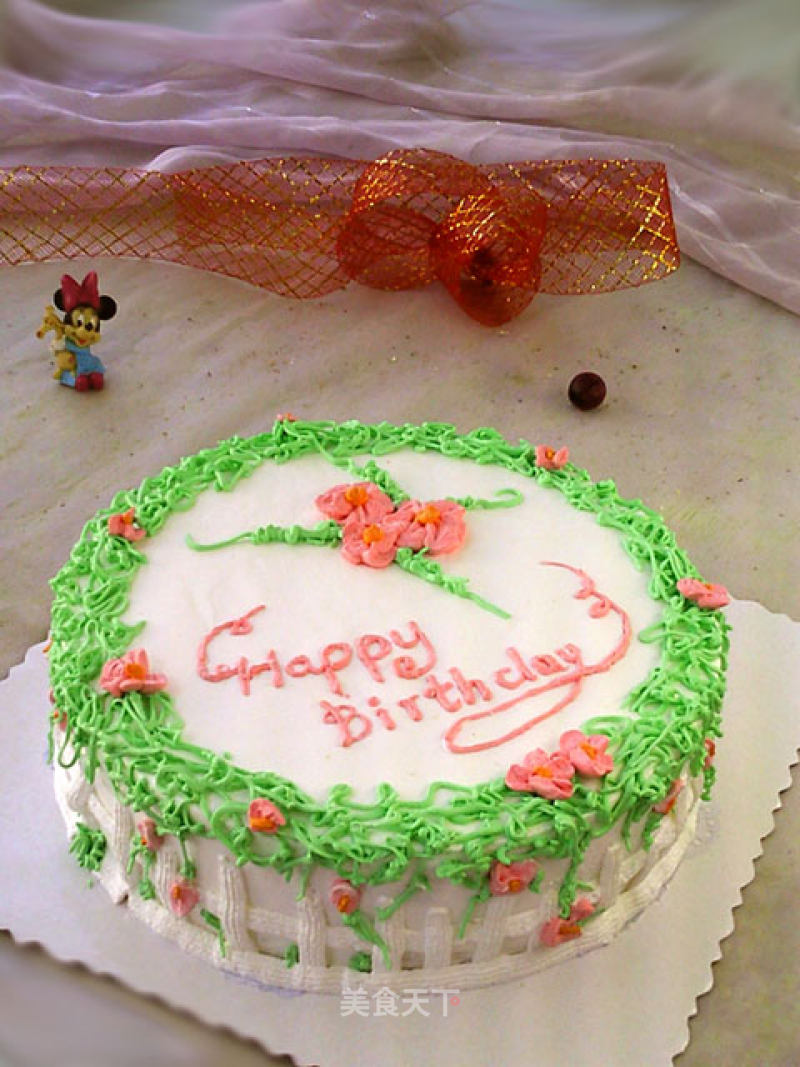
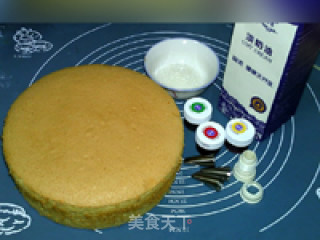
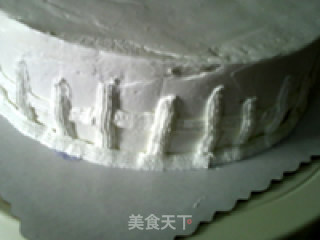
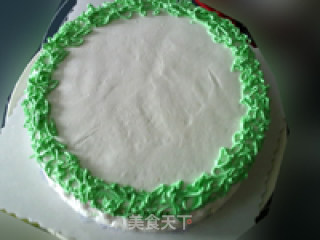
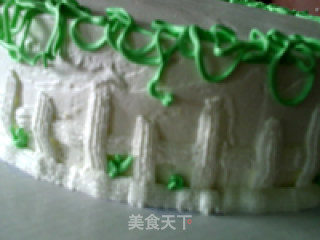
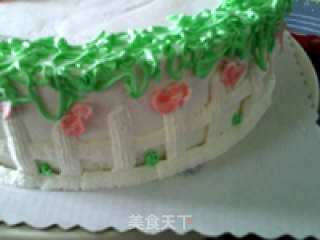
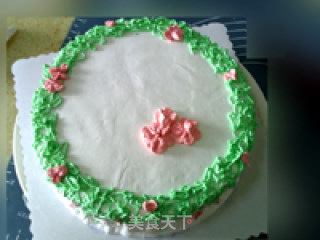
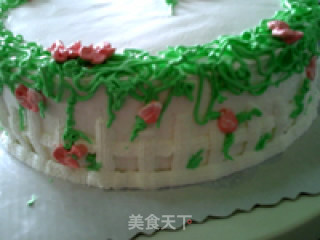
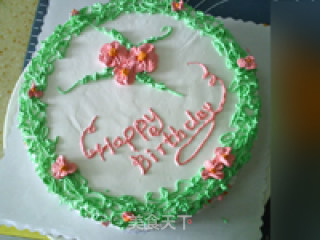
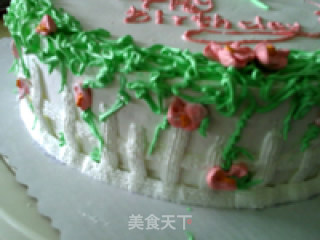
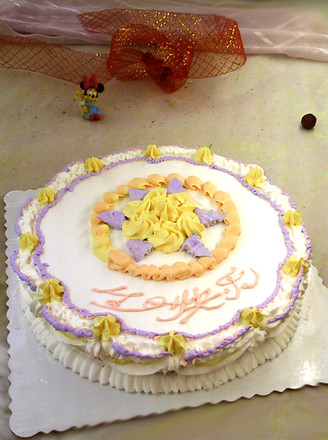
This flat mouth is flat on one side and pointed on the other. It seems that I have not seen it in the e-books I have browsed. How should it be used? Suddenly thinking of the wooden fence, thinking that the whole garden could not be closed in spring, a red apricot came out of the wall. How about a spring scene? Although it is still cold like winter.
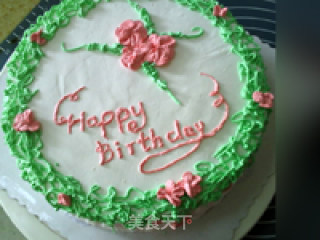
After catching up with an 8-inch cake as a gift, will the plan of transplanting a 6-inch seem space? I changed my mind: As usual, don't you still have to write? Then there is no need for much adjustment. Very good.
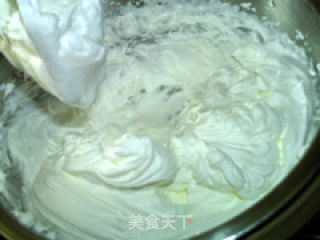
In fact, I really want to try the rose again here, and even have a flower mouth ready. However, the whipping of the cream makes people lose their direction more and more. Spreading the noodles will appear too rough-this phenomenon actually appeared in the last cake; the flowers will still collapse. . . . The feeling of getting worse and worse, it makes people feel like they are falling into despair. . . .
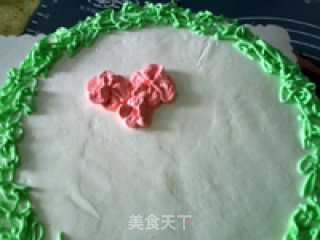
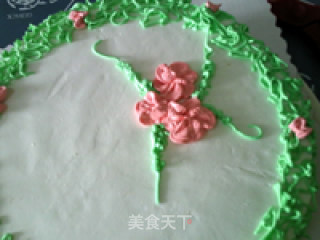
After all, I gave up the roses and let the little flowers that don't know their names bloom freely on the green grass. . . "

