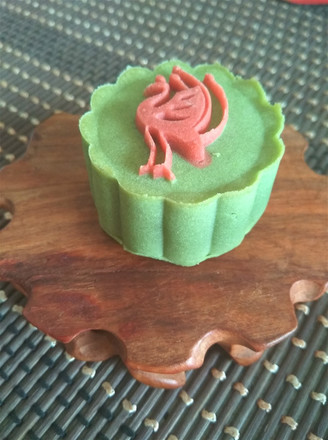
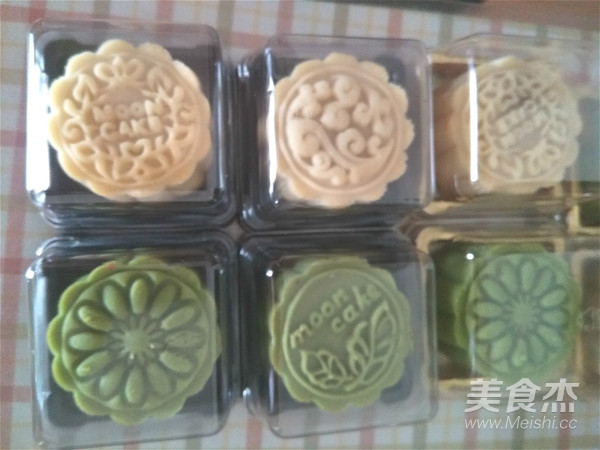
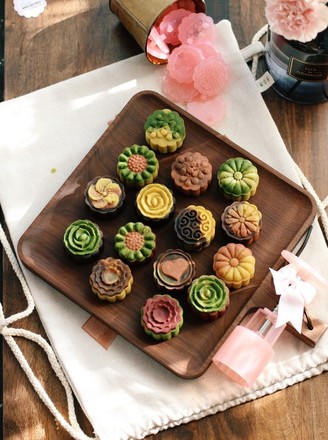
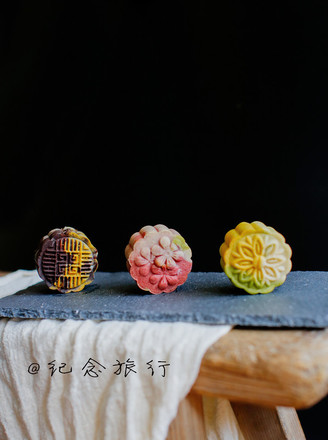
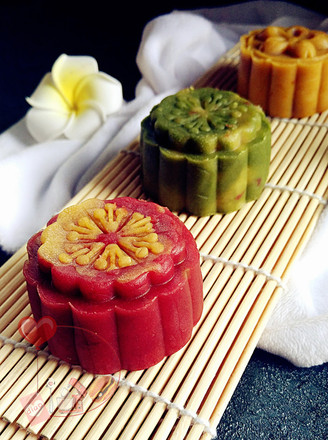
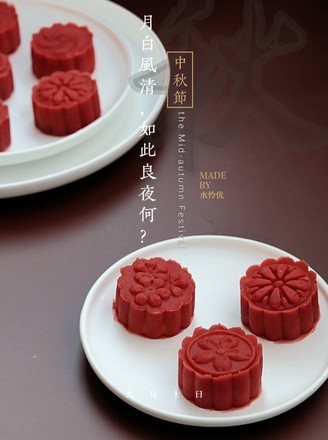
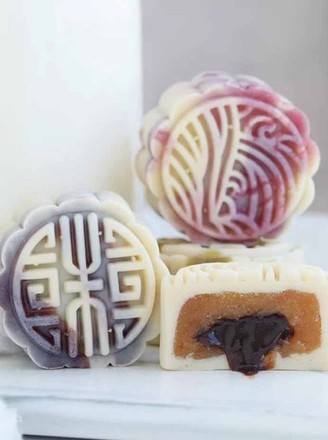
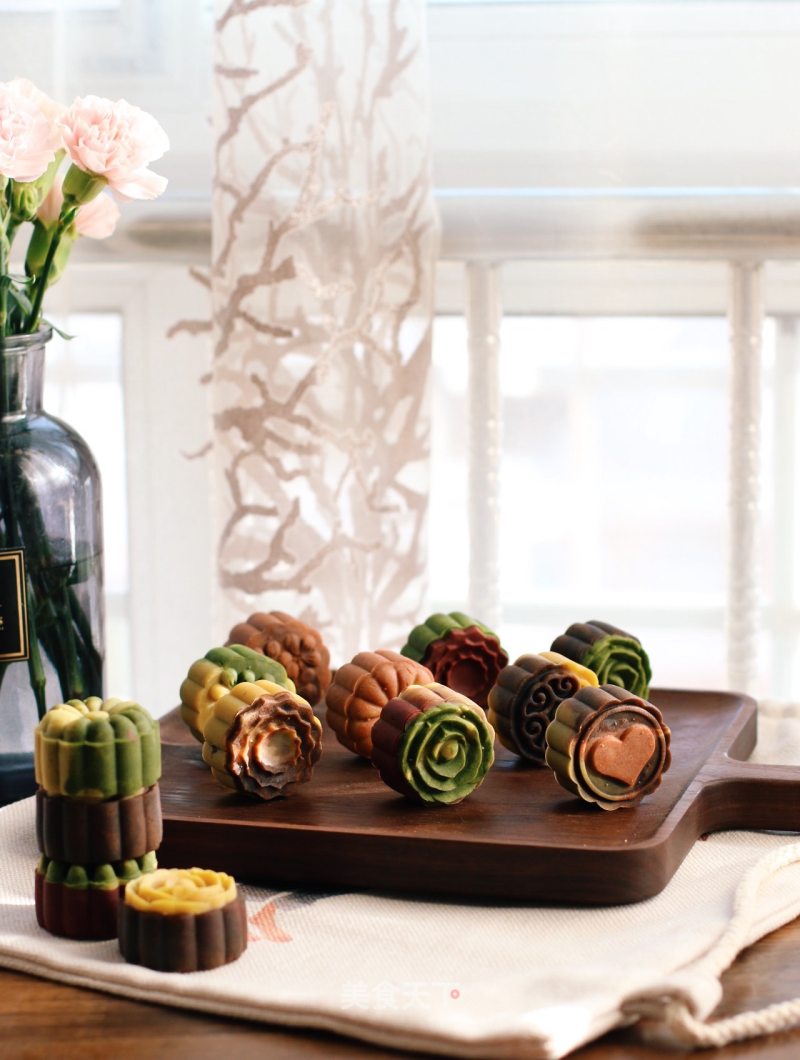
Momoyama Skin Mooncakes
1.
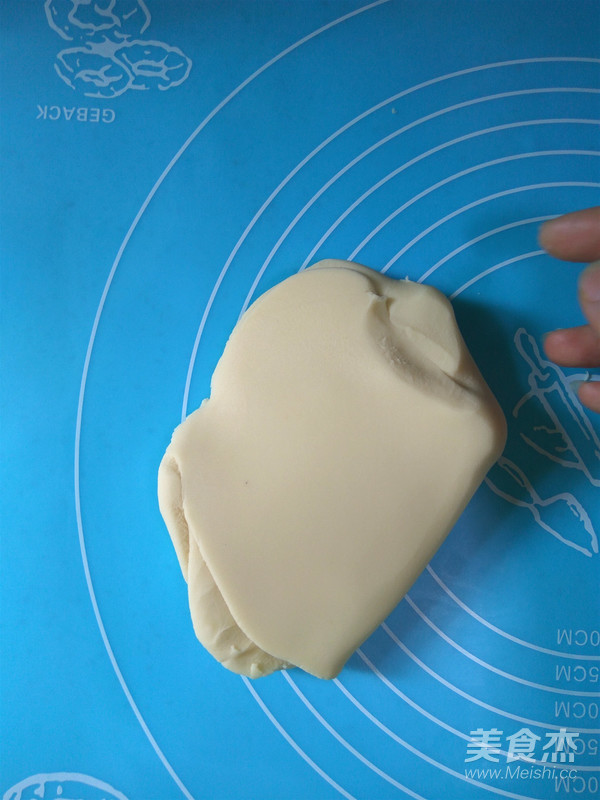
First take out the peach mountain bark you need to use and rub it with your hands (not kneading) until the color is even.
2.
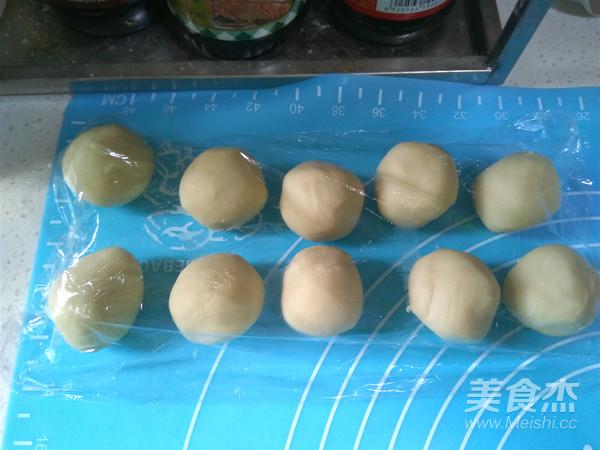
Divide the kneaded peach mountain bark into 10 portions, each 25g, and knead them into small balls. Prepare less red wine peach mountain bark and eat it at home without adding coloring. After dividing, cover with plastic wrap and set aside.
3.
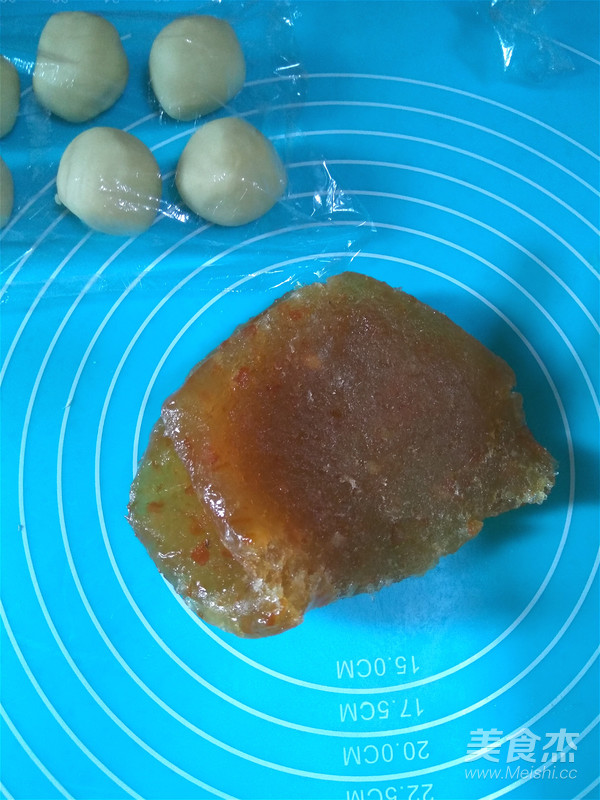
Take out the mooncake filling and rub the filling evenly with the same technique, so that the color of the filling will change a little. Divide the evenly kneaded mooncake filling into 10 portions, 25g each, knead them into small balls, cover them with plastic wrap and set aside.
4.
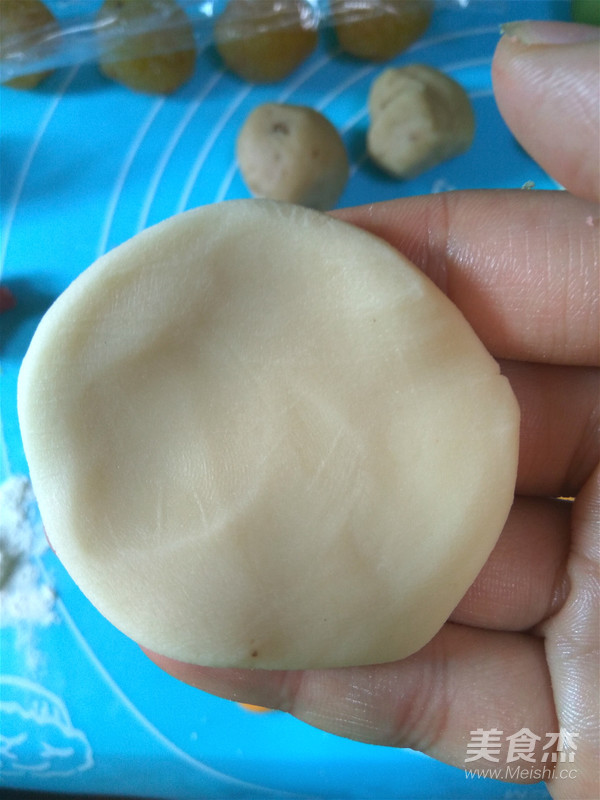
Take a portion of the mooncake skin, flatten it with a scraper, and press it to be thick in the middle and thin on both sides.
5.
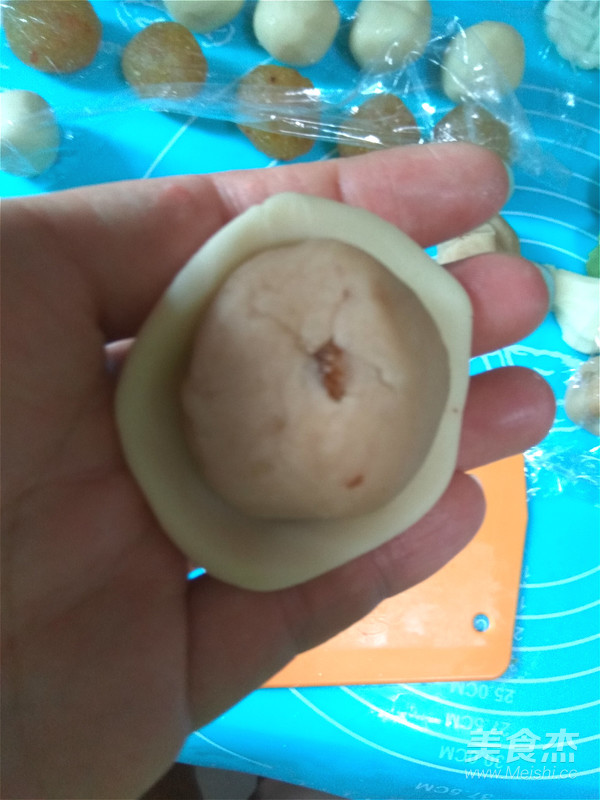
Pick it up gently, place it on the tiger’s mouth, and put the weighed mooncake filling on it
6.
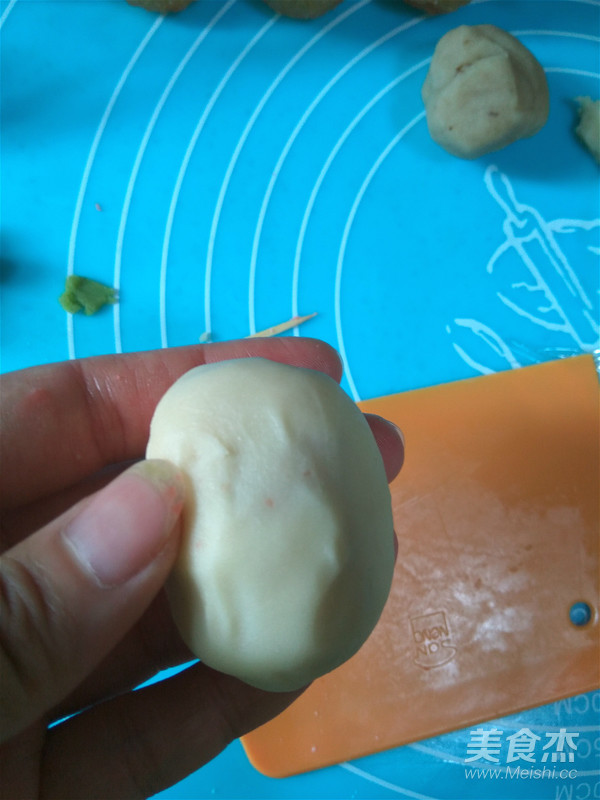
Push up little by little, slowly tighten, and then roll into a cylindrical shape.
7.
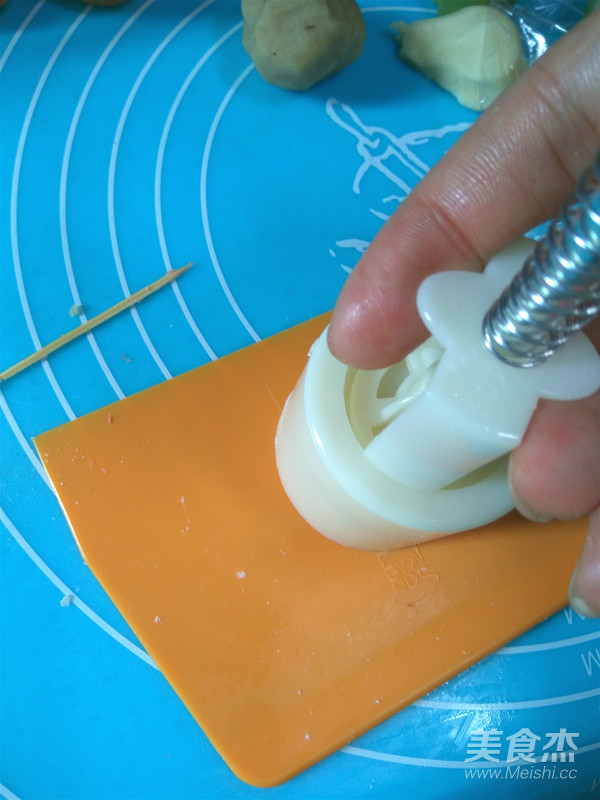
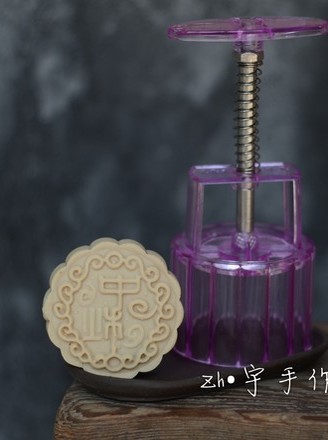
Prepare the mold, put in the flower piece, pour a little flour into the bucket to prevent sticking, put the cylinder into the mold bucket with the mouth down, and press it on the scraper to form.
8.
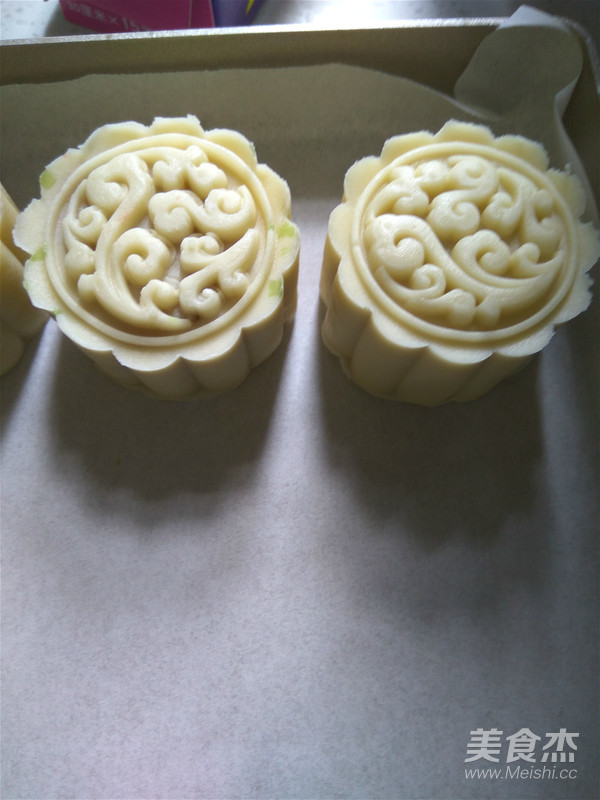
Place directly on the baking tray after peeling off the film.
9.
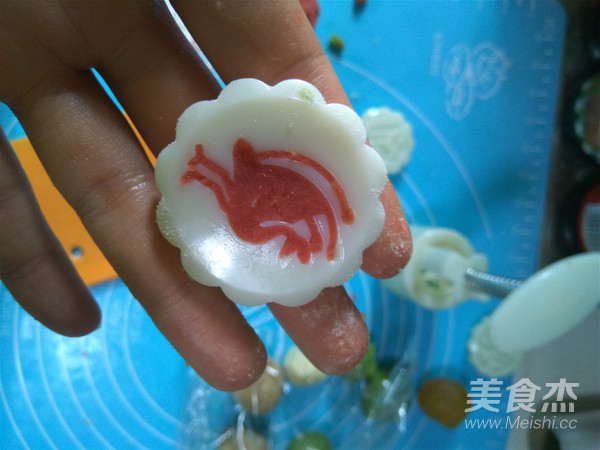
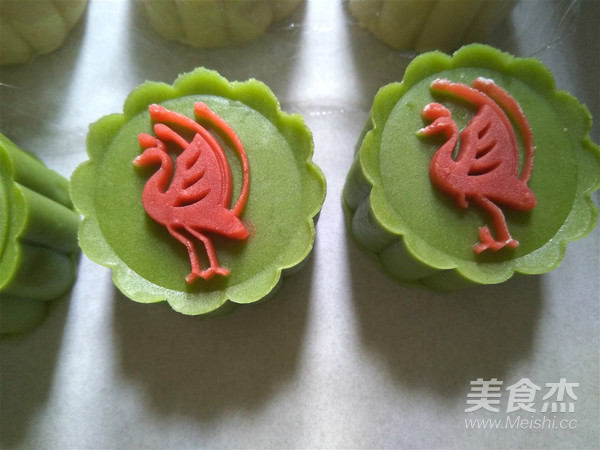
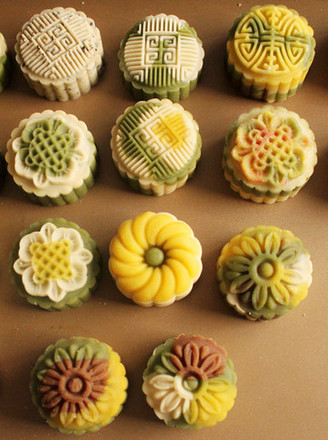
You can make a little pattern, take a little red wine peach mountain bark, press it on the flower piece, and scrape the extra part with a scraper
10.
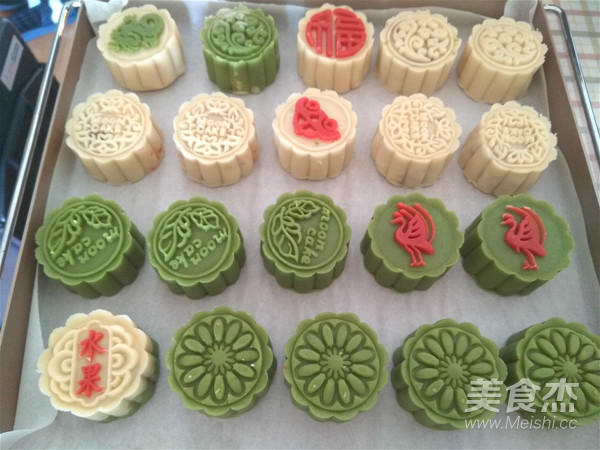
In the same way, wrap a piece of moon cake, place it in a mold and press it into a baking tray.
11.
Preheat the oven, the upper heat is 180 degrees, and the lower heat is 160 degrees. Spray a little water on the surface of the mooncake, put it in the lower layer of the oven, and bake for about 10 minutes. The surface should be slightly hard.
12.
Pack when the temperature drops to the hand temperature, and keep it sealed.
Tips:
1. If the peach mountain bark is stored in the refrigerator, it must be taken out to warm up before making, and knead it for a longer time to make it warmer and softer before making it, otherwise it will easily crack.
2. Do not directly press on the silicone pad when pressing the film, use a scraper to pad it, otherwise it will not be easy to form.

