Multicolored Snowflakes
1.
First, weigh all the materials well to prevent rushing during the production process.
2.
Heat a non-stick pan over low heat and add butter.
3.
Let the butter slowly melt into a liquid.
4.
Pour marshmallows.
5.
The marshmallows are still melted slowly on a small fire. Don't turn to the big fire in a hurry.
6.
The milk powder can be added when the marshmallows melt to the invisible large particles.
7.
Press and mix repeatedly until the milk powder, marshmallow, and butter are completely integrated.
8.
Add nuts and press into marshmallows.
9.
Add dried fruits and various fruits for crispiness.
10.
Press and mix again evenly and turn off the heat.
11.
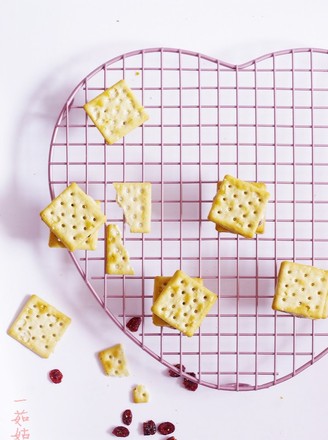
Pour in small biscuits.
12.
Put on pvc gloves and fold and pull repeatedly to make the biscuits completely stick to the sugar.
13.
Sprinkle a little milk powder into the mold, put sugar in it, and shape it.
14.
Cover the surface with a piece of greased paper, with the aid of a scraper, neatly, and then cool and solidify.
15.
After cooling, demould and sprinkle a little milk powder on the surface.
16.
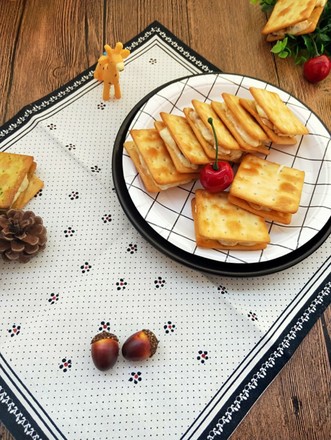
Cut into pieces according to your needs.
17.
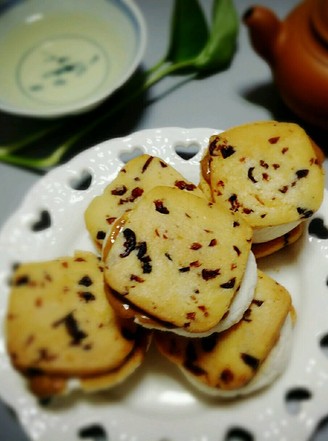
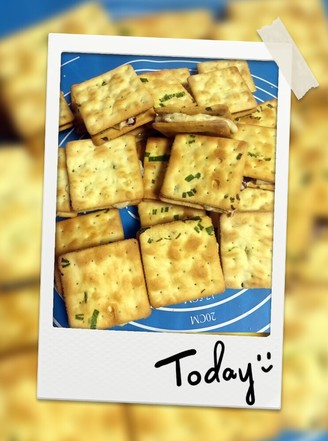
With different dried fruits, different colors, and a variety of nuts, has our cut surface become colorful?


Tips:
1. Be sure to use a non-stick pan and make it on a small fire throughout. My electric pottery stove is 200 degrees.
2. Any kind of milk powder can be used, but my taste thinks that the whole milk is more delicious and the milk flavor is stronger.
3. Generally, the sealing is 15-20 days at room temperature. If it is sealed, it can be more than 20 days. It is for reference only. The specific shelf life depends on your storage environment. Normal temperature is fine. Do not put in the refrigerator because there are biscuits in the refrigerator. , And the biscuits will be damp after taking it out to warm up.
4. Snow flakes are not suitable when the air humidity is high. One is sticky, and the other is that the biscuits inside are easy to get damp. Unless you can finish eating quickly, you should do it in a cooler weather. Think carefully before making it. Decide whether to do it or not.
5. It is recommended to wear disposable gloves during plastic surgery to avoid sticking to your hands. Do not press or push excessively to prevent the biscuits from breaking.
6. If you like to eat softer, then turn off the fire and pour the milk powder after the marshmallows are completely melted; if you like a harder taste, then, after the marshmallows are completely melted, stir-fry for a while.