Small Snail Bread
by Leaf's Little Chef
Favorite
Difficulty
Normal
Time
2h
Serving
2
Today I still use the middle method to make this small bread. I have made this recipe many times. The high-flour and low-flour are used together. The bread is soft and suitable for my family’s taste and the amount of sugar. I use less and don't like too sweet baked goods. I only have a little sweetness and feel good about myself. If you like sweeter ones, add some sugar on this basis.
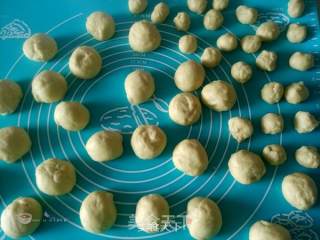
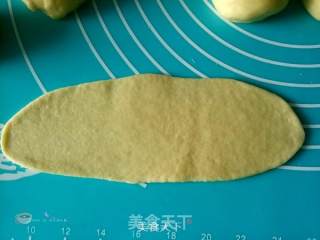
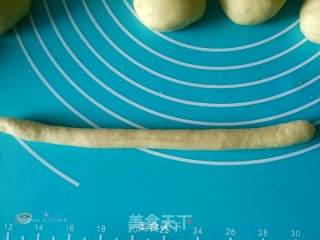
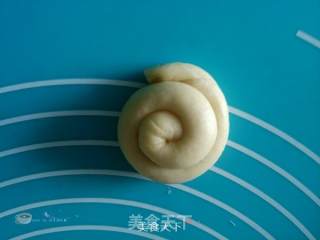
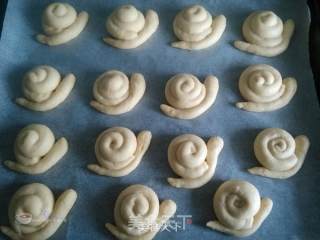
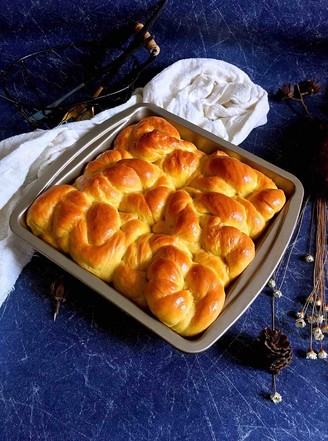
Every time I use the Chinese method to make bread, my family likes it, so every time I make it, the portion is more. Today I made 24 small snail breads with this portion and baked them in two ovens. In order to save the time for plastic surgery, I Making this snail bread is also very fast. Little snails are born very quickly. The so-called slow work makes meticulous work. The snails that I made quickly don’t look good. The first time I made this, I lacked experience. When you made this, dear ones, This roll must be flat, don't let the middle bulge, otherwise it won't look good after fermentation. This is what I have today that affects the appearance. After the fermentation, I did not brush the egg liquid on the surface too evenly. The appearance was greatly reduced. It seems that if you do too much at one time, you can’t pay too much attention to the details. Fortunately, the taste is very good. It’s almost half consumed..."
Every time I use the Chinese method to make bread, my family likes it, so every time I make it, the portion is more. Today I made 24 small snail breads with this portion and baked them in two ovens. In order to save the time for plastic surgery, I Making this snail bread is also very fast. Little snails are born very quickly. The so-called slow work makes meticulous work. The snails that I made quickly don’t look good. The first time I made this, I lacked experience. When you made this, dear ones, This roll must be flat, don't let the middle bulge, otherwise it won't look good after fermentation. This is what I have today that affects the appearance. After the fermentation, I did not brush the egg liquid on the surface too evenly. The appearance was greatly reduced. It seems that if you do too much at one time, you can’t pay too much attention to the details. Fortunately, the taste is very good. It’s almost half consumed..."


