Snowy Mooncake
1.
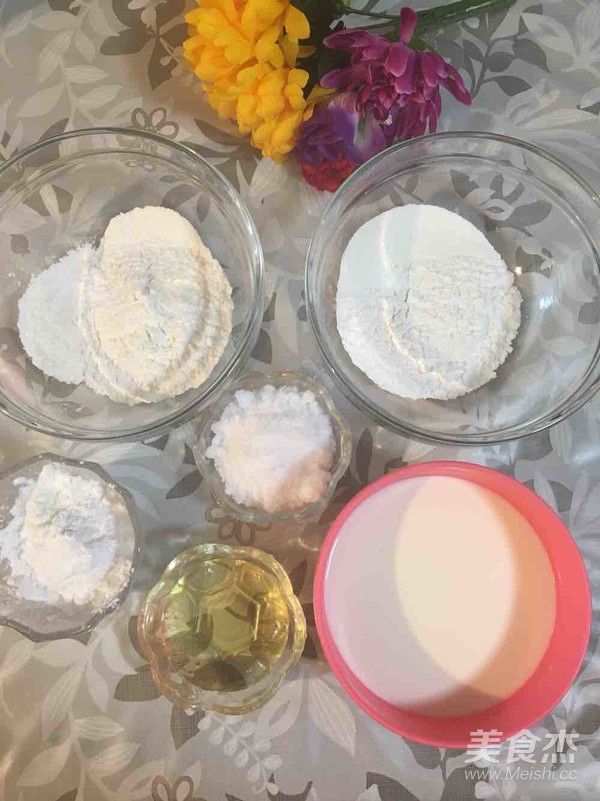
Prepare all materials
2.
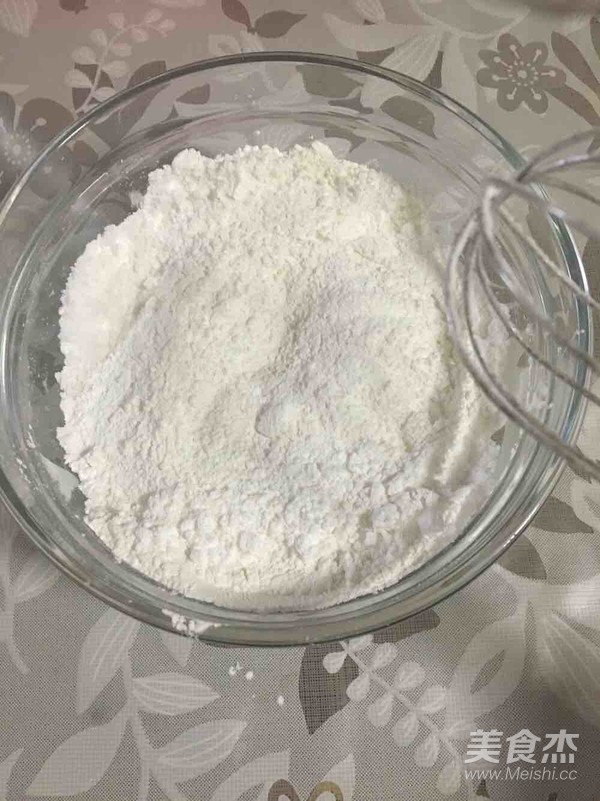
1. Put glutinous rice flour, sticky rice flour, low-gluten flour, wheat starch (orange flour), white sugar and other solid materials in the basin, and then use dry chopsticks to stir and mix well.
3.
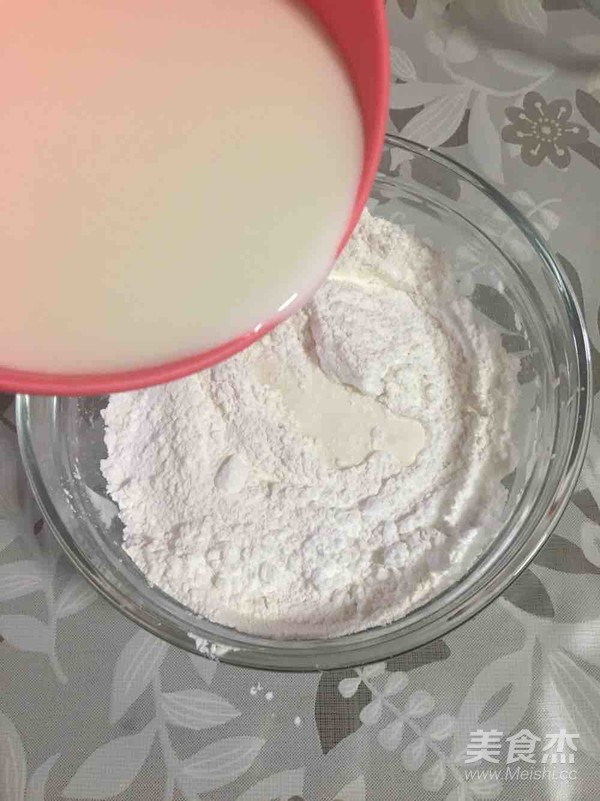
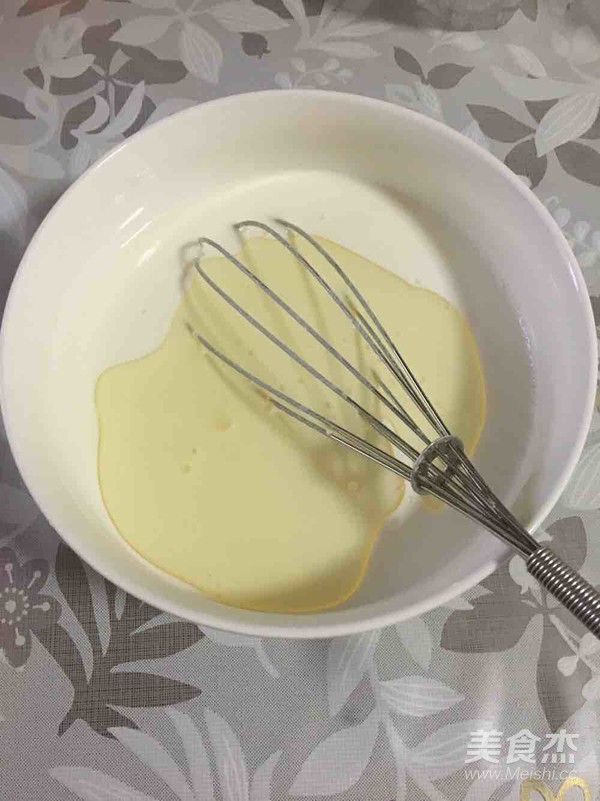
2. Add 2.5 scoops of condensed milk first, then pour the milk, and mix well.
4.
3. Pour in olive oil or edible oil, and stir well.
5.
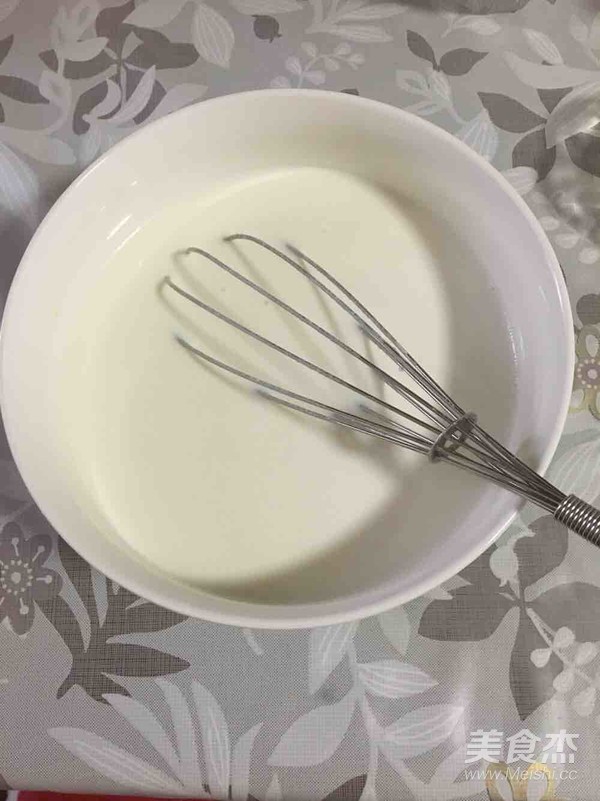
4. Stir all the materials evenly and filter them down with a filter. I didn’t filter it, and I didn’t think there was anything wrong with it. If I’m afraid of powder, I’ll mix it evenly.
6.
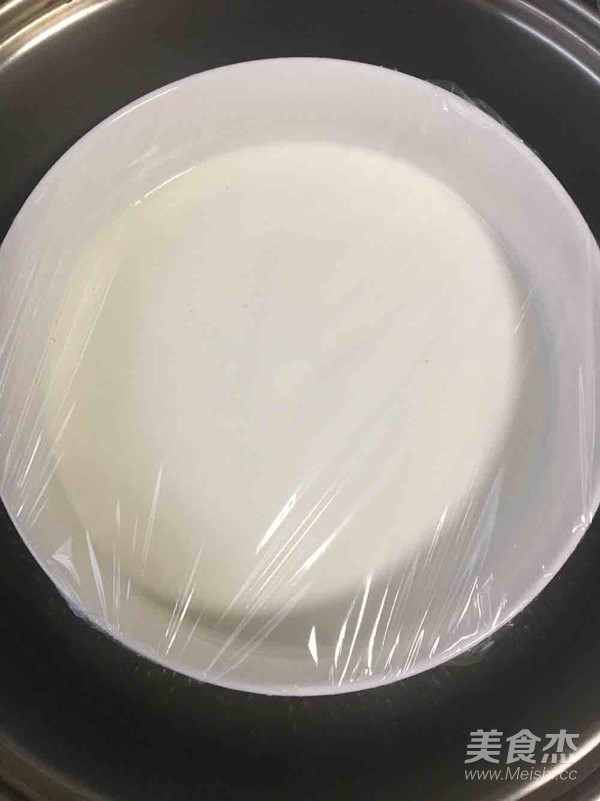
5. Wait until the temperature of the batter rises to slightly hot (about 40°, just warm it up), take the batter bowl away from the heat, continue to stir for a while, after the batter is better integrated, cover with high-temperature plastic wrap and steam for 20 minutes That's it
7.
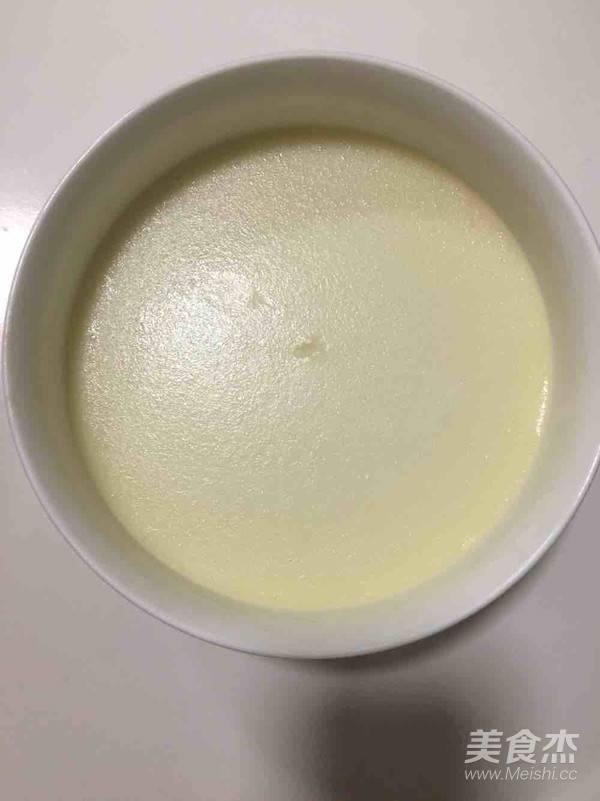
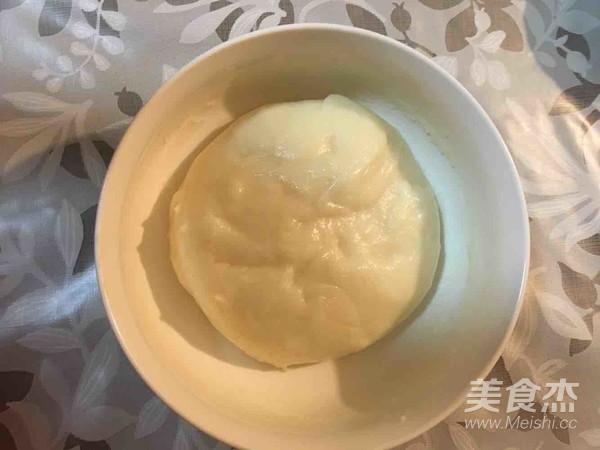
6. The surface of the fully steamed ice skin is very flat, there is no depression in the middle, the color of the inside and the periphery is the same, slightly transparent milky white, there is some slick on the surface .
8.
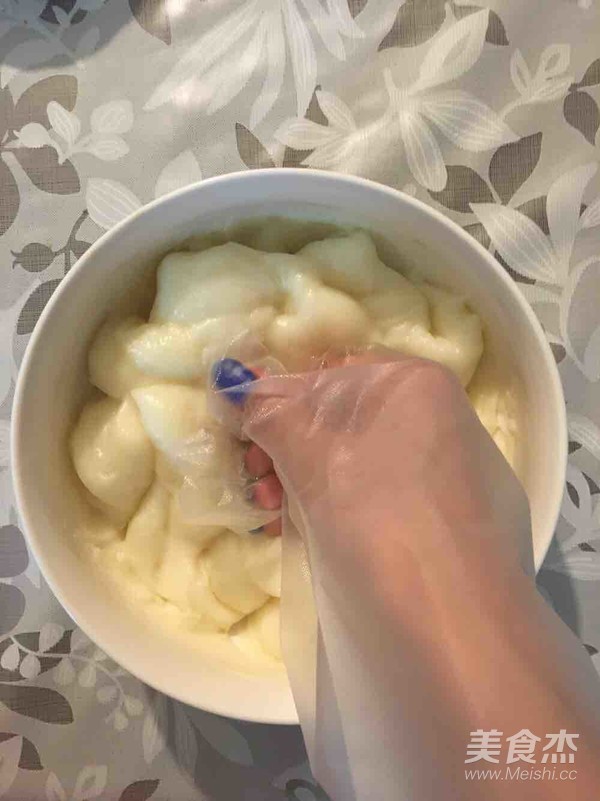
7. When the steamed snow skin material is cooled to a temperature that is acceptable to your hands, wear disposable gloves and knead the snow skin material into a smooth dough. You can feel that the dough is soft and elastic, and it feels a little greasy at the beginning, but not greasy at the end. It doesn't feel greasy at all when I eat it.
9.
8. If the dough sticks to your hands, you can put it in the refrigerator and pack it for a while, and it won’t stick to your hands.
10.
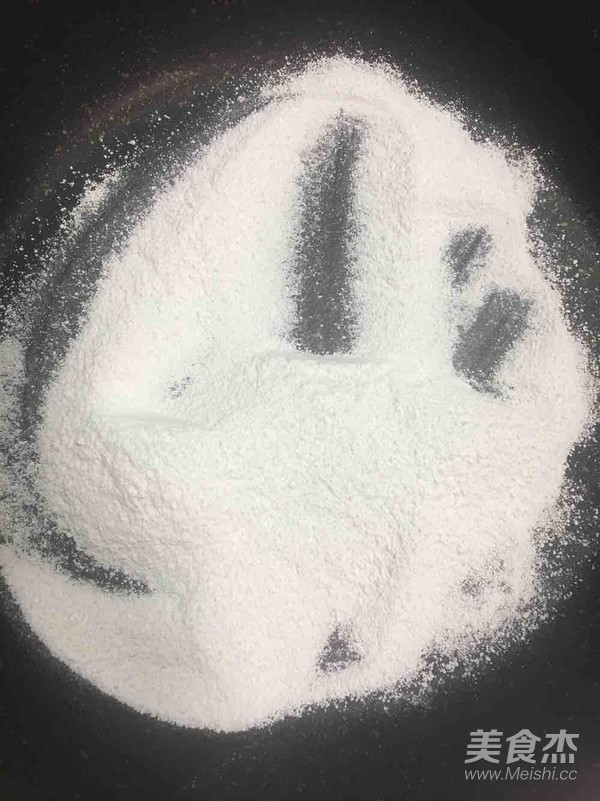
9. When the dough is put in the refrigerator, let's first fry the cake powder and make the filling. The cake powder is the fried glutinous rice flour. The snowy dough is a bit sticky and needs some cake powder to facilitate handling and demoulding. Put the glutinous rice flour in a pot and stir-fry slowly over a low heat (don't put oil) until the flour is slightly yellow and the aroma of flour comes out, then turn off the heat. Dry the fried cake powder
11.
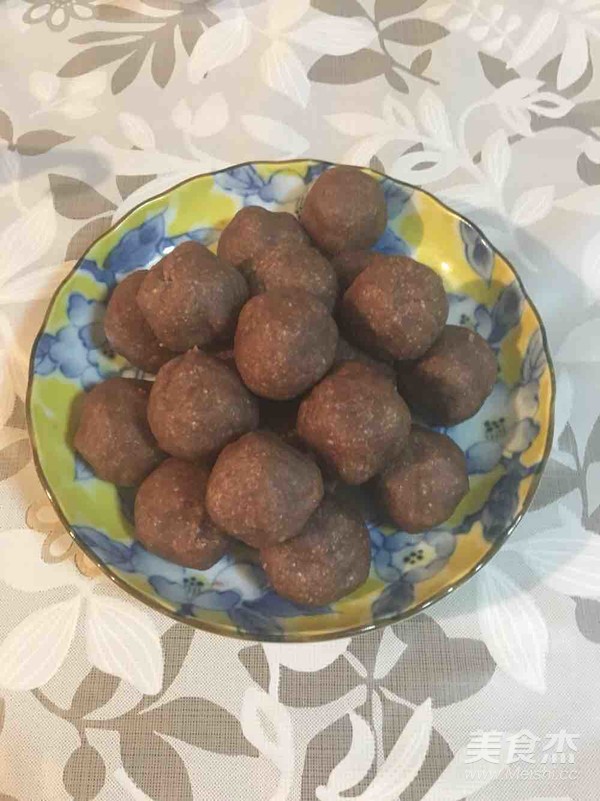
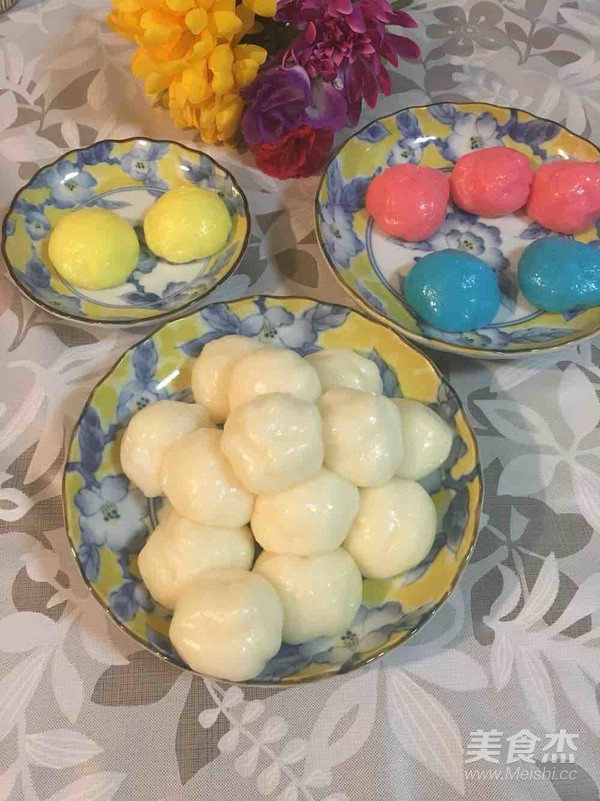
10. We divide the red bean paste into 20 grams and knead it into round balls. spare.
12.
11. Then divide the kneaded dough in the refrigerator into 20 small doughs, each of which is 30g. Round and set aside. The ratio of the dough to the filling: I generally choose the ratio: skin 3 filling 2. I use a 50g mold, if I use a 100g mold, 60 grams of crust and 40 grams of filling. The actual situation is adjusted up and down.
13.
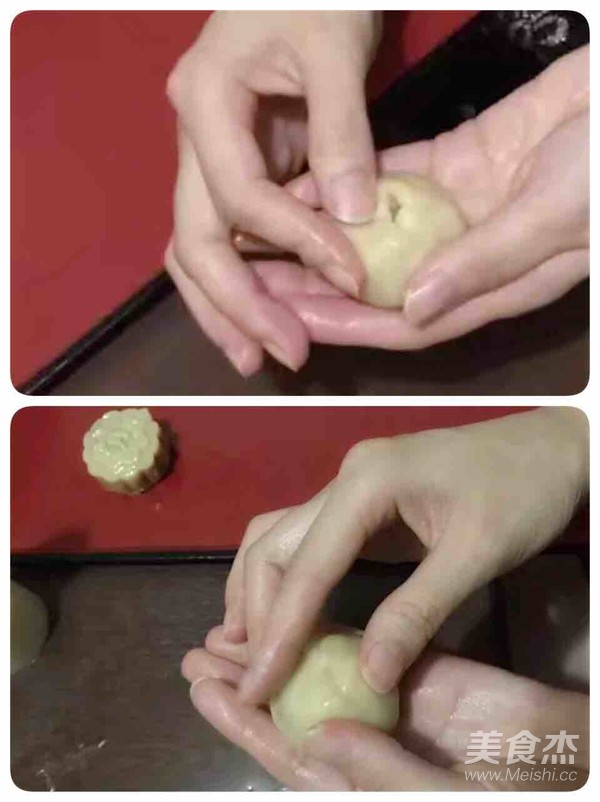
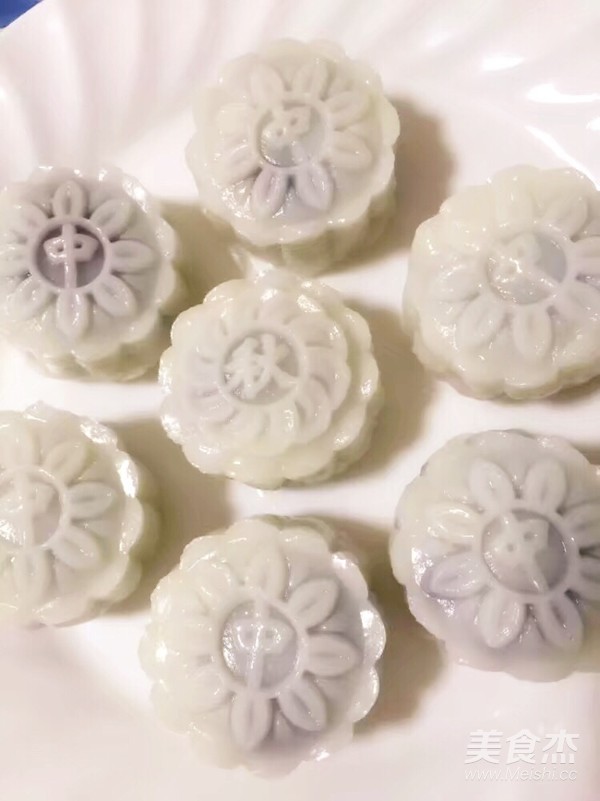
12. Knead the small dough round and flatten it, wrap it in the red bean paste ball, and push it to wrap it up. Round up. If necessary, you can slightly dip the outside with cooked glutinous rice flour. Prevent sticking and release better. Part of me didn’t use cake flour, but edible oil is fine. The taste will be better than cake flour. Put the wrapped mooncake ball into the mooncake mold (I used a 50g mold) and press it down evenly, demoulding, and the beautiful pattern will be there.
14.
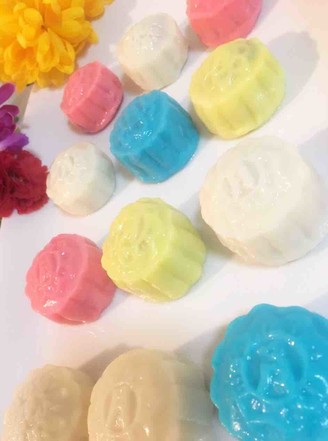
13. Snowy mooncakes are ready

Tips:
1. Heat and stir the batter slightly and then steam it in a steamer to make the oil and flour mix more evenly and blend better. The quality of the steamed dough is very good. If you find it troublesome, you can save this step. After fully stirring, cover it with plastic wrap and steam it directly in the pot. If the middle part is whiter than the surrounding area, it means that it is not fully steamed, and it will be steamed for a while. 2. Put the wrapped moon cake ball aside, put some cake powder in your hand, pat your hands together into a hollow, remove the excess powder, and roll the moon cake ball in your hand, so that it can be demoulded without any problems. As for the powder is too thick. Pay attention that there should be no accumulated cake powder in the pattern part, otherwise the pattern will be affected after pressing. 3. When pressing moon cakes, pay attention to 2 points: First, you must press the place where the die mouth and the countertop are attached with your hands. If the pressure is not tight, it will cause the pressure to overflow from the bottom, affecting the appearance or failing. The second is to press down the handle of the mold to be perpendicular to the time, press it to the bottom at a time, stay a little, and then lift the mold.

