Snowy Mooncake
1.
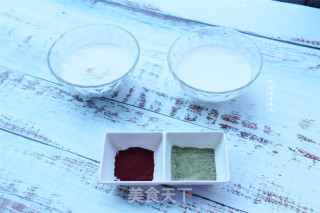
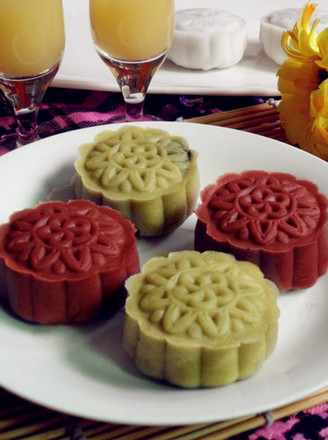
Prepare snowy moon cake premix powder 220g, milk 240g, red yeast rice noodle 3g, matcha powder 3g
2.
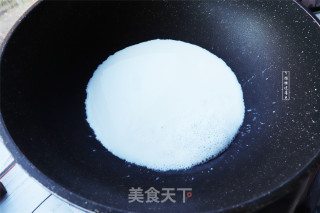
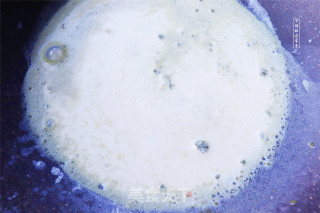
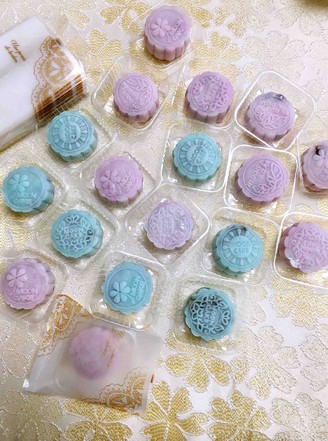
Because we are going to make three-color mooncakes, we have to divide the milk and the premixed powder into three. Heat the milk to ensure that the temperature is above 85 degrees
3.
One third of the milk adds 3 grams of matcha powder into green milk
4.
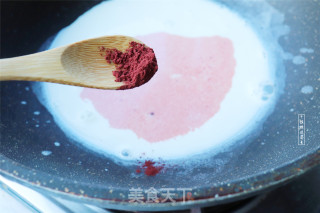
Add 3 grams of red yeast rice noodles to the last third of the milk to turn into pink milk
5.
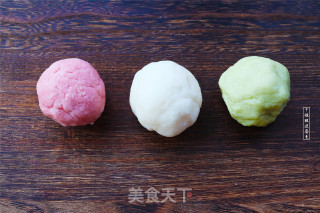
Pour the hot milk of the three colors into three bowls of premixed powder, stir it evenly with chopsticks into cotton wool, and then knead it into a dough with your hands (adding a little butter will make the dough rounder, this time stick to the concept of health and less oil, so I No softened butter is added)
6.
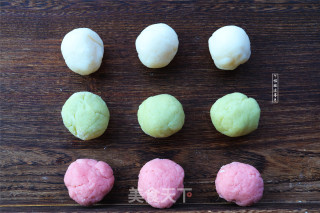
Divide the filling into 30g portions, knead round and set aside
7.
Prepare the molds and flower pieces you need. Use a brush to apply a thin layer of cooked powder to the flower pieces and the inside of the mold or use this premixed powder directly (the dough will stick to the mold if you don't coat it.)
8.
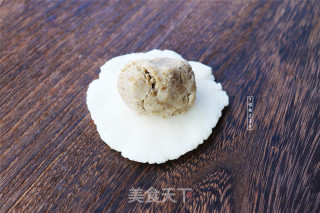
Roll the snowy dough into a round shape, put the white dough into the homemade mung bean paste filling, and tighten it upside down
9.
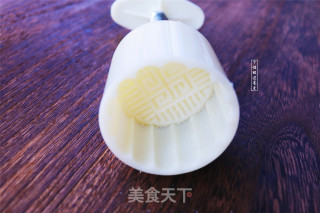
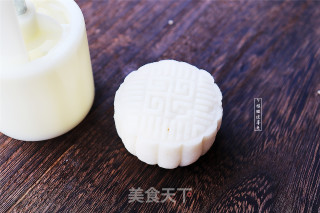
Put the wrapped ball into the mold, buckle it upside down on the panel, press it three times hard and fast, then gently lift the mold, a simple moon cake is completed
10.
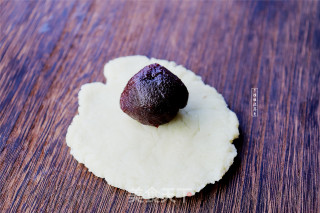
Roll the snowy dough into a round shape, put the green dough into the homemade red bean paste bag, and tighten it with the mouth down
11.
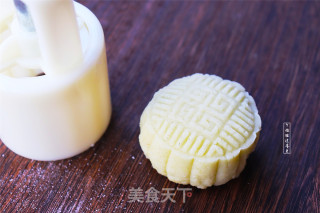
Put the wrapped ball into the mold, buckle it upside down on the panel, press it three times hard and fast, then gently lift the mold, a simple moon cake is completed
12.
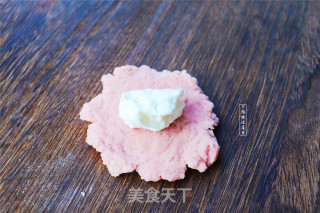
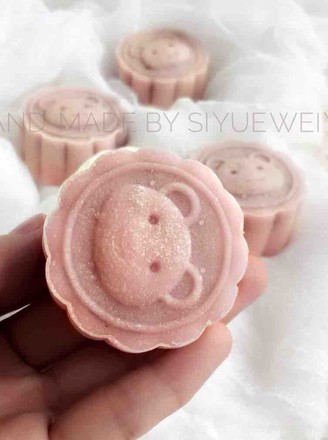
Roll the snowy dough into a circle, put the pink dough into the ice cream wrapper, and tighten it with the mouth down
13.
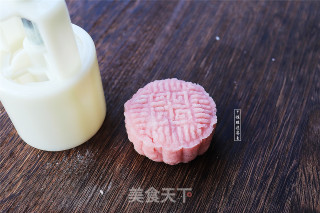
Put it into the mold, buckle it upside down on the panel, press it hard and fast three times, then gently lift the mold, a simple moon cake is completed
14.
Cover the finished snowy mooncake with plastic wrap and put it in the refrigerator to taste better
15.
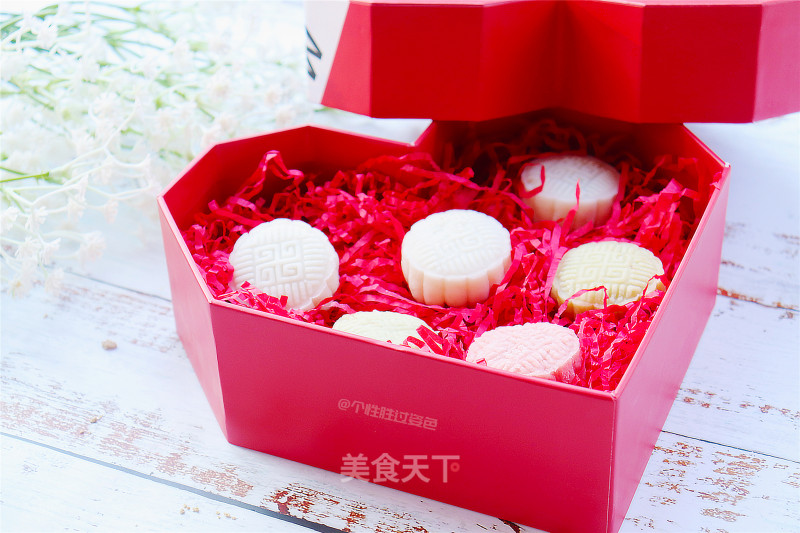
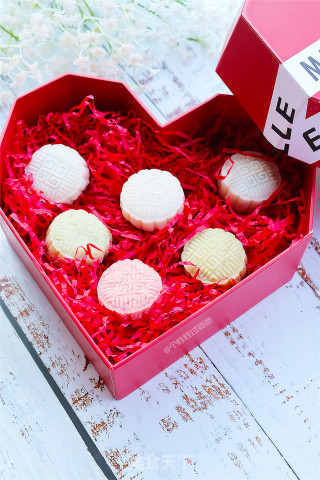
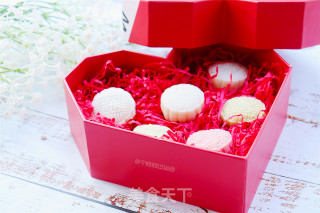
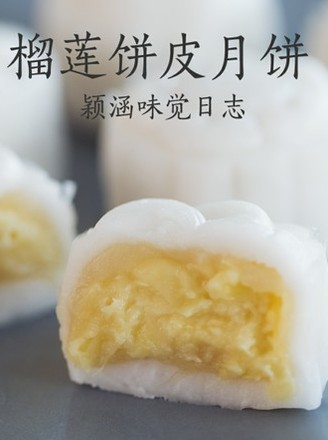
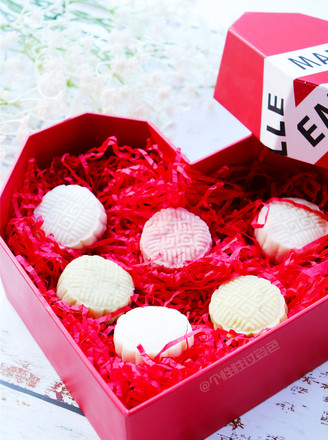
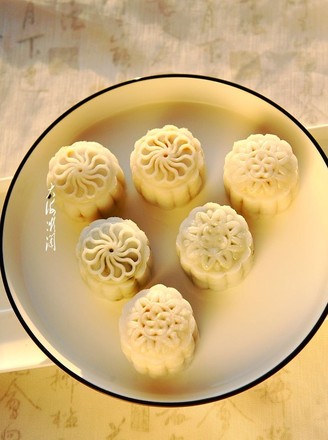
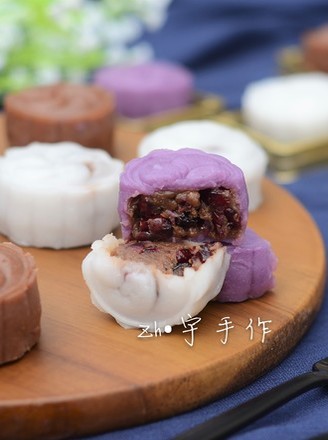
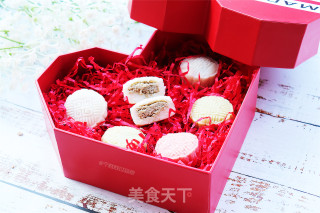
The taste is soft and smooth, slightly elastic, and the color is as white as snow
16.
The process of making snowy mooncakes is relatively simple and quick, no need to bake, and after refrigeration, the taste is very pleasing

Tips:
1. If you like colored moon cakes, prepare your favorite pigments and knead the dough evenly, and match them according to your own preferences.
2. This recipe makes about 9 50g moon cakes, which will be more delicious with fruit fillings.
3. To prevent sticking to the mold during embossing, a little cooked cake powder can be prepared.
4. Cover the finished snowy moon cakes with plastic wrap and put them in the refrigerator to keep them in a better taste and lock the moisture of the moon cakes!
The ratio of 5.50g snowy mooncake crust to filling is 1:1: 25g each for crust and filling
6. If you like Q bombs, you can extend the dough kneading time by 1-2 minutes
7. The snowy mooncakes can be eaten immediately after the completion, no need to return the oil.
8. If your hands feel sticky in the middle, wipe the cooked powder in time
9. If you want the moon cake pattern to be clear, the amount of water must not be too much, you can add it while kneading, the pattern is clear and beautiful when the cake is harder.
10. If you want to take a photo, the cake will be taken as soon as it is pressed. If you leave it for a while, the pattern will be blurred and not so good. The pattern will be worse the next day.

