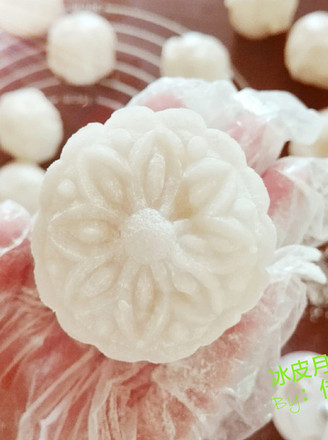
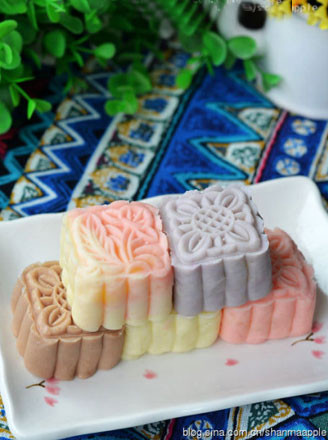
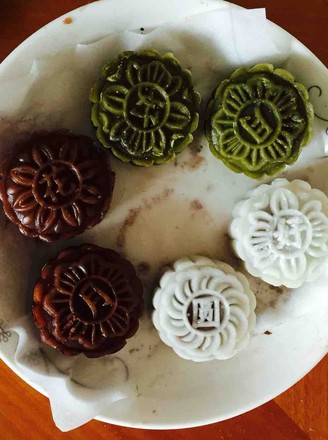
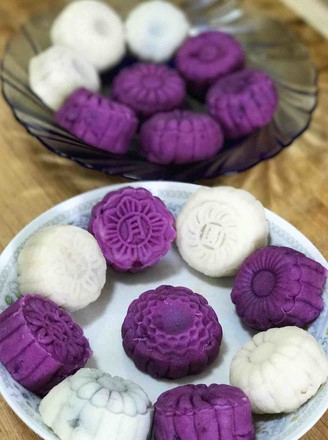
Snowy Mooncake: Mung Bean Cake Version
1.
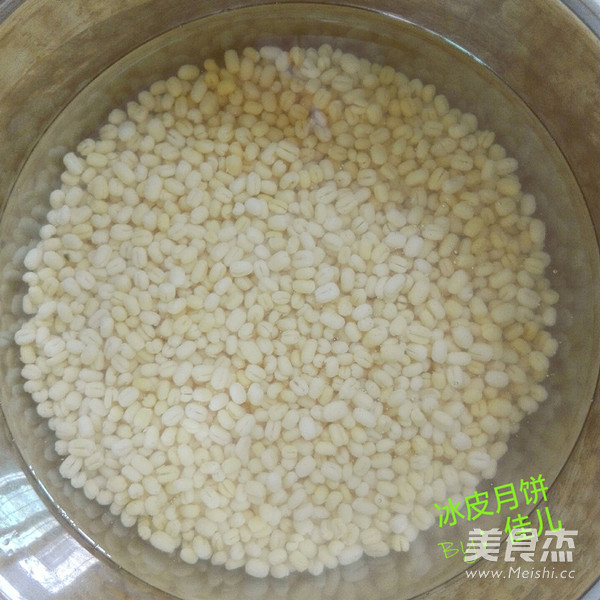
Wash the peeled mung beans, soak them in an appropriate amount of water overnight, and keep them in the refrigerator to prevent damage
2.
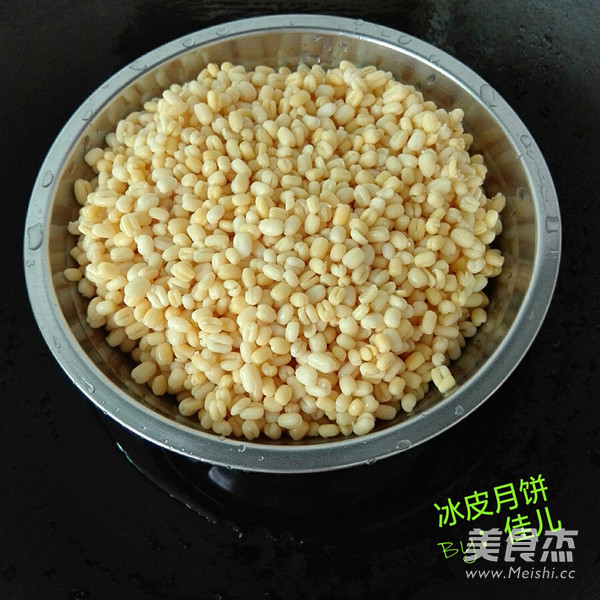
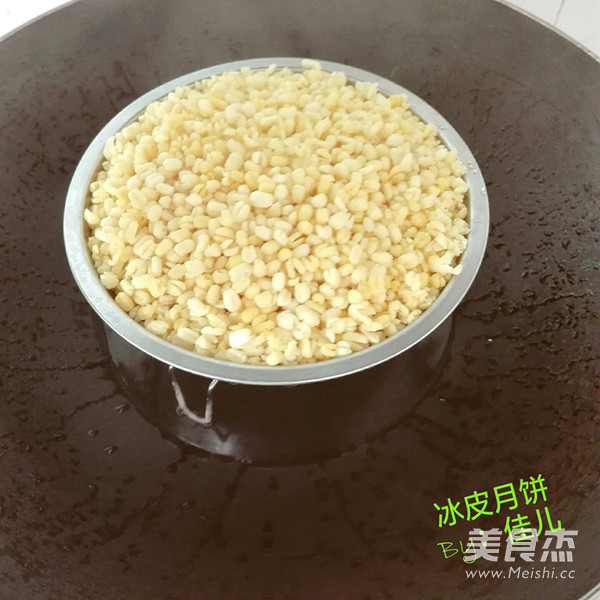
Fill the steamer with enough water, bring it to a boil, put the mung beans in the steamer
3.
Steam on a low heat for about 30 minutes, the mung beans will bloom, and it will be fine if they can be twisted.
4.
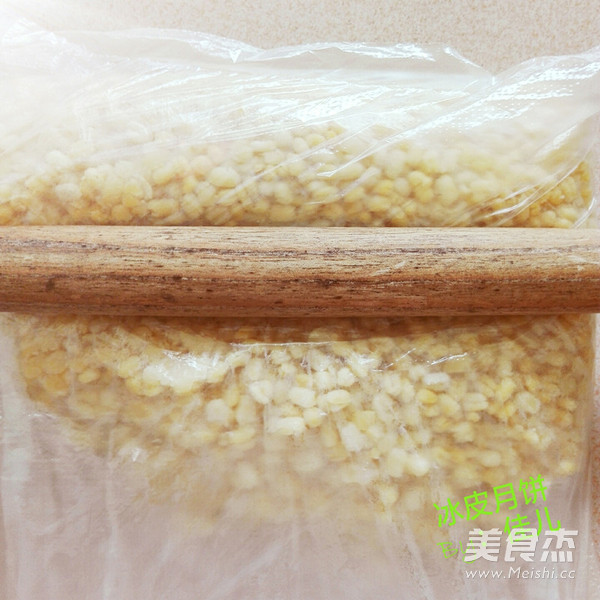
Put the steamed mung beans into a fresh-keeping bag and grind them finely with a rolling pin
5.
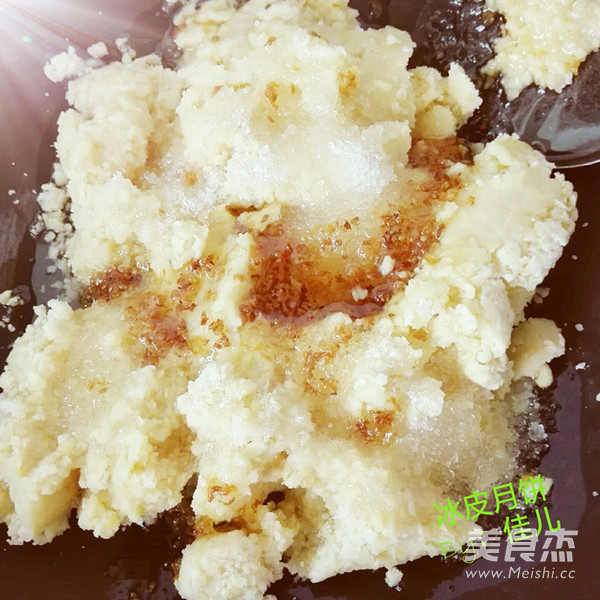
Pour butter, sugar, sweet-scented osmanthus and mung bean paste in a pot, stir fry over low heat
6.
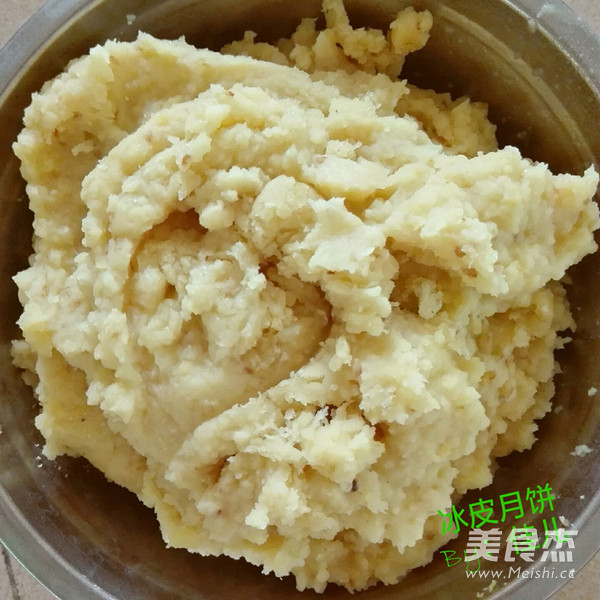
Stir fry until the mung bean paste does not stick to the pot at all and forms a dough.
7.
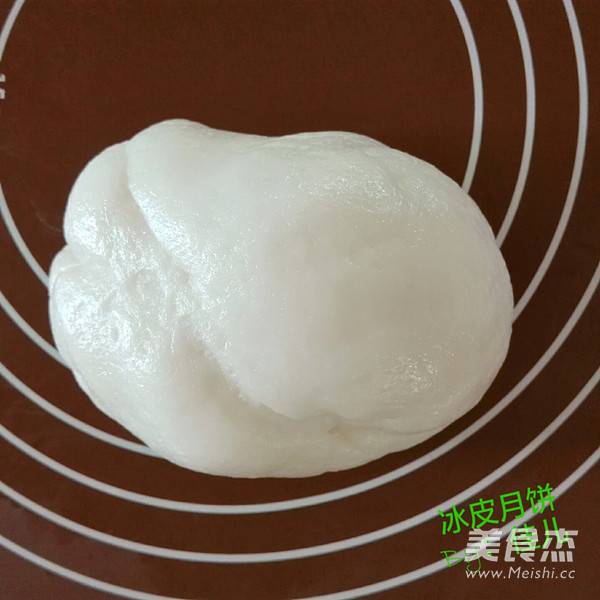
Add 250g of purified water to 250g of snowy mooncake powder
8.
Knead by hand until the surface is smooth and elastic
9.
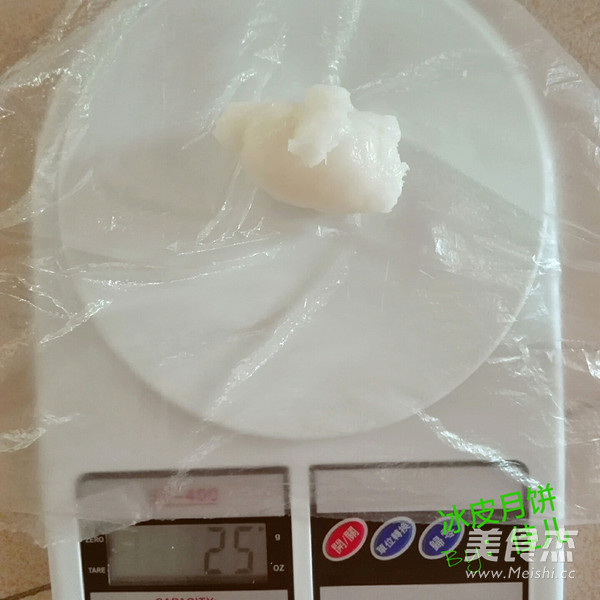
Divide the snowy mooncake crust into 25g portions
10.
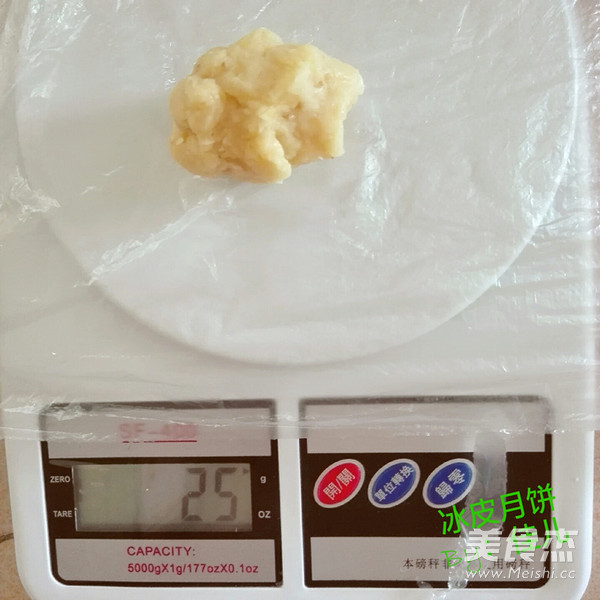
Divide the filling into 25g portions
11.
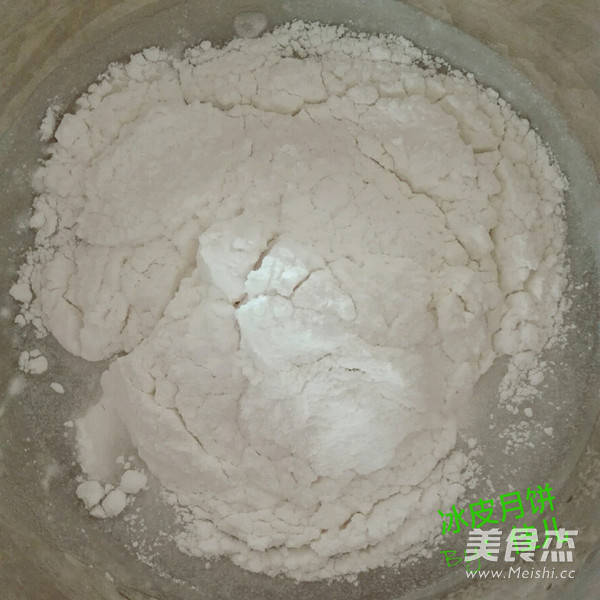
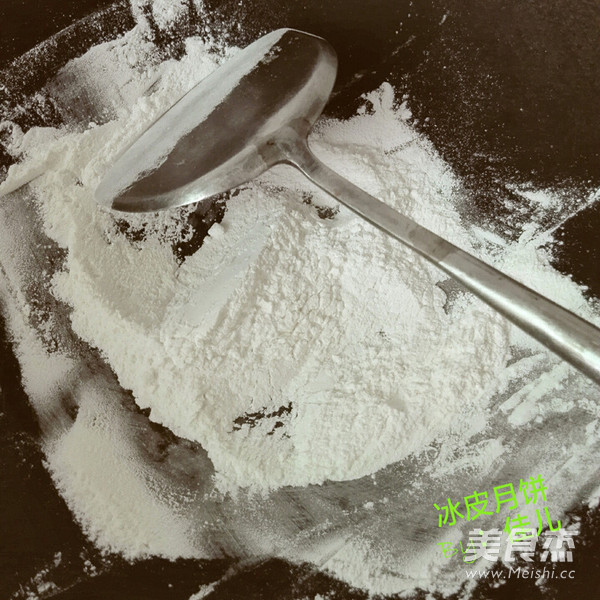
Put the glutinous rice flour in a pot and stir-fry on low heat until it turns slightly yellow. After cooling, it becomes cake flour
12.
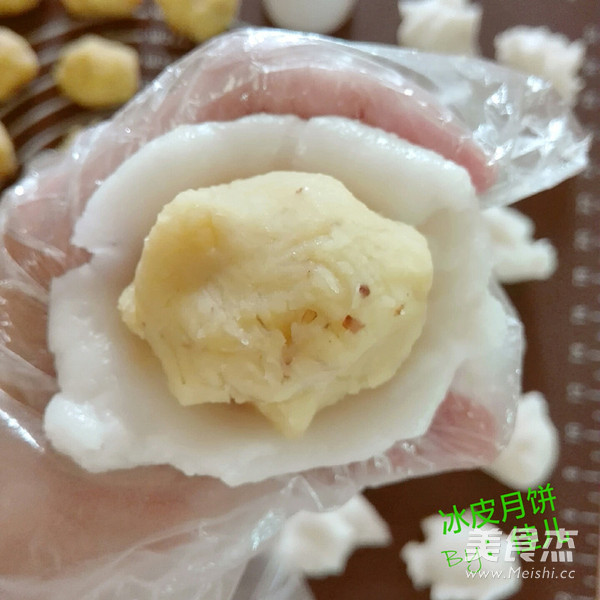
Dip a little cake powder on your hands to prevent stickiness, put the snowy skin on the palm of your hand and squeeze it, and put the mung bean filling on the snowy skin
13.
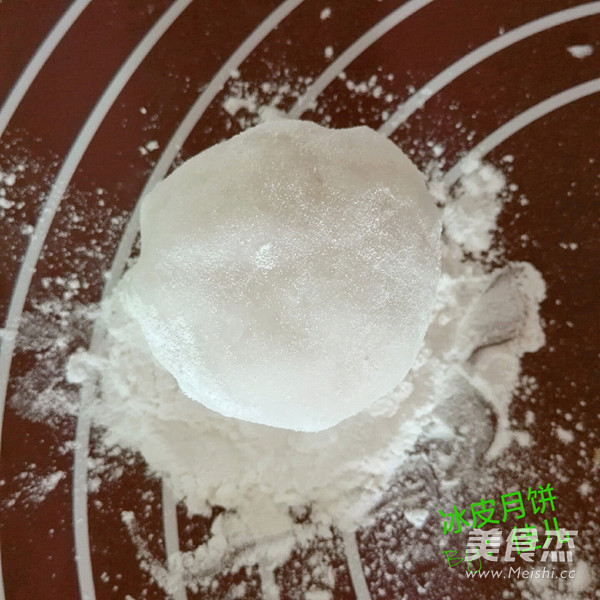
Wrap the mung bean filling with snow skin and pinch it tightly. Roll gently in the cake flour
14.
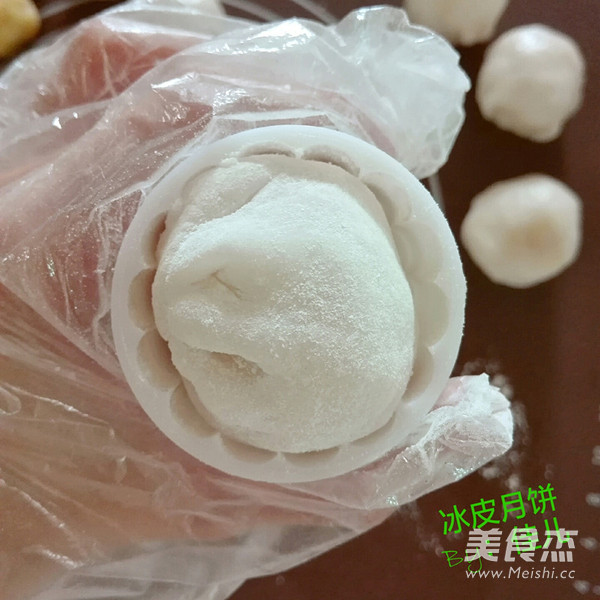
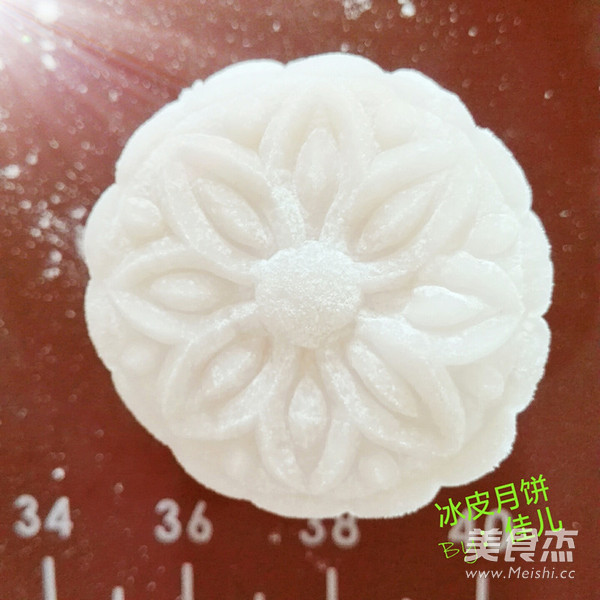
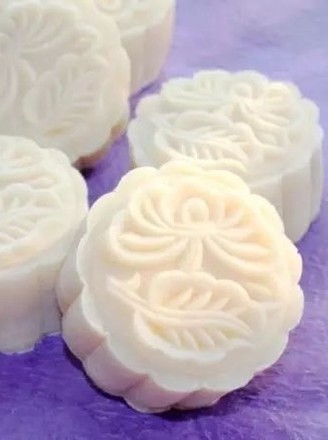
Then put it into a 50g moon cake mold to form a shape
15.
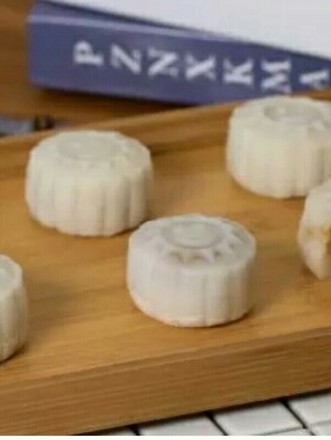
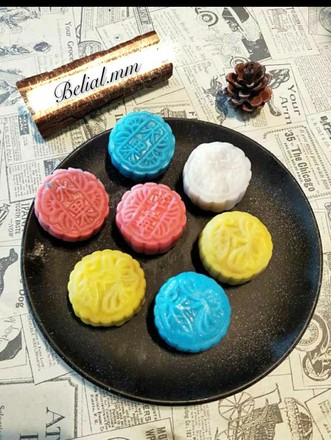
This snowy mooncake is ready
Tips:
1. When operating, don’t get too much cake powder on your hands and in the moon cake mold, otherwise it will affect the appearance of snowy moon cakes
2. Master the method of ice skin, you can change the fillings of different flavors according to your own preferences. The fillings of snowy mooncakes are very flexible. You can choose from red bean paste, lotus paste, jujube paste, and fruit fillings.
3. Here is a 50g moon cake mold, and the ratio of snowy moon cake crust to filling is 1:1

