8-inch Yogurt Mousse Cake
1.
Prepare an 8-inch live bottom mold, wrap a layer of aluminum foil on the live bottom, peel the mango, dice, and set aside for later use.
2.
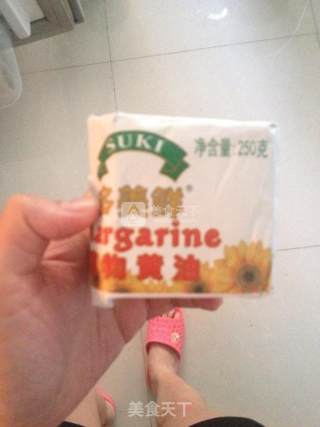
Put the butter in a bowl and melt the insulated water.
3.
Put the biscuits into a clean and non-breakable bag and use a rolling pin to break them until there are no coarse particles. (I don't have a rolling pin, I rolled it with a beer bottle.)
4.
Pour the biscuits into a bowl, pour the melted butter and stir evenly, then pour into the prepared movable bottom mold, flatten and compact with a spoon, and put it in the refrigerator for later use.
5.
Pour the yogurt into a bowl, add two tablespoons of sugar, heat in insulated water and stir until the sugar melts, then set it aside for later use.
6.
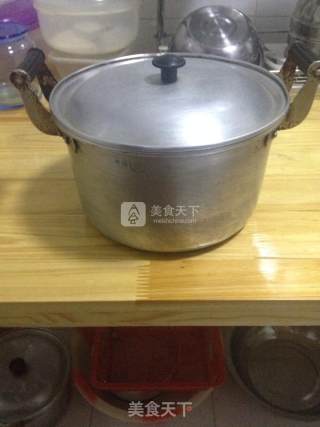
Add gelatine powder to cold water (a little not too much) and set aside to dissolve it for later use. Then pour the whipped cream into the pot (the pot should not be too big, but it should be high to prevent it from being splashed around, I will show you what I use), use a whisk to beat, thicken and make a pattern or you slanted One side will flow slowly to the bottom of the pot.
7.
Heat the dissolved gelatin powder in insulated water to melt. Then add the whipped cream to the mixture of yogurt and sugar and stir evenly. Finally, pour the melted gelatin powder into it and continue to stir evenly, and the mousse is ready.
8.
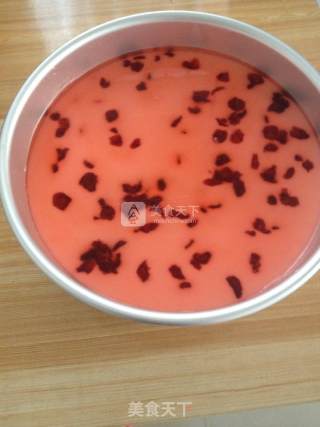
At this time we can take out the live bottom mold, pour half of the mousse paste, put in the mango, and then pour the remaining mousse paste, shake it a few times and sprinkle with dried cranberries, and then put it in the refrigerator.
9.
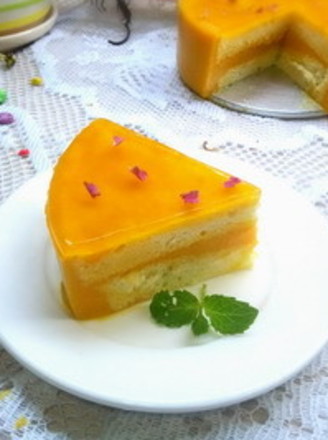
The last thing is to make the mirror surface. Put the QQ candy in a bowl, add a small amount of water, not more than the QQ candy, heat the insulated water to melt, take it out and let it cool, not hot or warm, wait for it to cool, take out the mousse The cake, at this time the cake is a bit solidified, pour the qq syrup on the surface of the mousse cake with a spoon, a teaspoon and a teaspoon, and finally put it in the refrigerator and continue to refrigerate for 2 hours.
10.
Demolition also talks about the next step. You can blow the prepared mousse cake with an electric wind and blow it down in a small gear. Blow around the bottom mold in a circle, while blowing, and dare to feel it with a small amount of force, you can move it and take it. under. (But now there is a more convenient mold. You don't need to blow it like this. The outer circle can be disassembled. Pay attention to the mold when you buy it.)
11.
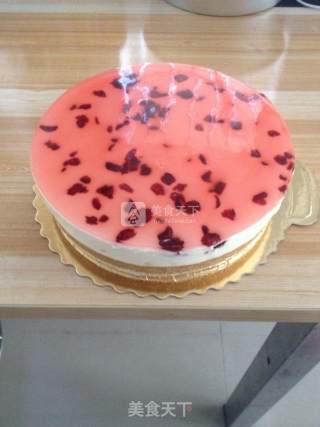
Finished product
Tips:
After adding QQ syrup, you can add fruit on it. I didn't prepare it, so it's easier.
QQ candies can be selected according to their own taste or desired color.


