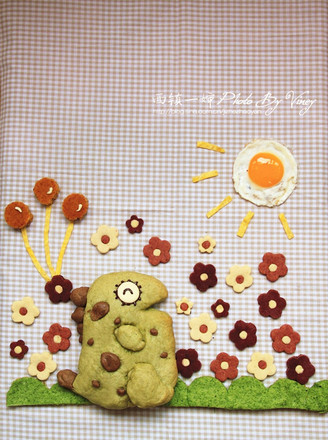
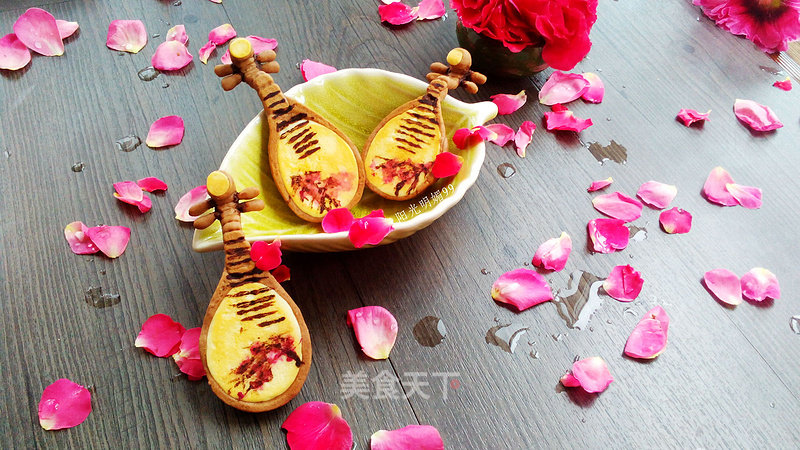
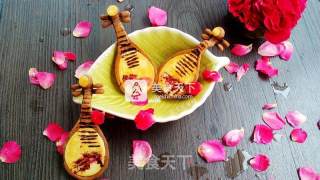
#aca烤明星大赛#pipa Roasted Fruit
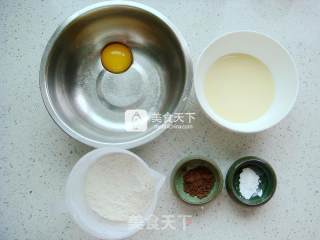
1.
Weigh the required materials for later use.
2.
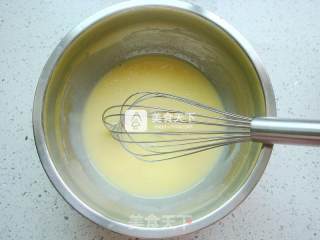
Pour the condensed milk into the basin.
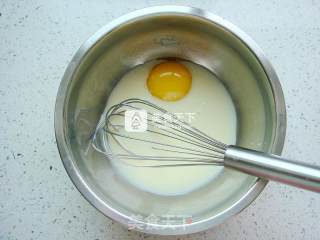
3.
Mix the egg yolk and condensed milk thoroughly and mix well.
4.
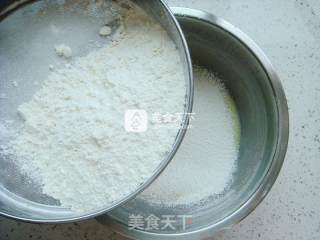
Pour the baking powder into the flour and mix, and sift into the paste that has just been stirred.
5.
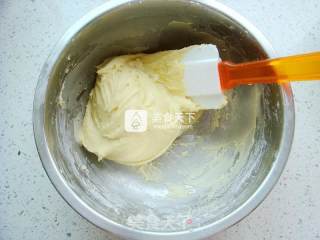
When the dough becomes a dough, the dough will be a little sticky, and the problem will be solved by putting it in the refrigerator later.
6.
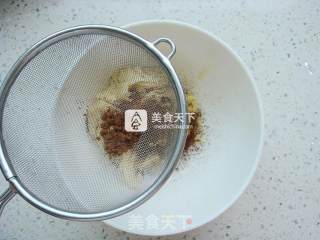
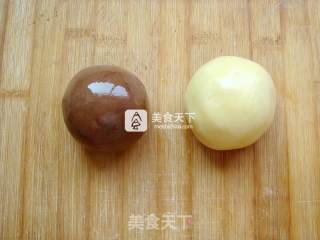
Divide out half of the dough, sift in the cocoa powder, and evenly, cover with plastic wrap and put it in the refrigerator for half an hour.
7.
Apply a little oil on the cutting board to prevent stains, which will work well. Take out the dough and make a few strokes to smooth the surface.
8.
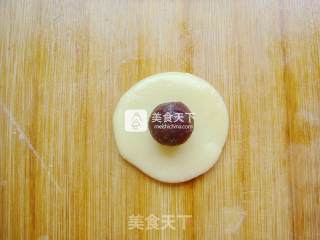
Take a small amount of about 8 grams of the original color, roll out thin slices, and put an appropriate amount of bean paste filling.
9.
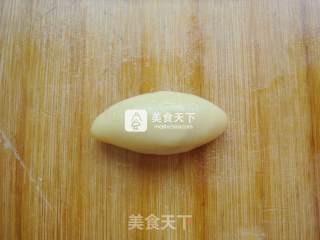
Pinch the seal tightly and wrap it into an oval shape.
10.
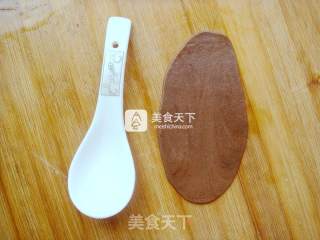
Prepare a small drop-shaped spoon. Spread oil on the spoon to prevent it from sticking. Take about 10 grams of cocoa dough and roll it out into thin slices. (You can prepare an extra spoon for replacement)
11.
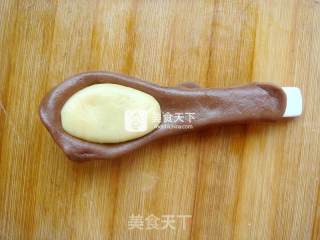
Put the noodles on the spoon and put in the original color dough.
12.
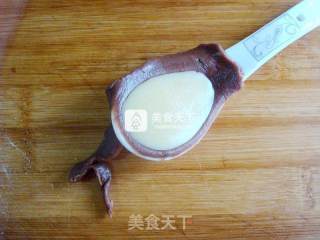
Press lightly with a spatula, and then press the edges with your thumbs to remove excess corners. The rough edges will become smooth with a few taps.
13.
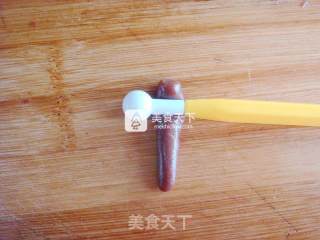
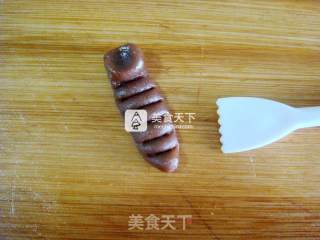
Rub the cocoa dough into a thin strip and press on one end.
14.
The depression forms a small arc.
15.
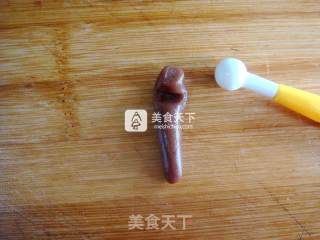
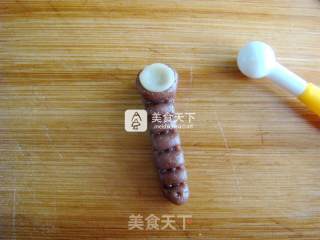
Lightly press the top part with a ball, and then press several times with the teeth to make the neck.
16.
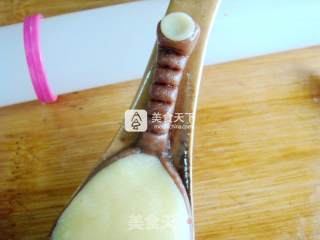
Knead the original color dough to the size of a rice grain, knead it into thin slices, place it on the top, and press lightly. Make the piano head. Organize the shape so that the neck becomes a bit longer and slender.
17.
Connect to the lower part of the pipa.
18.
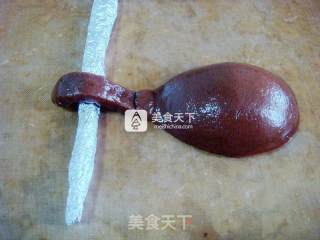
Pick up the spoon and buckle it back onto the baking sheet with a non-stick cloth. A small rod made of tin foil supports the head of the piano, and the curved arc is more vivid.
19.
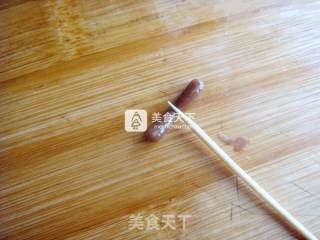
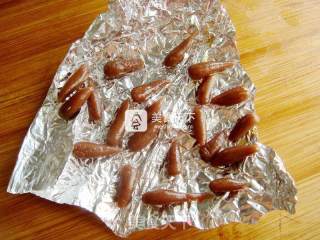
Take the cocoa dough and knead a smaller strip, divide it into two, and make the pegs the size of a bean.
20.
Make a few more and put them on tin foil for easy access, because they are too small and easy to cover with tin foil. Put all of them in the baking tray in turn, preheat the oven in advance, set the upper 160 degrees, lower 150 degrees, and bake the middle layer for ten minutes.
21.
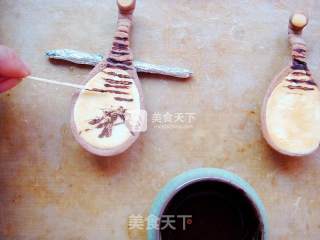
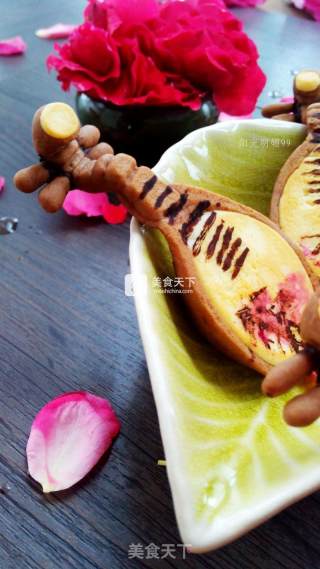
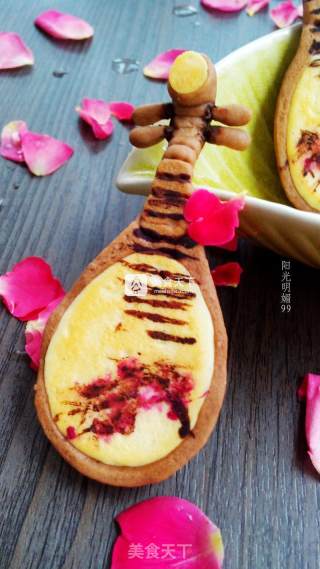
After taking it out to cool, add a little hydration to the cocoa powder to form a paste, and use a bamboo stick to draw the outline you like.
22.
Dip the pegs with melted chocolate, and dip a cotton swab with red dragon juice to render red flowers.
23.
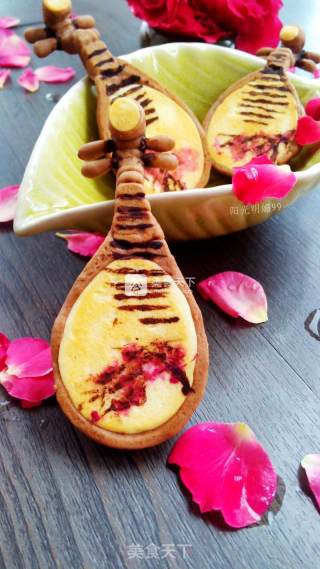
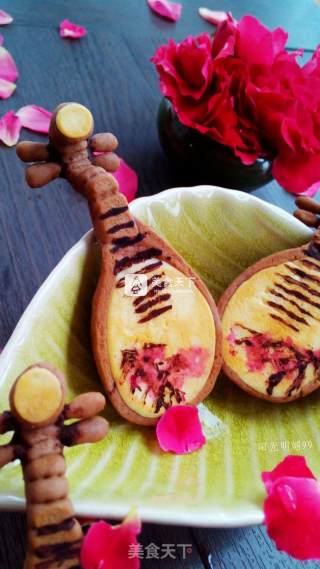
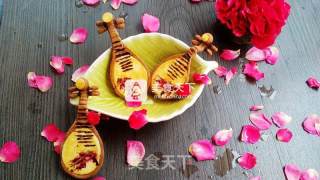
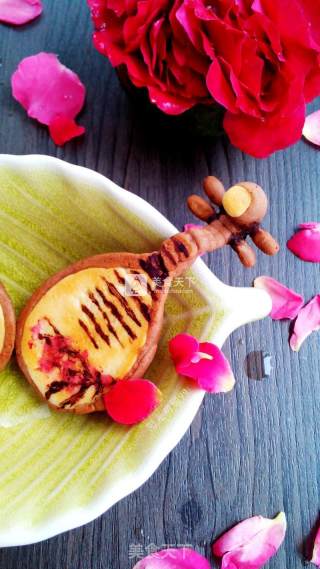
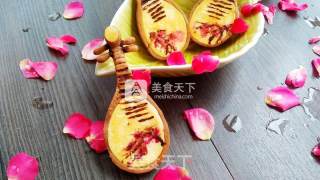
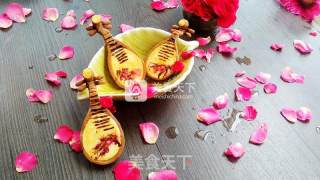
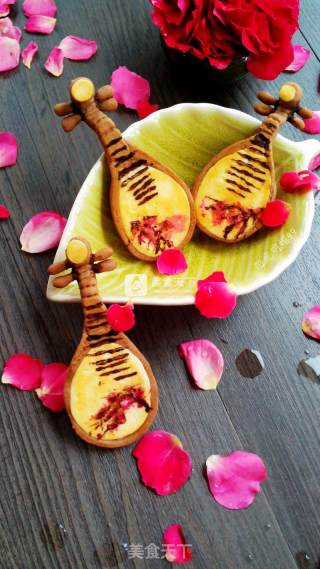
Finished picture~~~
24.
Sakura drunk~~~
25.
The splendid spring is the most beautiful, who knows that the spring is full and people are haggard~~~
26.
Sakura tears~~~
27.
Goose thinking about returning~~~
28.
Pipa is drunk for a thousand years~~~
29.
I shed tears of lovesickness~~~
30.
Sakura rain dancing all over the sky~~~
31.
Flick a song of cherry blossom tears~~~
Tips:
The temperature of each oven is different, please adjust it according to your own oven. It will be a little sticky when it starts with the dough, don't worry, just put it in the refrigerator for half an hour. During the production process, a little oil can be applied to the cutting board to prevent staining. This amount can make a total of 9 spoons, and the spoon should be as close as possible to the shape of a drop and the contour of a pipa. During the baking process, the lower heat should not be too high, so as to avoid excessive coloring and loss of beauty.

![Seasonal Vegetable Patties [baby Food Supplement] recipe](https://img.simplechinesefood.com/02/024b910033009872aea33017c755a377.jpg)
